


In this report, we’ll go over the highlights of our experience with Studio Candy Feminized. This adaptable and hearty strain won us over thanks to its manageable height, versatile growth pattern, high yield, and powerful high. This strain is a perfect fit for almost any grower who’s looking for a powerful indica.
Total growing time: 90 days
Flowering time: 62 days
Final height: 106 cm
Final yield: 118 grams
THC content: 23.6%
In this report, we’ll go over our time growing Studio Candy Feminized. As always, we grew our cannabis plant in an 8-litre plastic pot, which we filled with BAC Lava mix and kept under a 1000 W Phillips GreenPower lamp set to an 18/6 light schedule. Our grow space was kept at a stable 23°C during the day, and we let the room cool down slightly to 21°C at night. During the vegetation phase, we maintained a relative humidity of 65% before gradually lowering it as the plant matured.
Germination & seedling
As with any other plant, the first step is to germinate the seed. Luckily for us, this is an extremely simple process that only requires a few basic supplies. All that you need are a plate, a few paper towels, and a plastic bag. To start, fold up a couple of paper towels and dampen them with 20-30 ml of water until they’re damp but not dripping wet. Next, carefully place your seeds directly on top of the paper towels, leaving a few centimetres between them. Finally, just cover the seeds with another dampened paper towel, put the plate into an open plastic bag, and set it in a warm place out of direct sunlight.
About a day later, our seed split open to reveal a thin white taproot sticking out, signifying that it was officially time to plant our seed. We carefully planted it (taproot down) into a pre-soaked Rockwool cube, which we then set under a 600 W lamp and left alone for a few days.
After about three days, our seedling had sprouted and was sporting a few healthy pre-leaves. Now, it was time for our plant’s first feeding. This early on, plants are rather delicate, and giving them too much light, water, or nutrients can do more harm than good. Therefore, we started daily feedings with 100 ml of pH-balanced water (pH 6.0; EC 0.8) with only a small amount of rooting hormone added. After a couple of days, our plant’s roots were growing out of its cube, and it was time to move it into its new home: an 8-litre plastic pot filled with BAC Lava Mix.
Vegetation
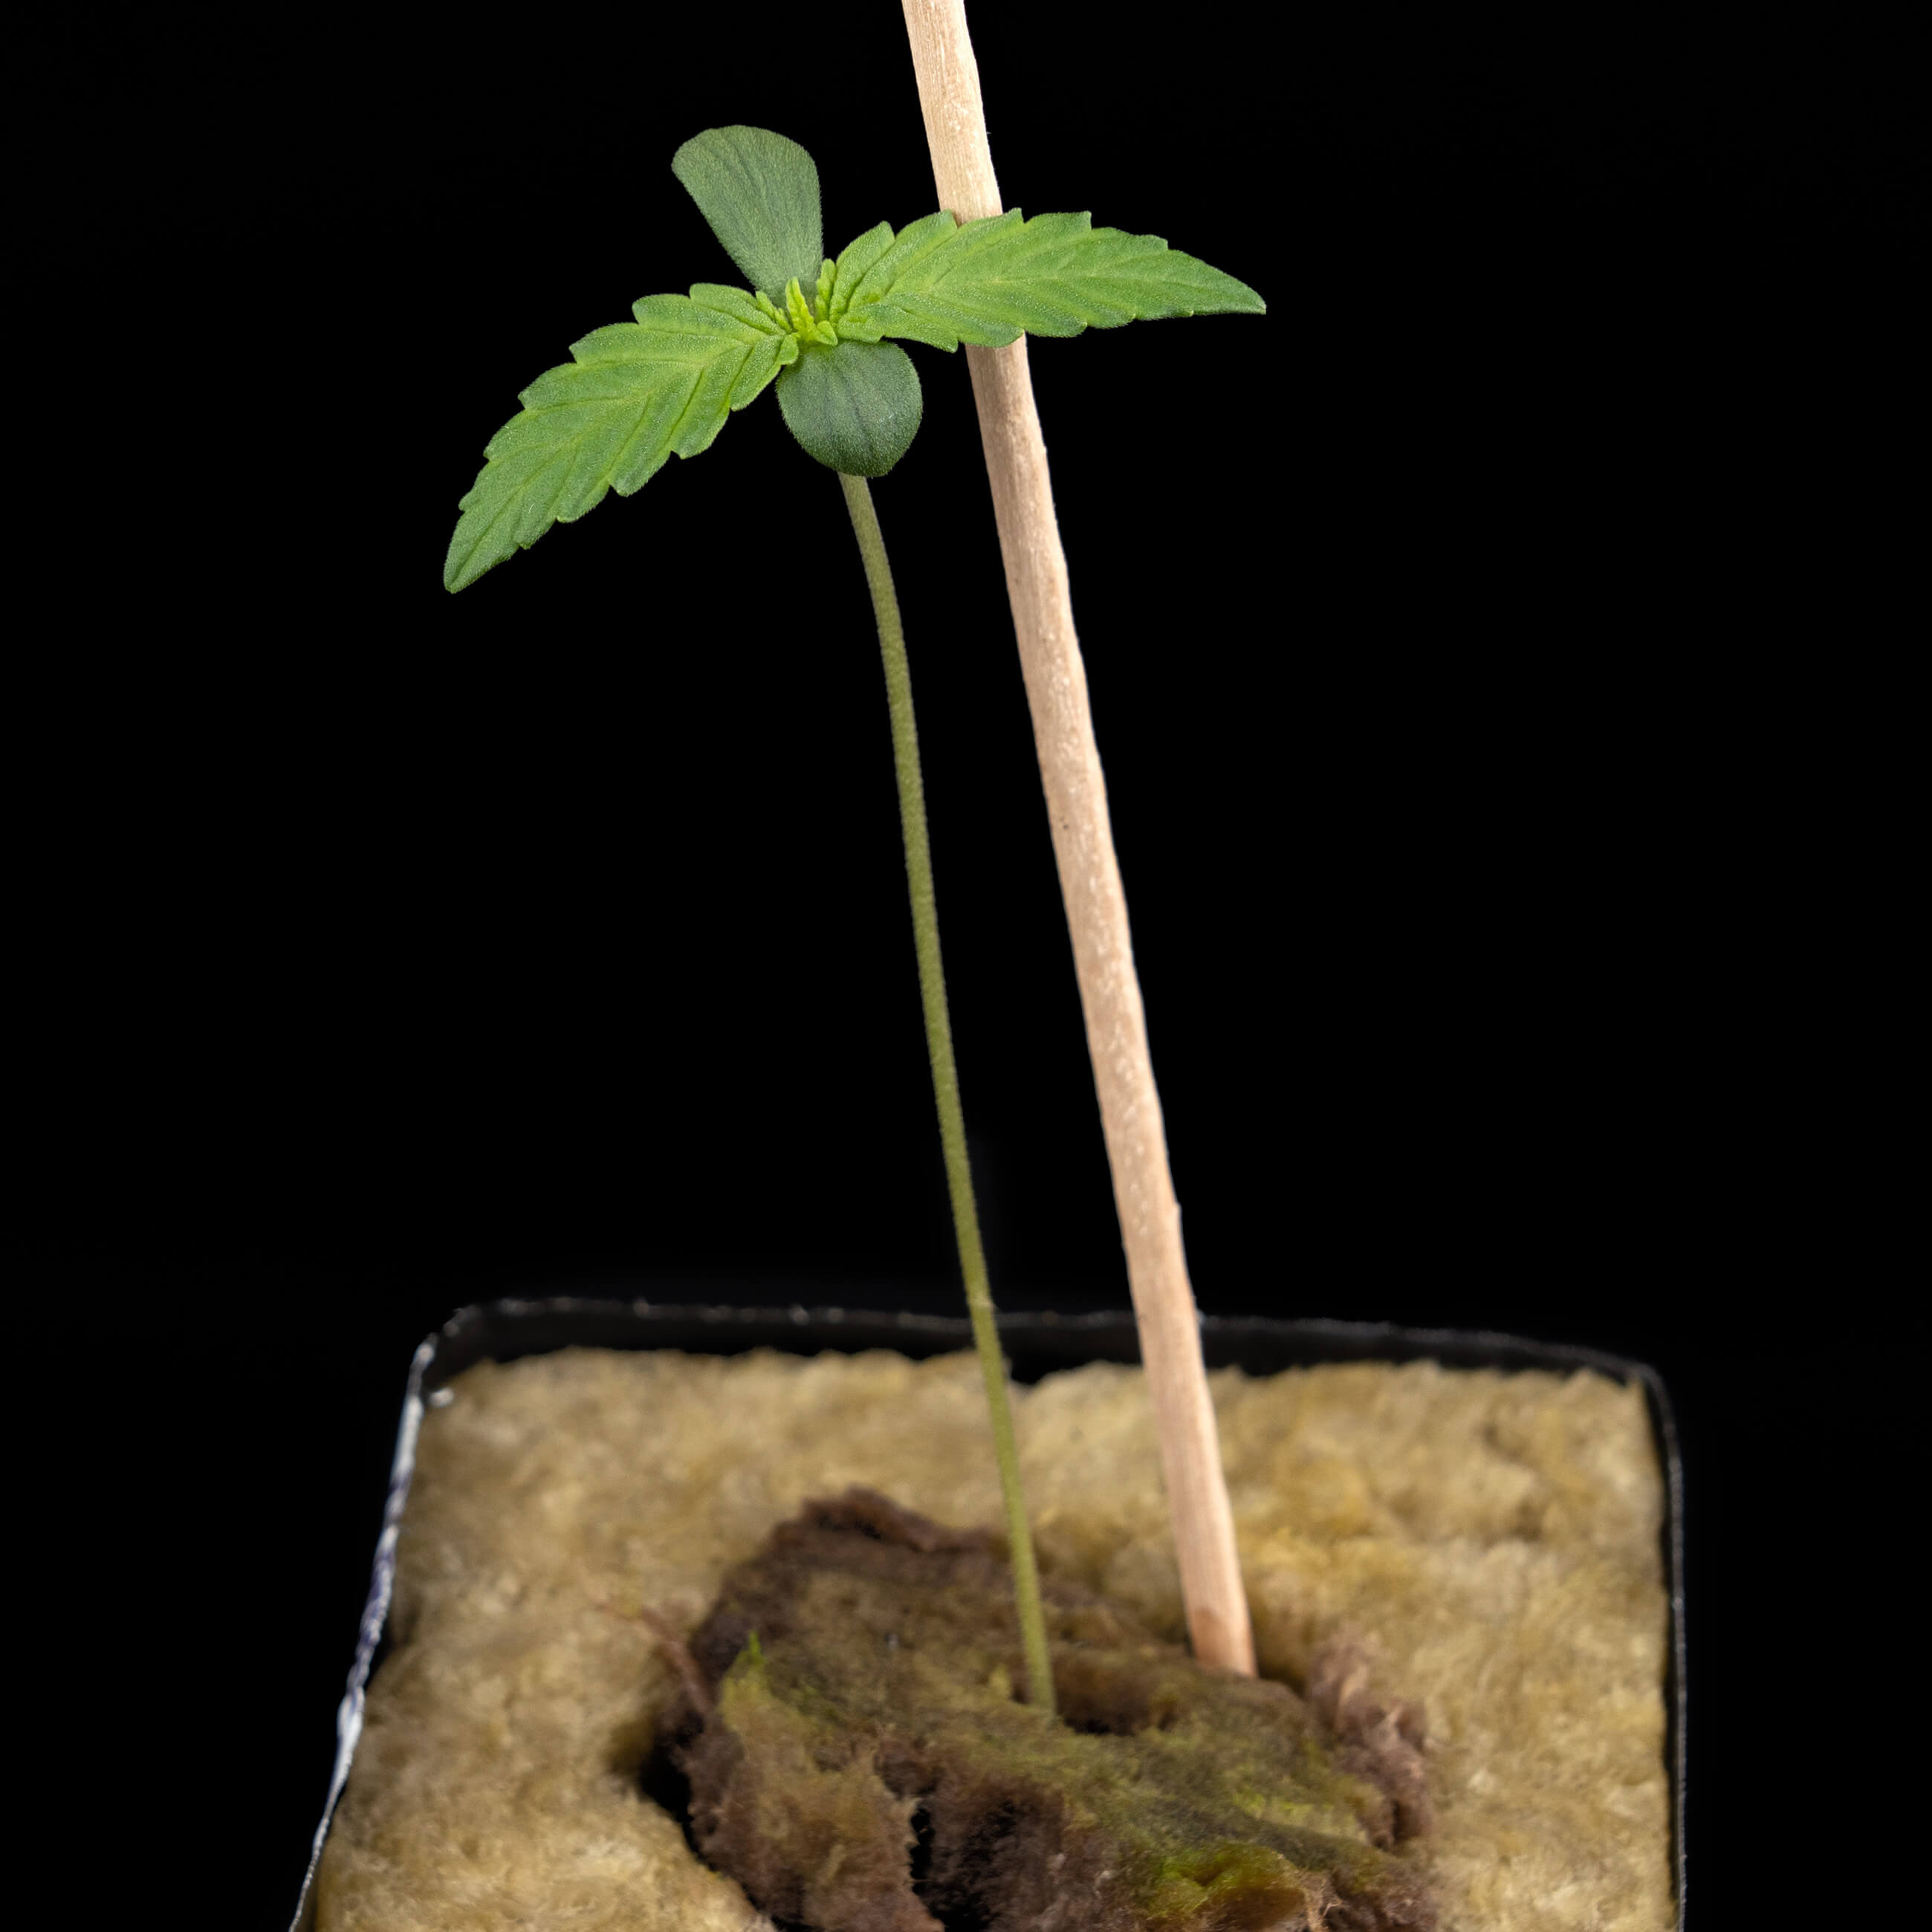
Once our Studio Candy Feminized plant was moved into its new home, it grew rather slowly at first. At the end of the first week under our 1000 W lamp, our plant was 6 cm and with an incredibly slender stalk that needed a little extra support. To ensure that our plant had everything it would need over these vital weeks, we began daily feedings with 200 ml of water (pH 6.0; EC 1.4) mixed with Bio Grow liquid nutrients.
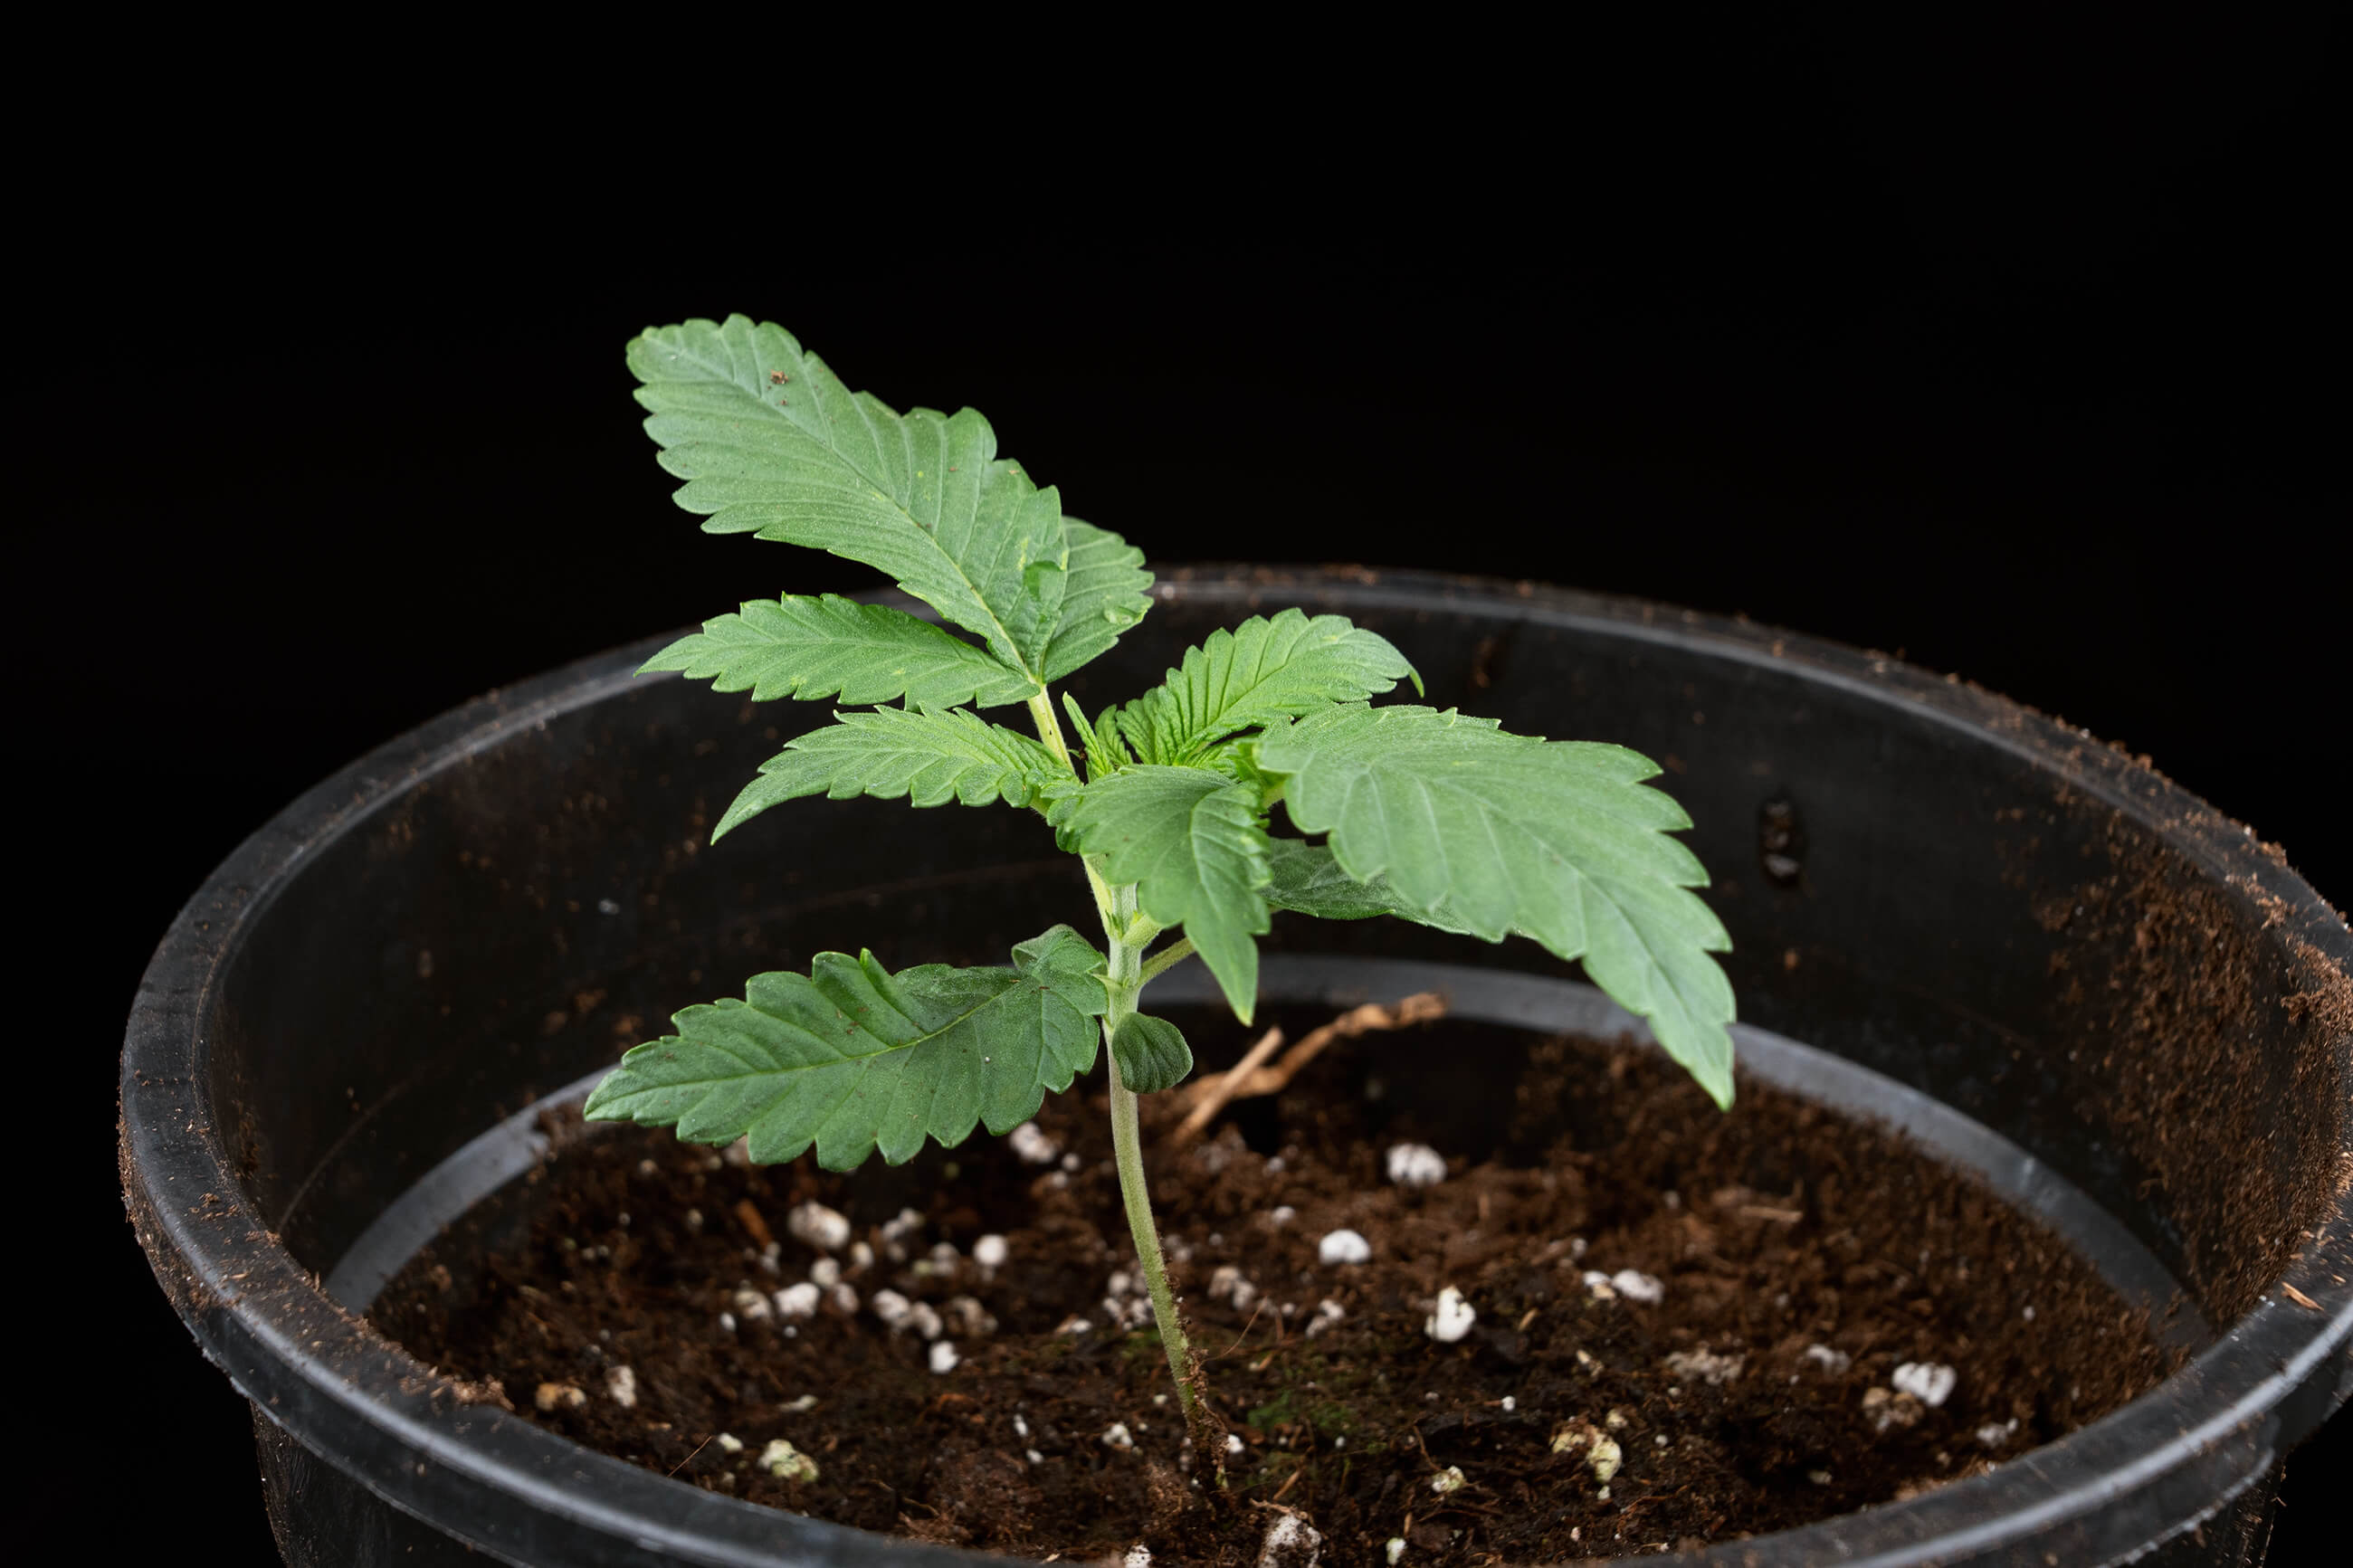
Over the course of week two, our plant continued its slow and steady growth, gaining only 2 cm to reach 8 cm in height. While vertical growth was minimal, the plant spent this time thickening its stem considerably and developing its first set of true leaves.
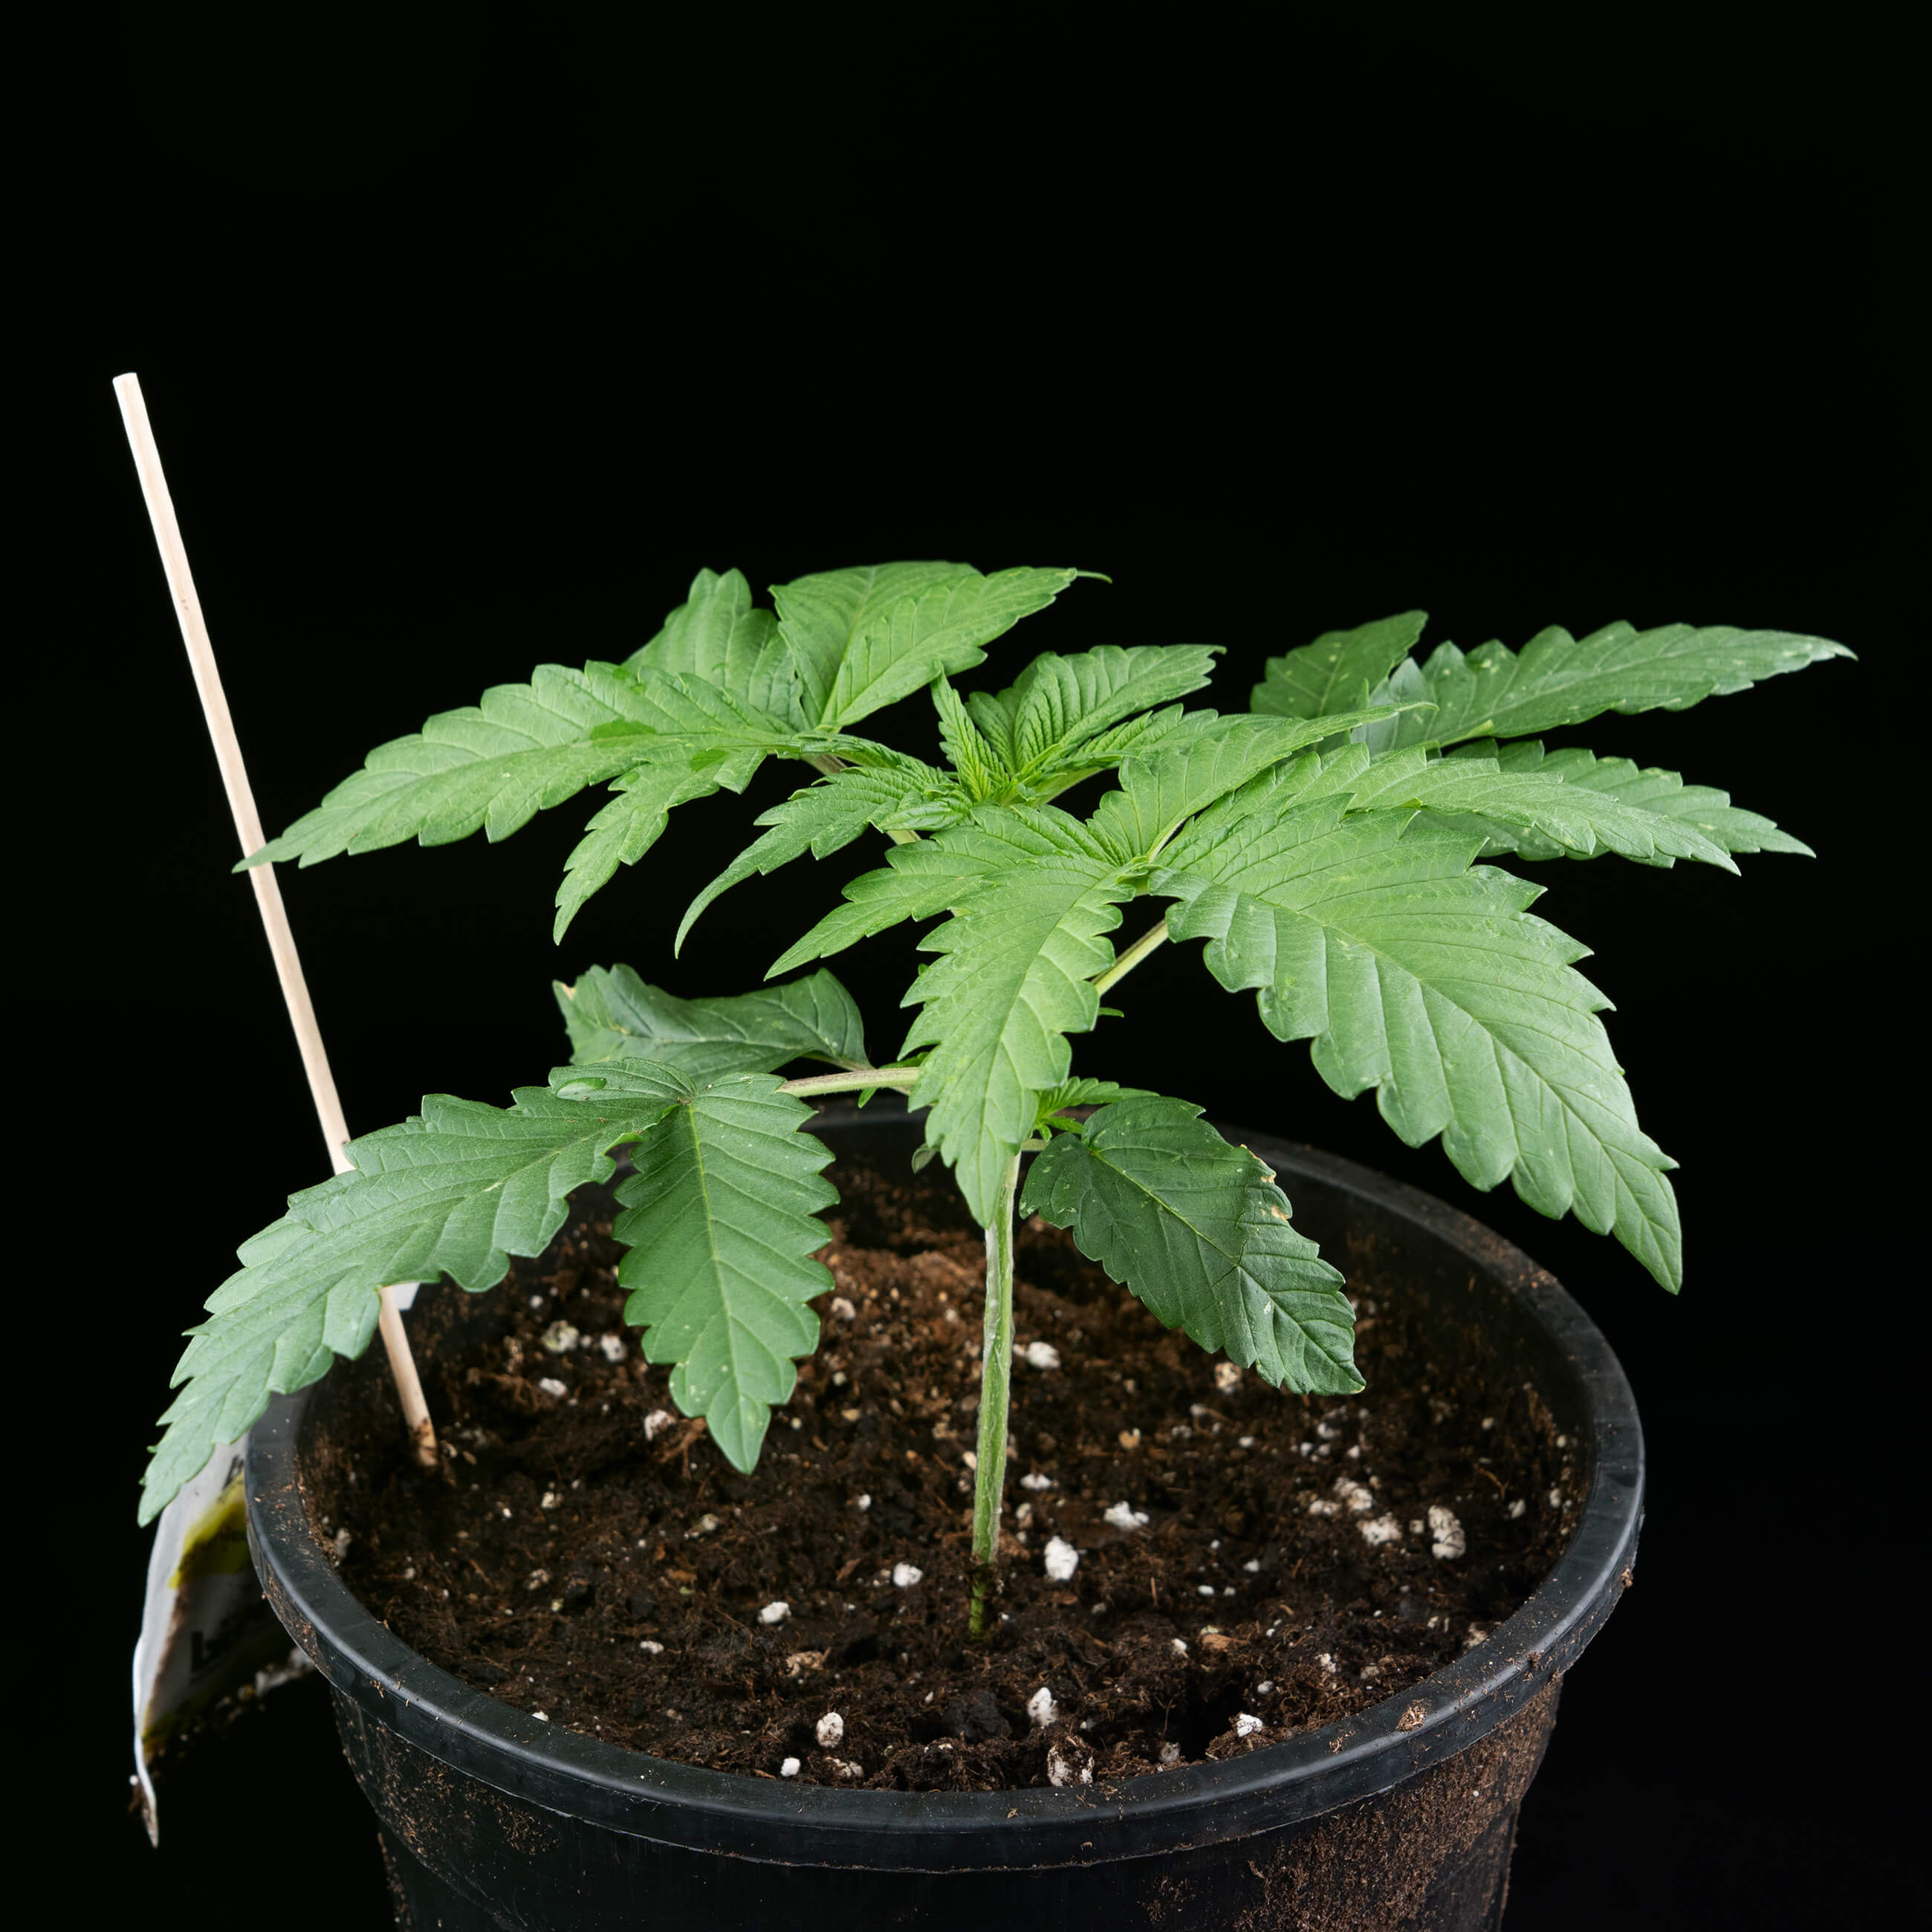
In week three, we again doubled the volume of water in daily feedings to 400 ml as our plant finally hit its growth spurt, nearly doubling in height to 14 cm. The internodal spacing was perfectly moderate, and the leaves were large and heavy, though we still weren’t seeing any lateral branches.
Before we flipped our plant to flowering, there was one final detail to take care of. We hung small satchels of Neoseiulus californicus and Amblyseius swirskii from the plant’s lowest branches, as these small critters have a symbiotic relationship with cannabis plants. Basically, they don’t harm the plant at all, but they hunt down pests like thrips and spider mites, which can permanently damage a plant if left unchecked. We replace these satchels every four weeks to maintain a fresh supply.
Related post
Flowering
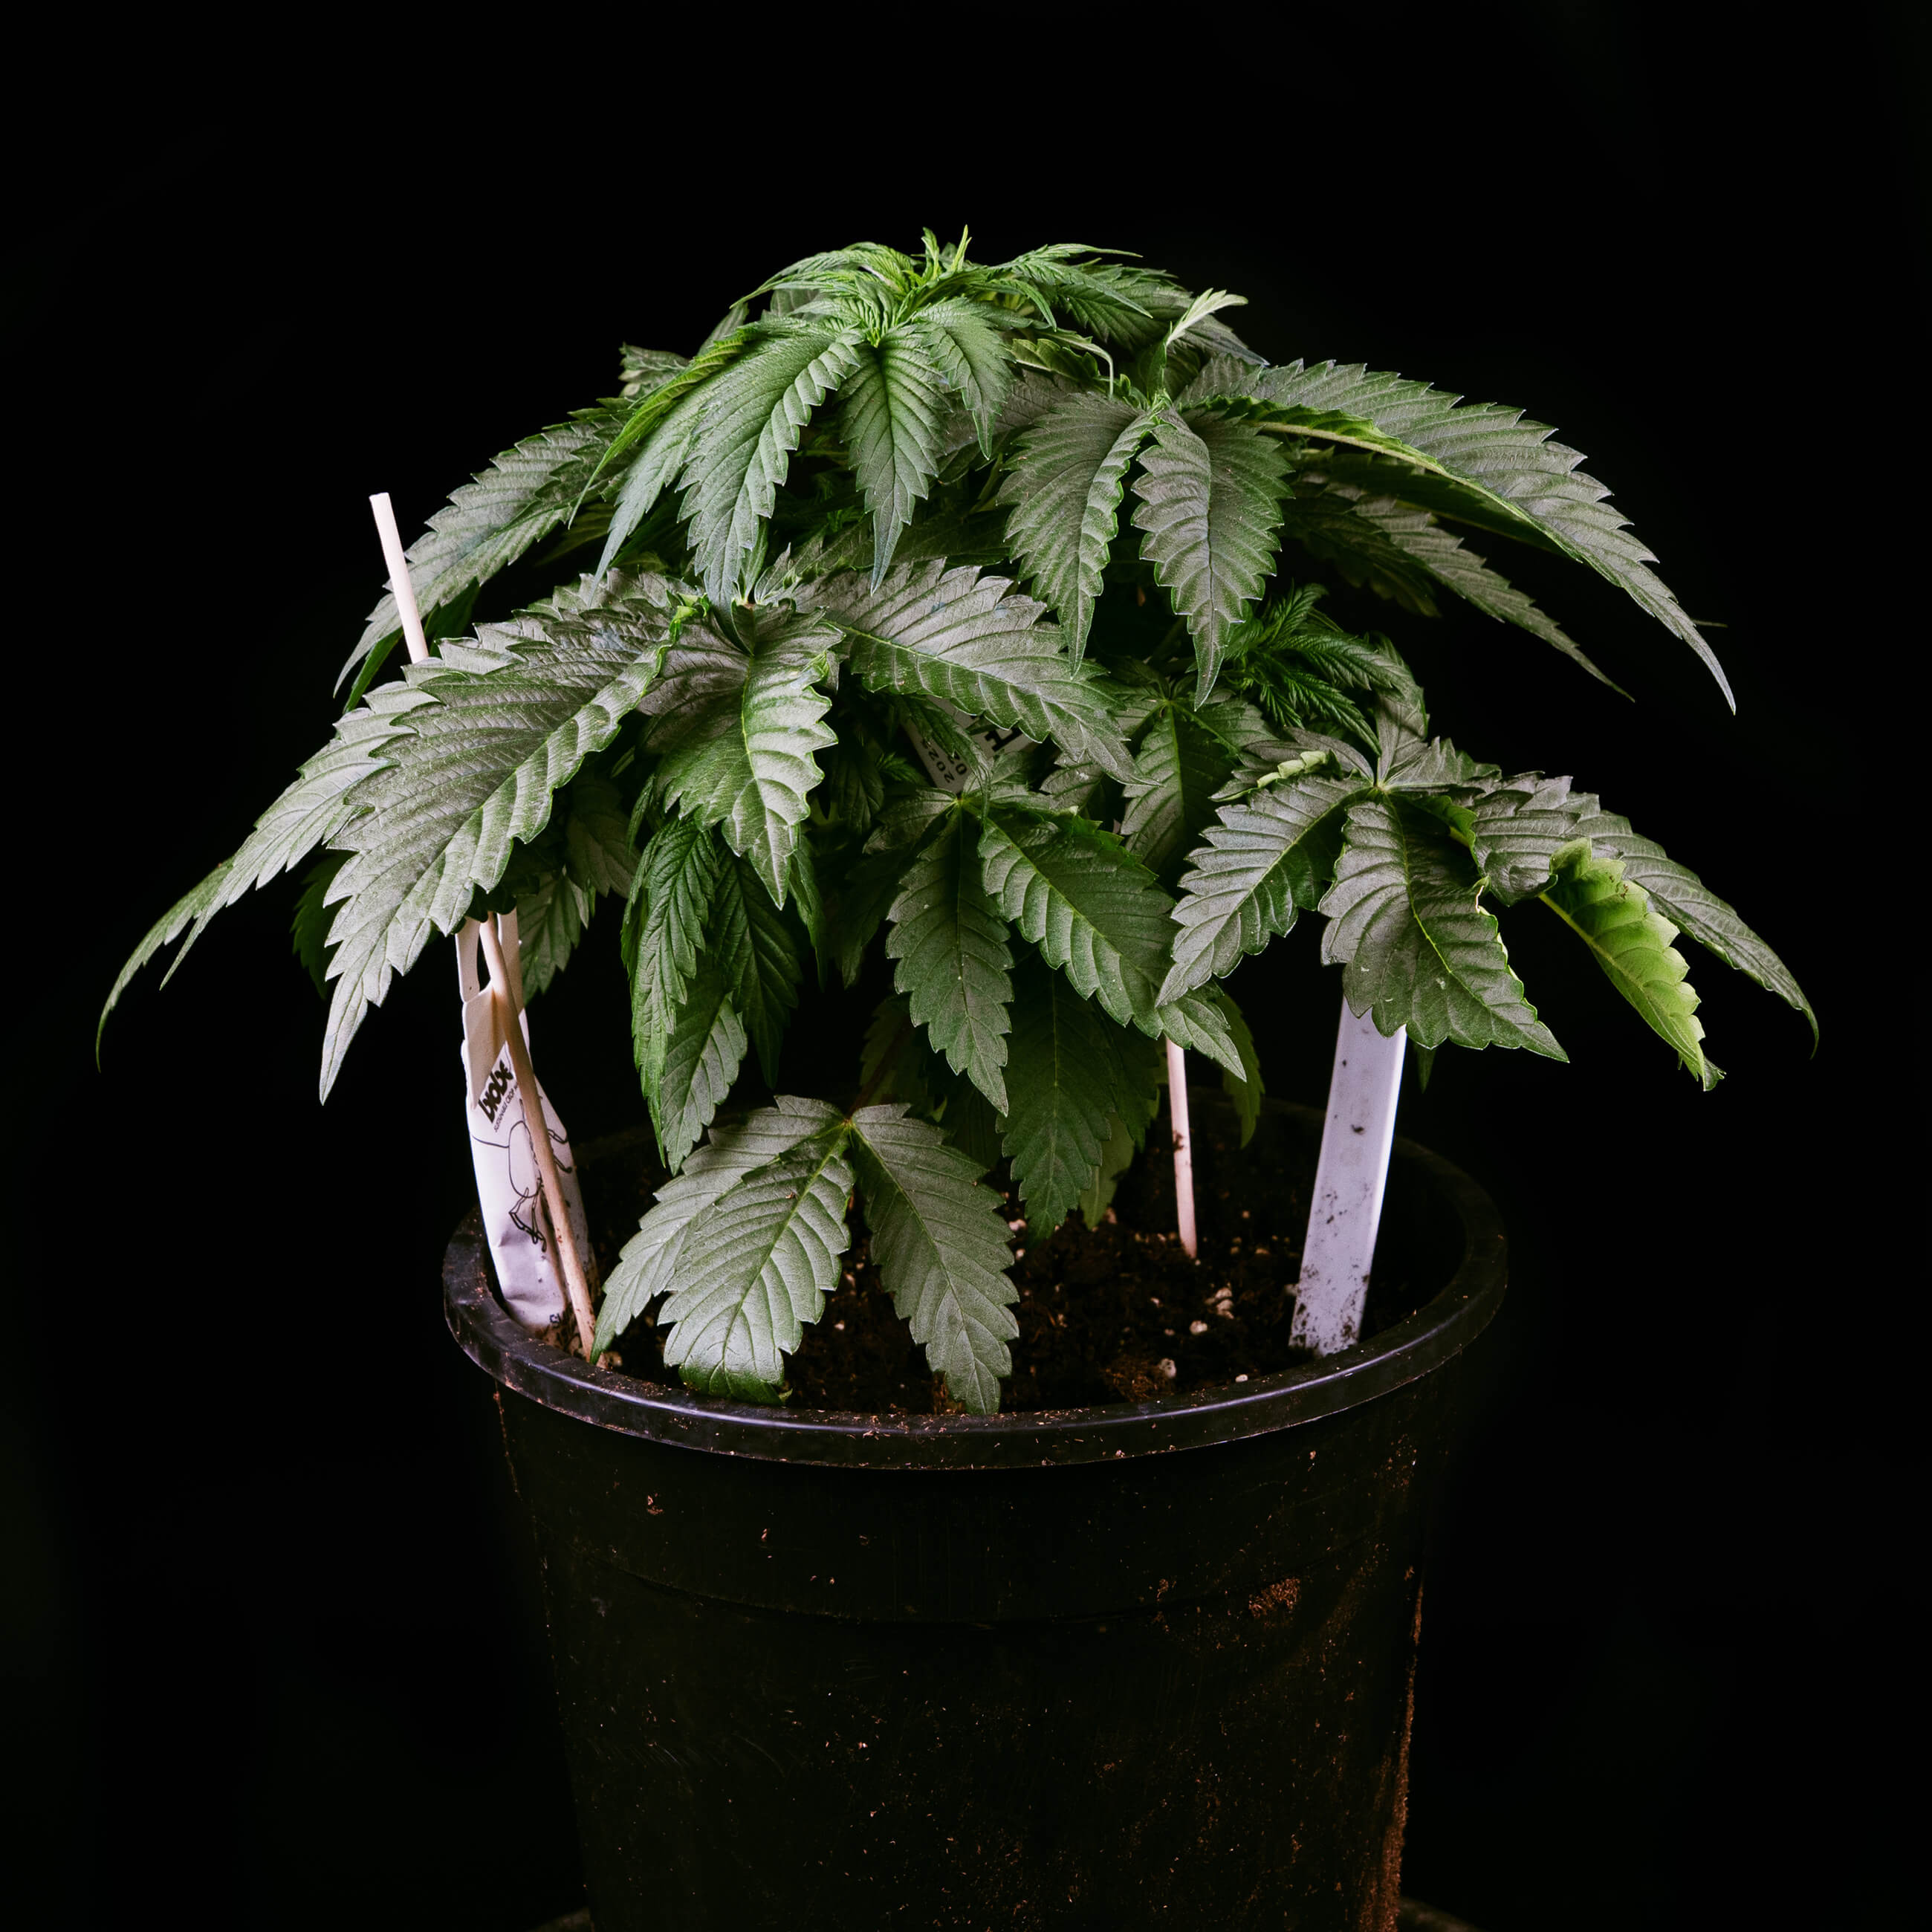
In week four, we started flowering our Studio Candy Feminized cannabis plant by switching our lights to a 12/12 schedule as well as upping our daily feedings to 800 ml of water (pH 6.0; EC 1.8) mixed with Bio Flower liquid nutrients. By the end of the week, our plant had grown significantly, finishing the week at a new height of 23 cm. This week also saw the development of the lateral branches as the entire plant grew upwards and outwards.
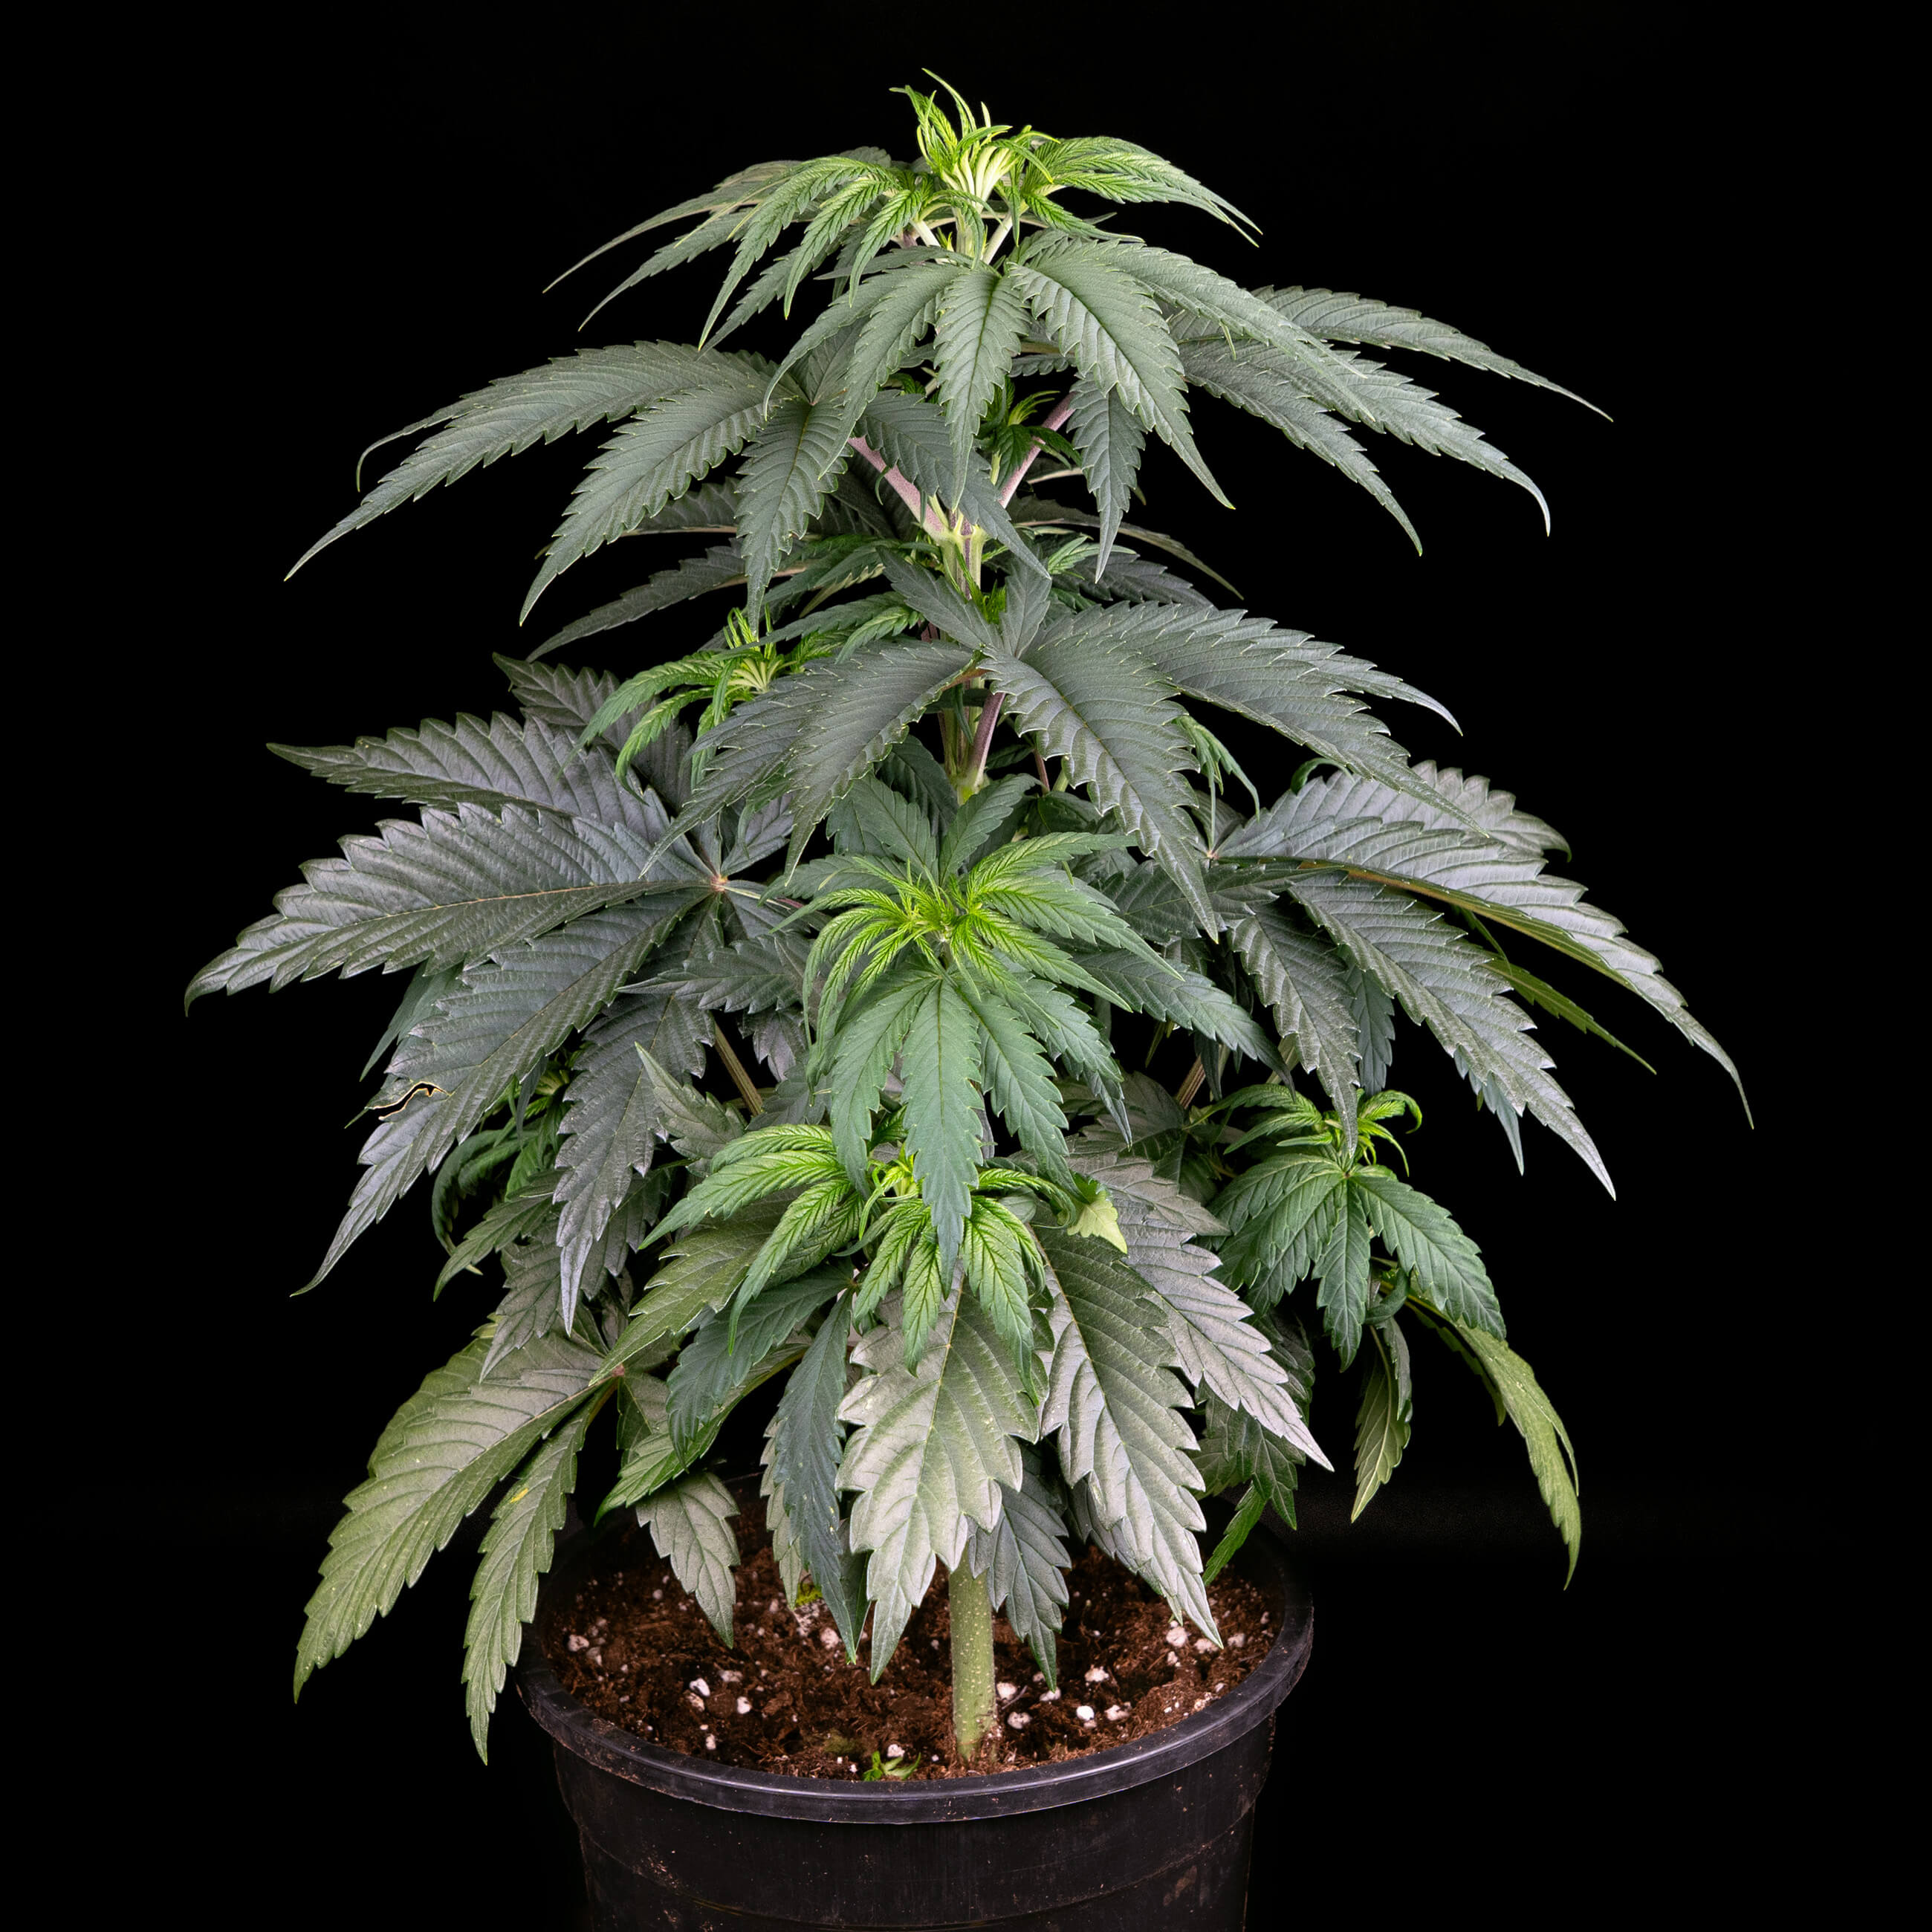
Week five saw our plant continue to speed up its development as it gained 9 more cm in height to reach 32 cm tall. At this point, it was covered in broad, somewhat long leaves, and the internodal spacing was slowly expanding. The lateral branches were still quite short, but were developing nicely. Overall, the plant was taking on a relatively compact and cylindrical shape. With the plant expected to start flowering any day now, we again increased the volume of water to 1000 ml per day and reduced the humidity to 60%.
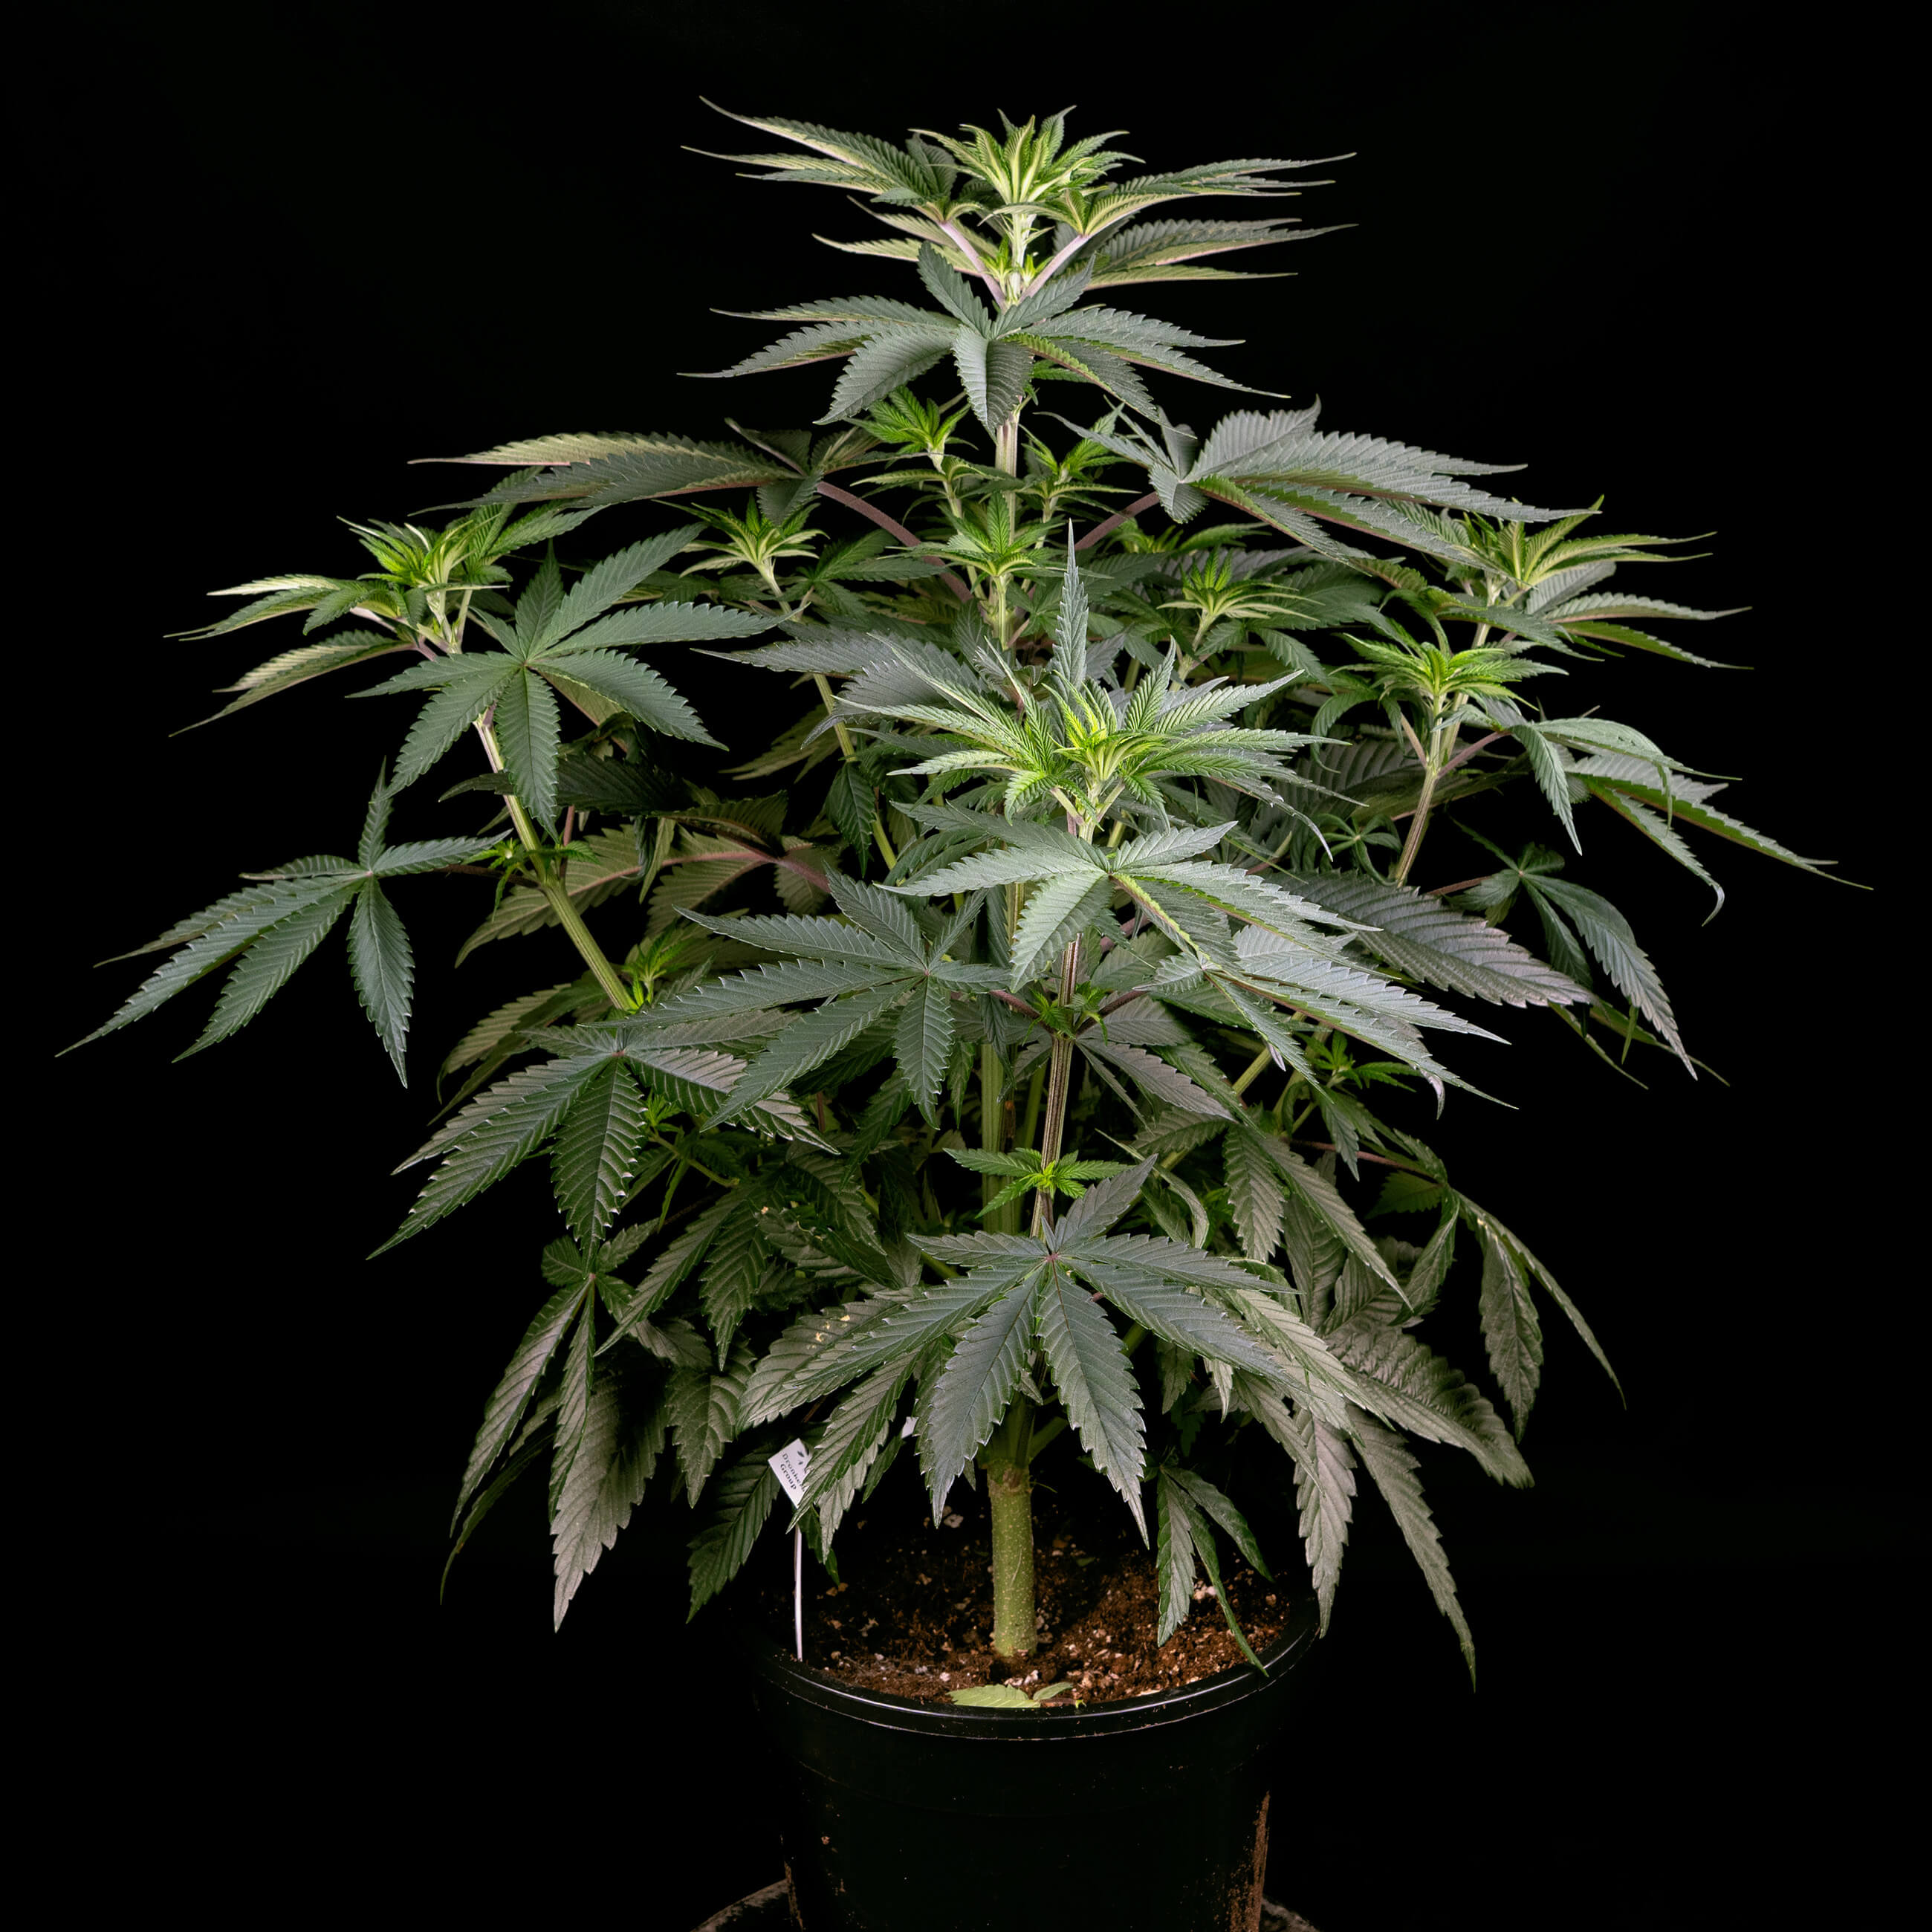
Throughout week six, our plant grew to 43 cm and we started to see the very first signs of flowering as single white pistils began appearing along the inner nodes and at the tops of branches. To help our plant keep up with the growth that was about to happen, we increased the volume of daily watering to 1500 ml. This would remain unchanged for the rest of the grow.
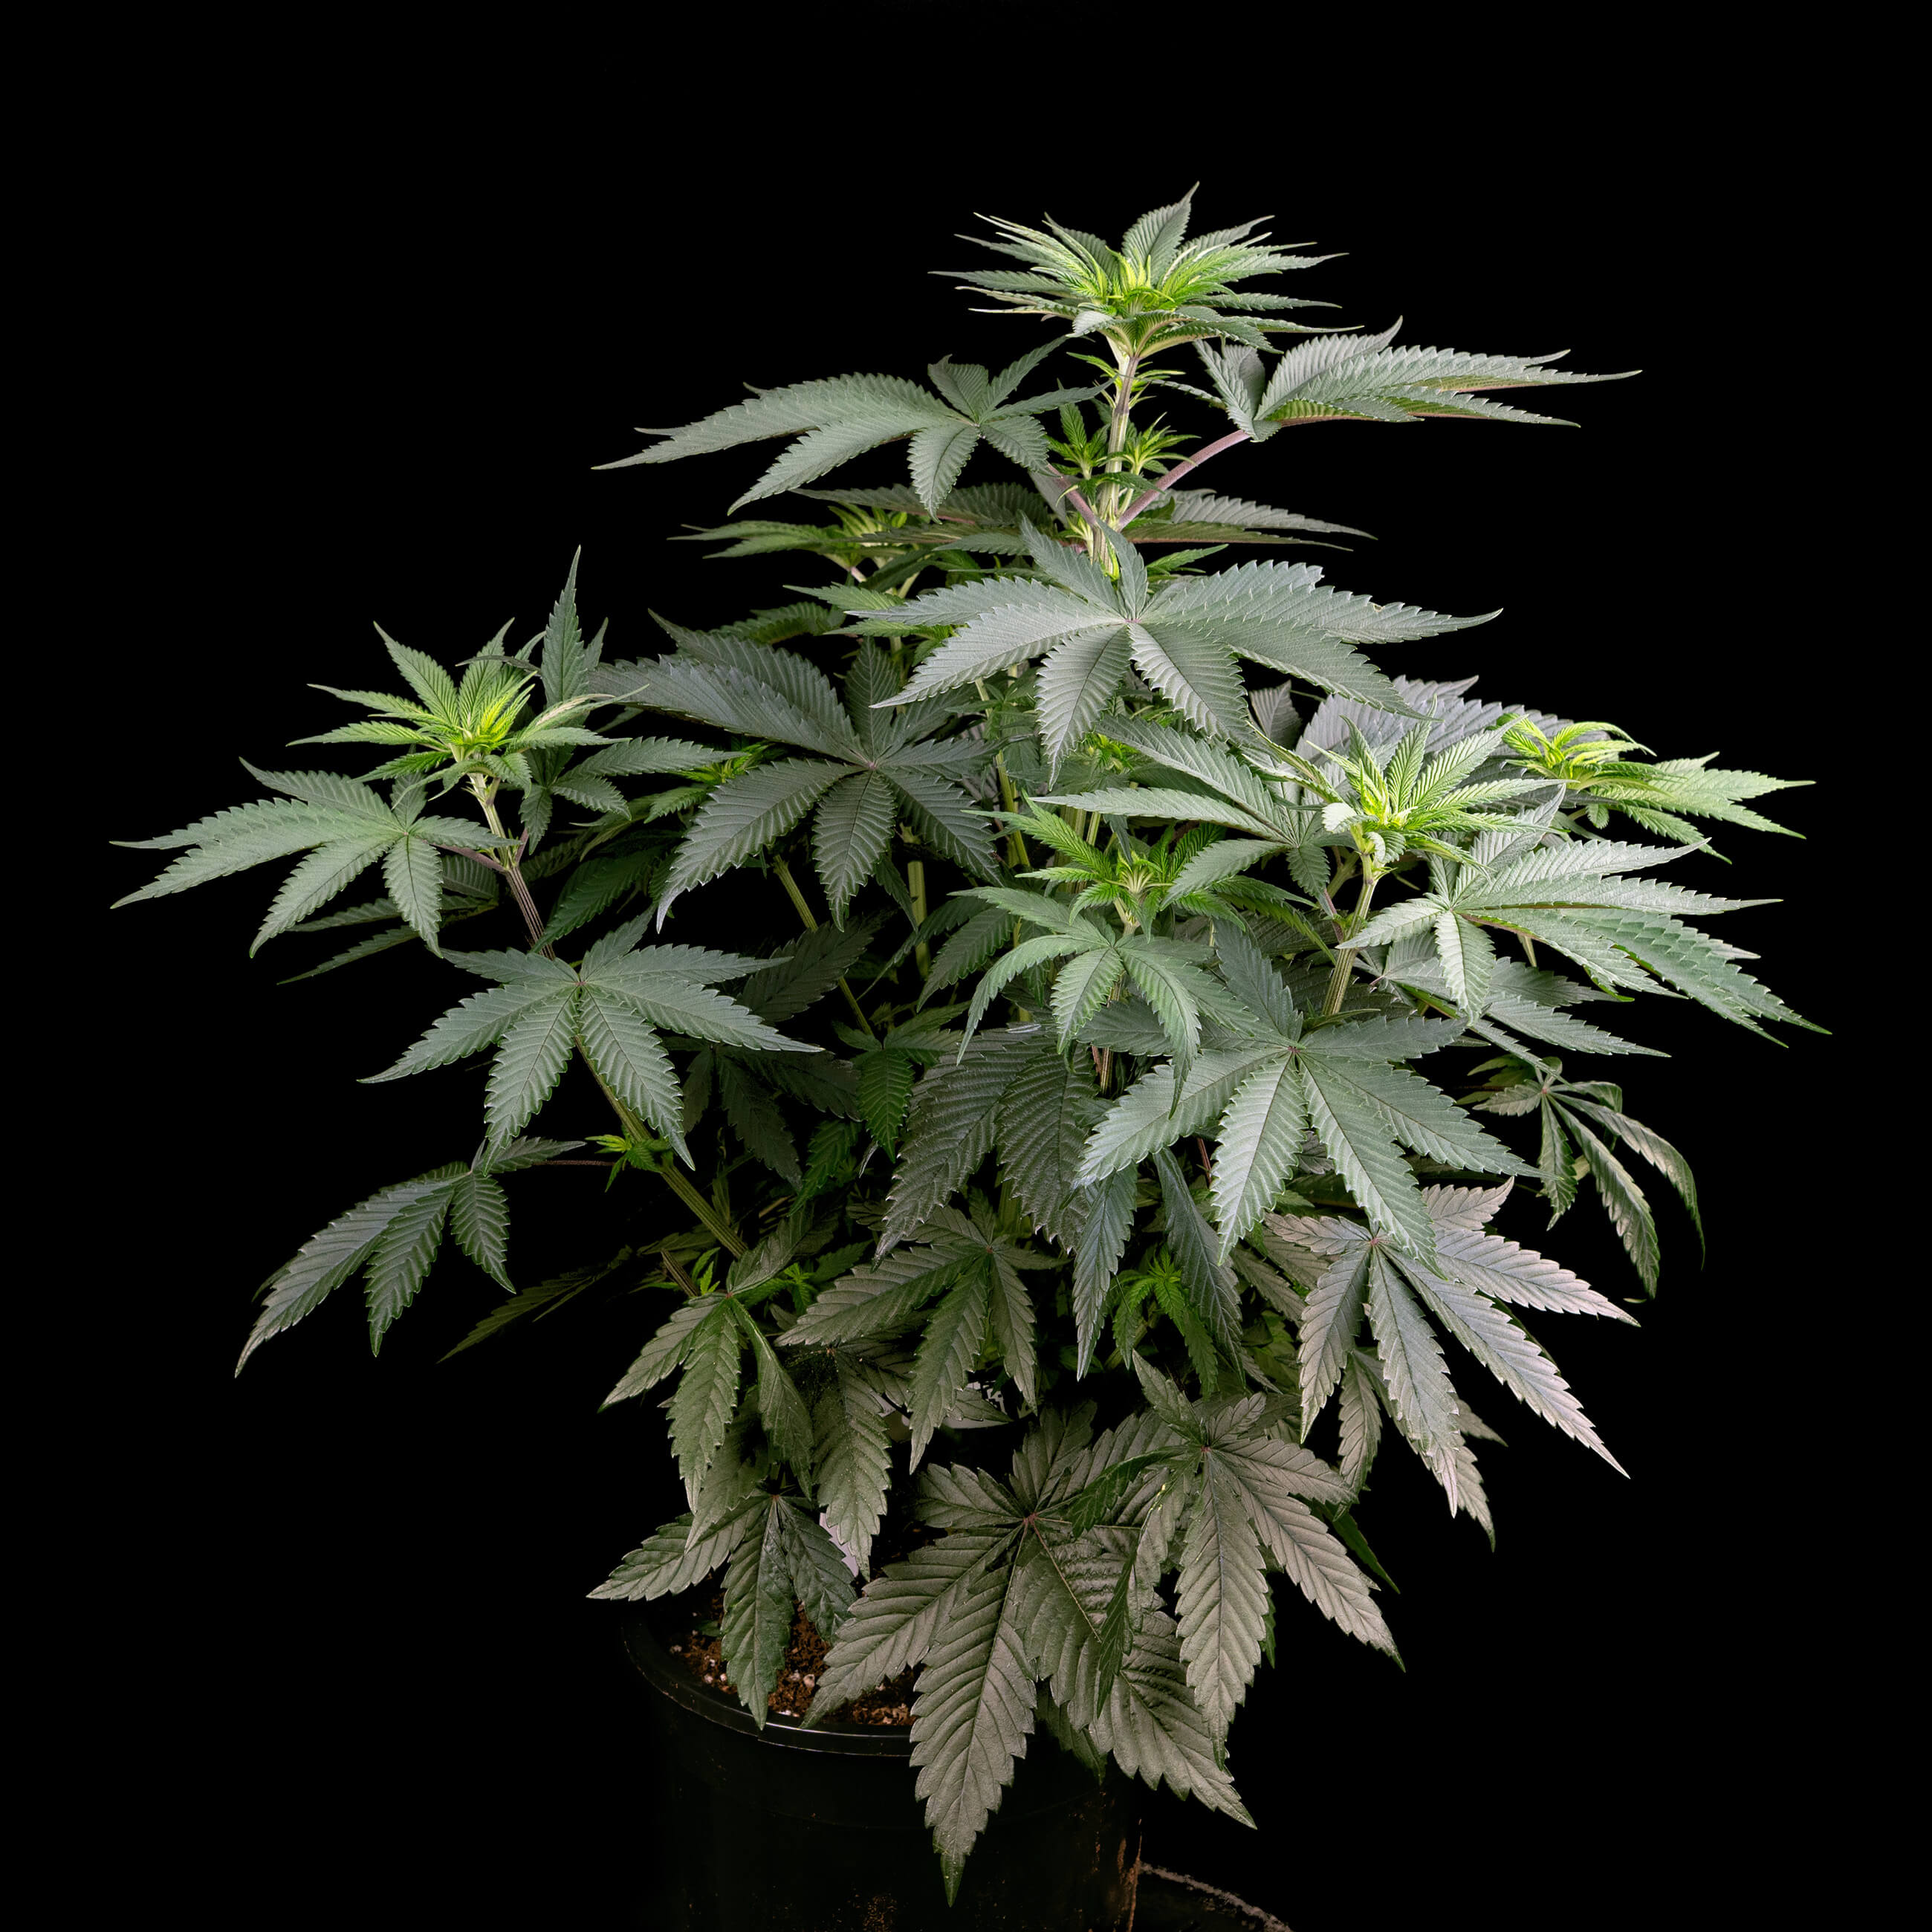
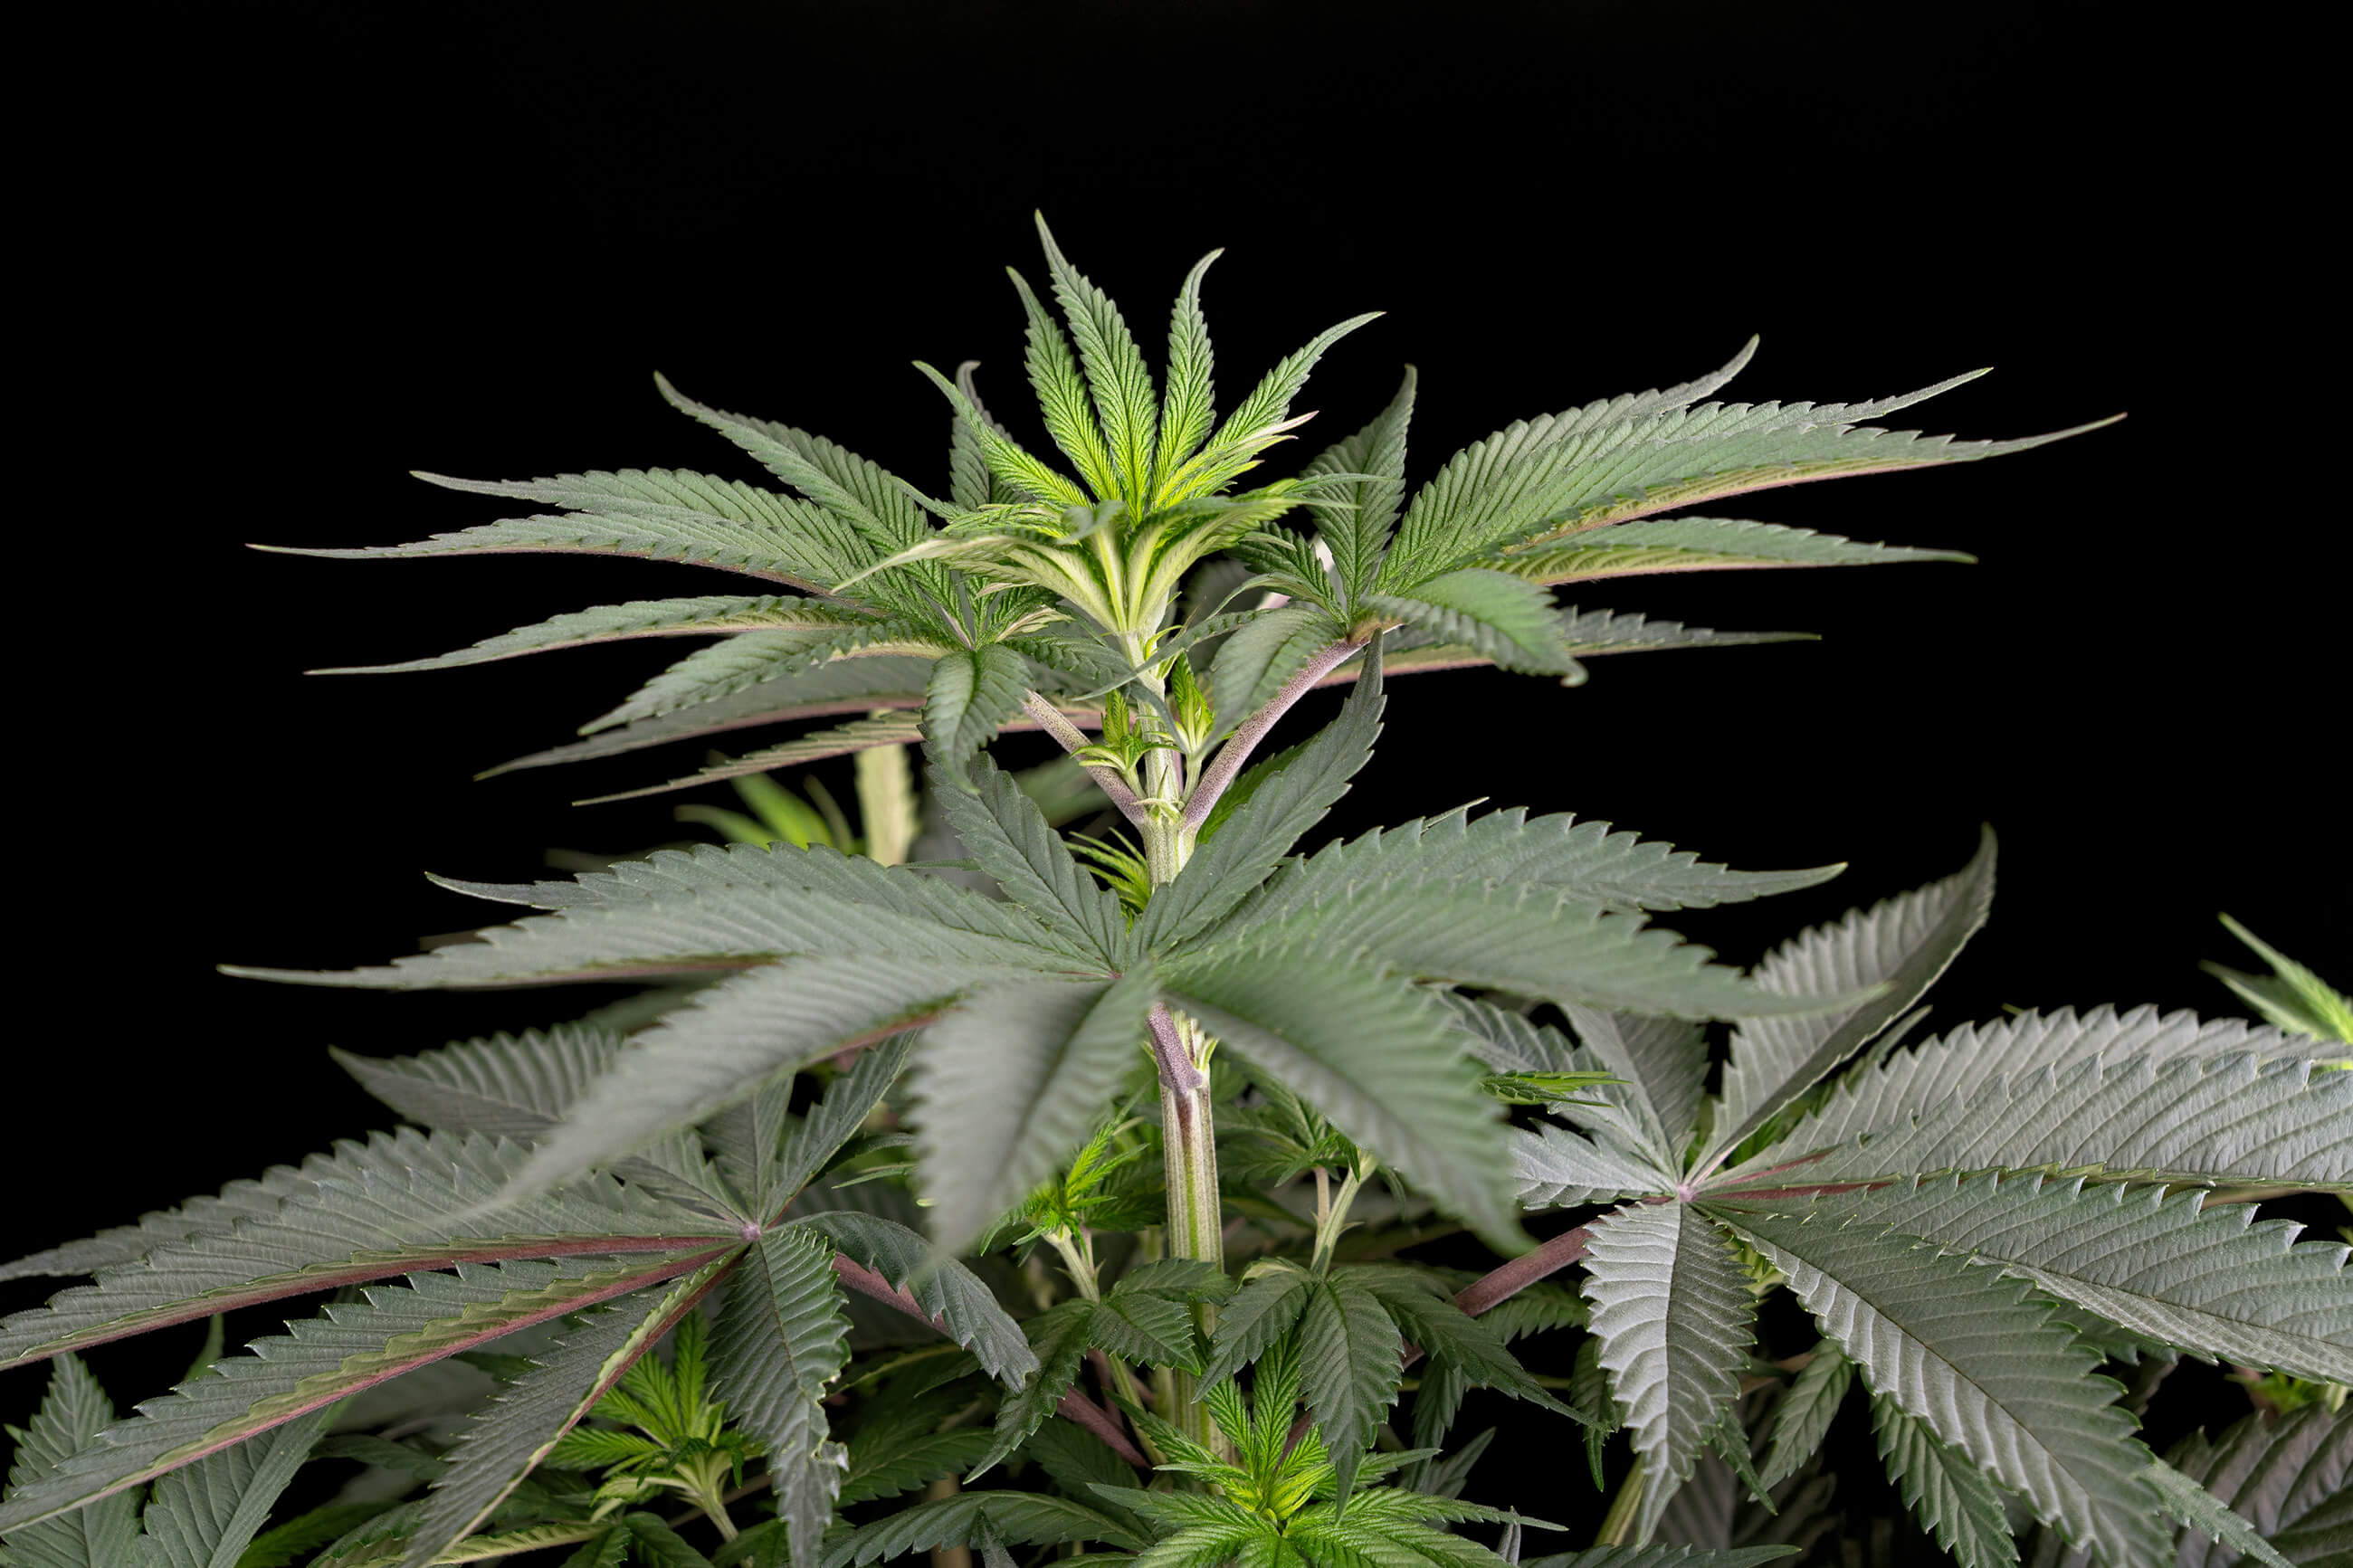
Week seven saw our plant continue its steady growth, growing to a new height of 57 cm. During this week, the lateral branches exploded outwards, more than doubling in length. Flowering was progressing slowly, and the internodal spacing was stretching considerably. By now, the main stem had grown well above the lateral branches, giving the plant a slightly more sativa-like appearance.
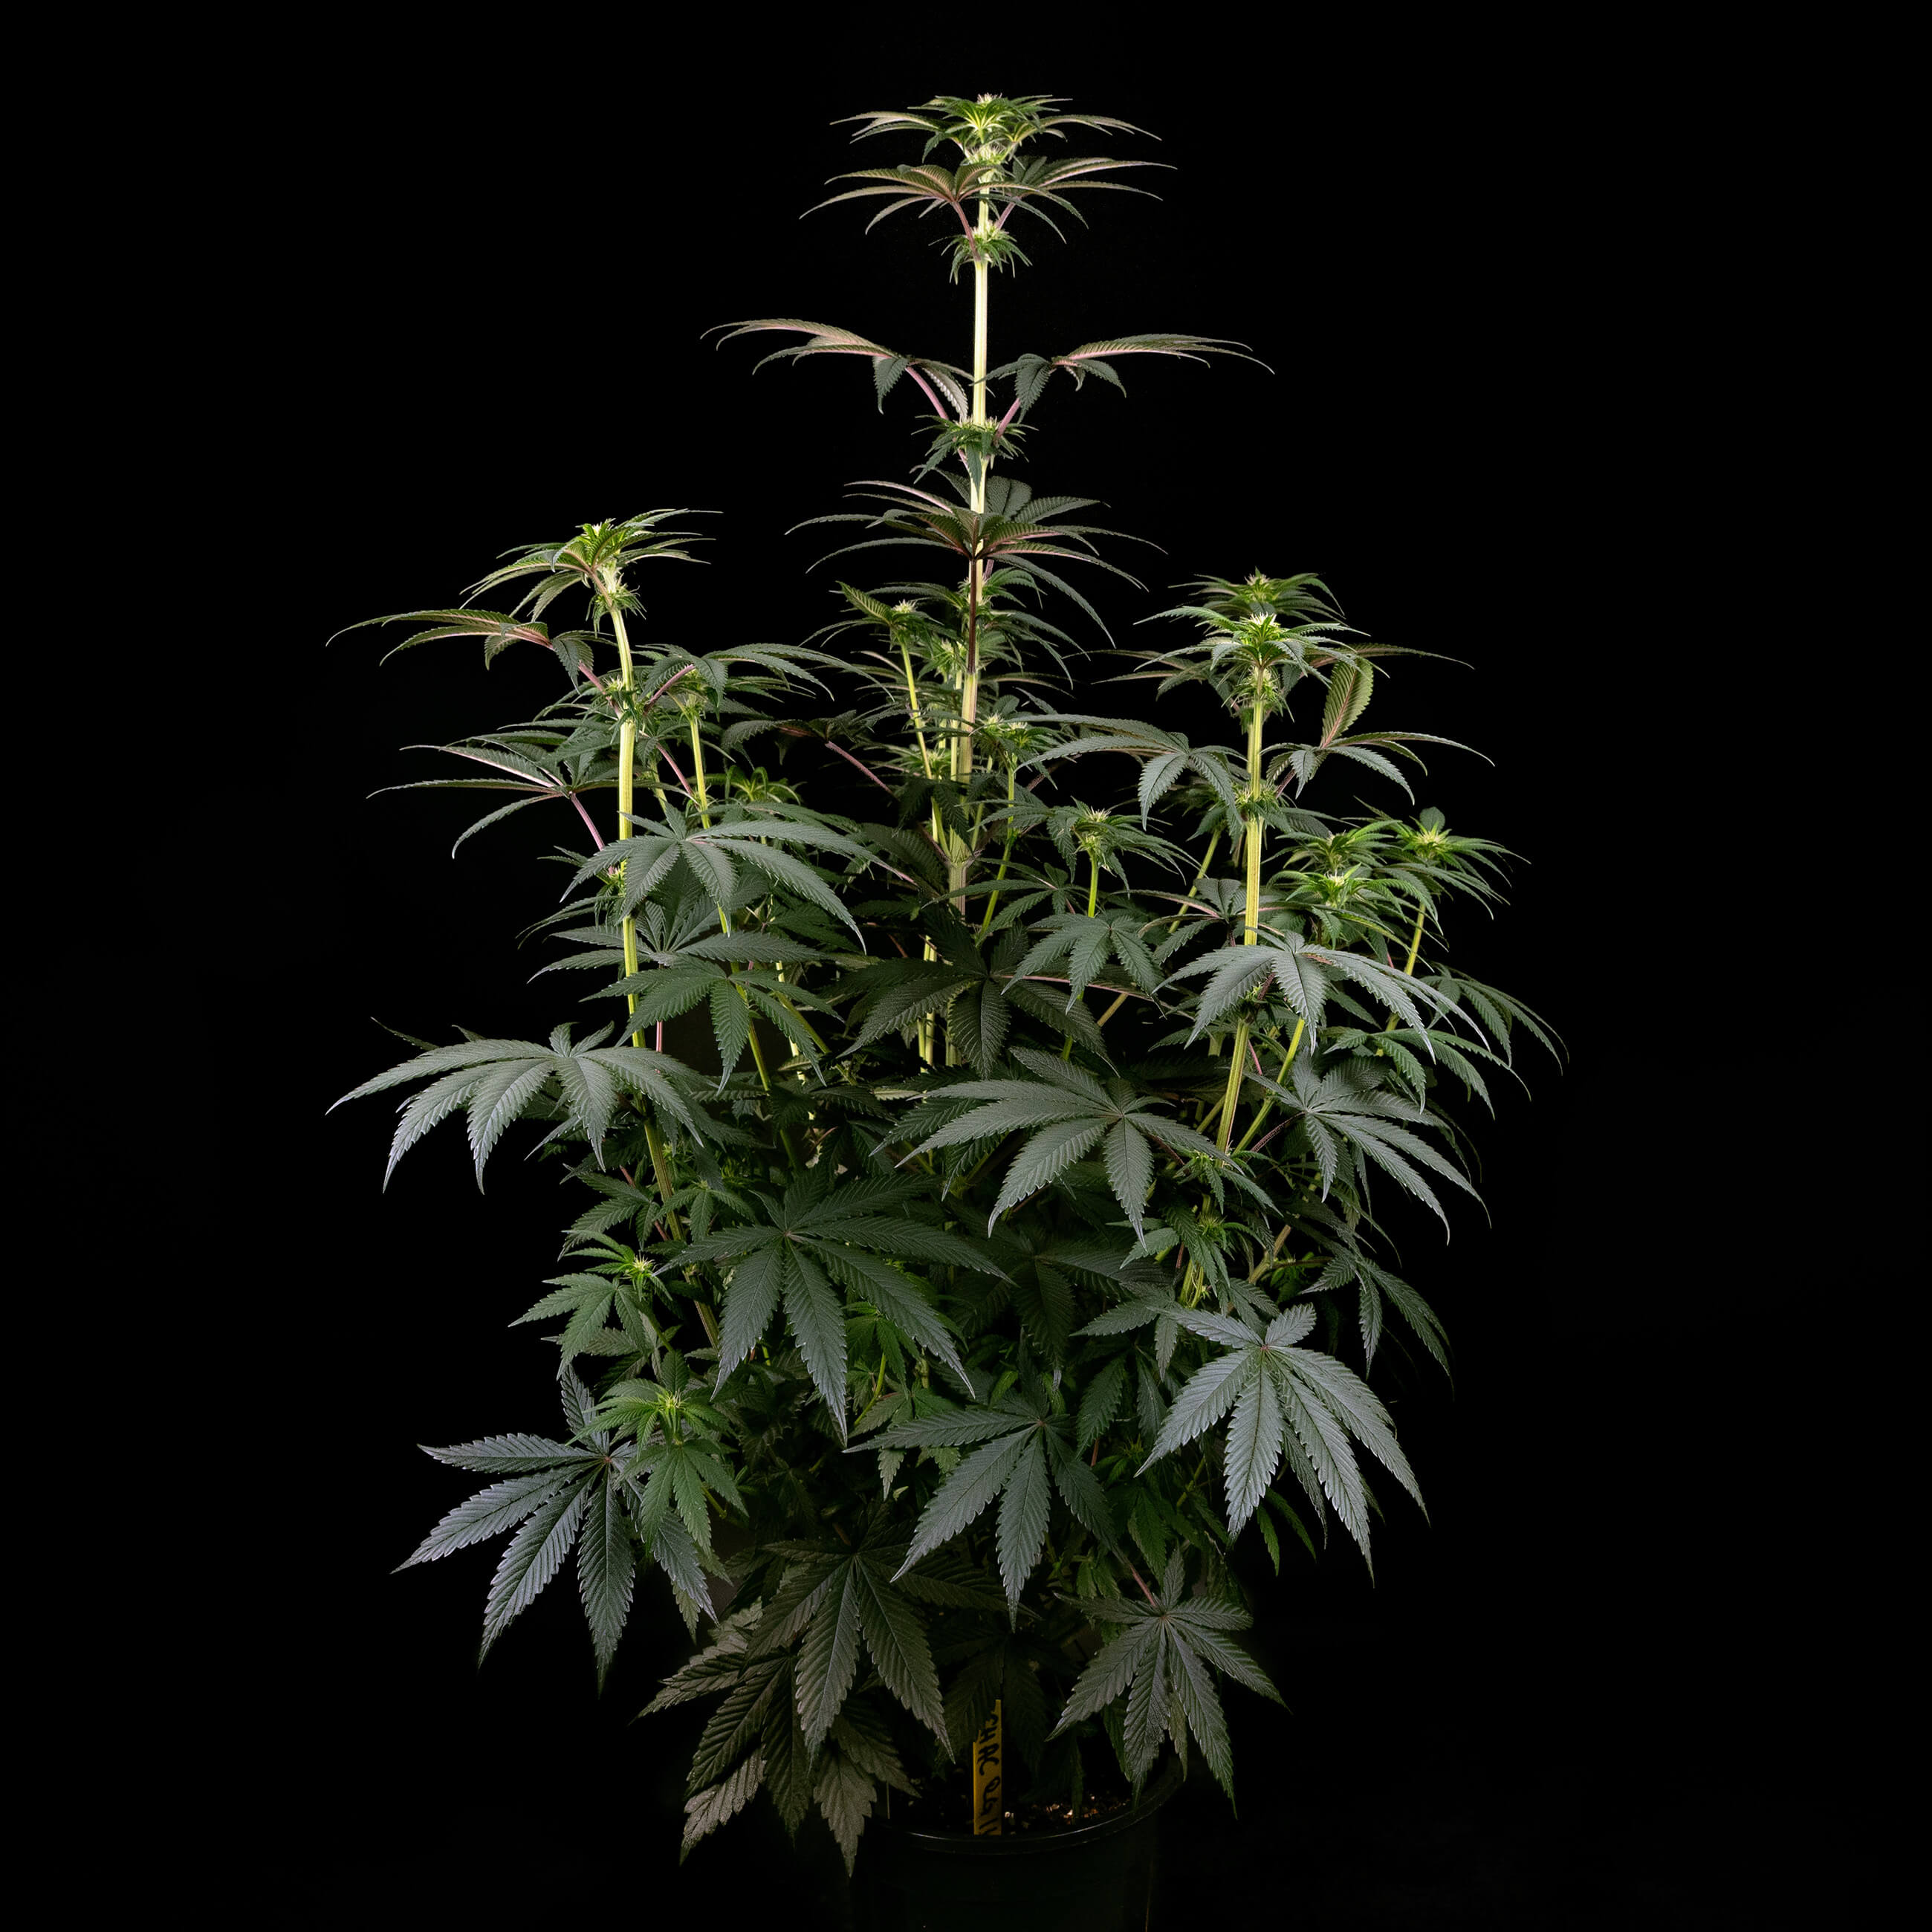
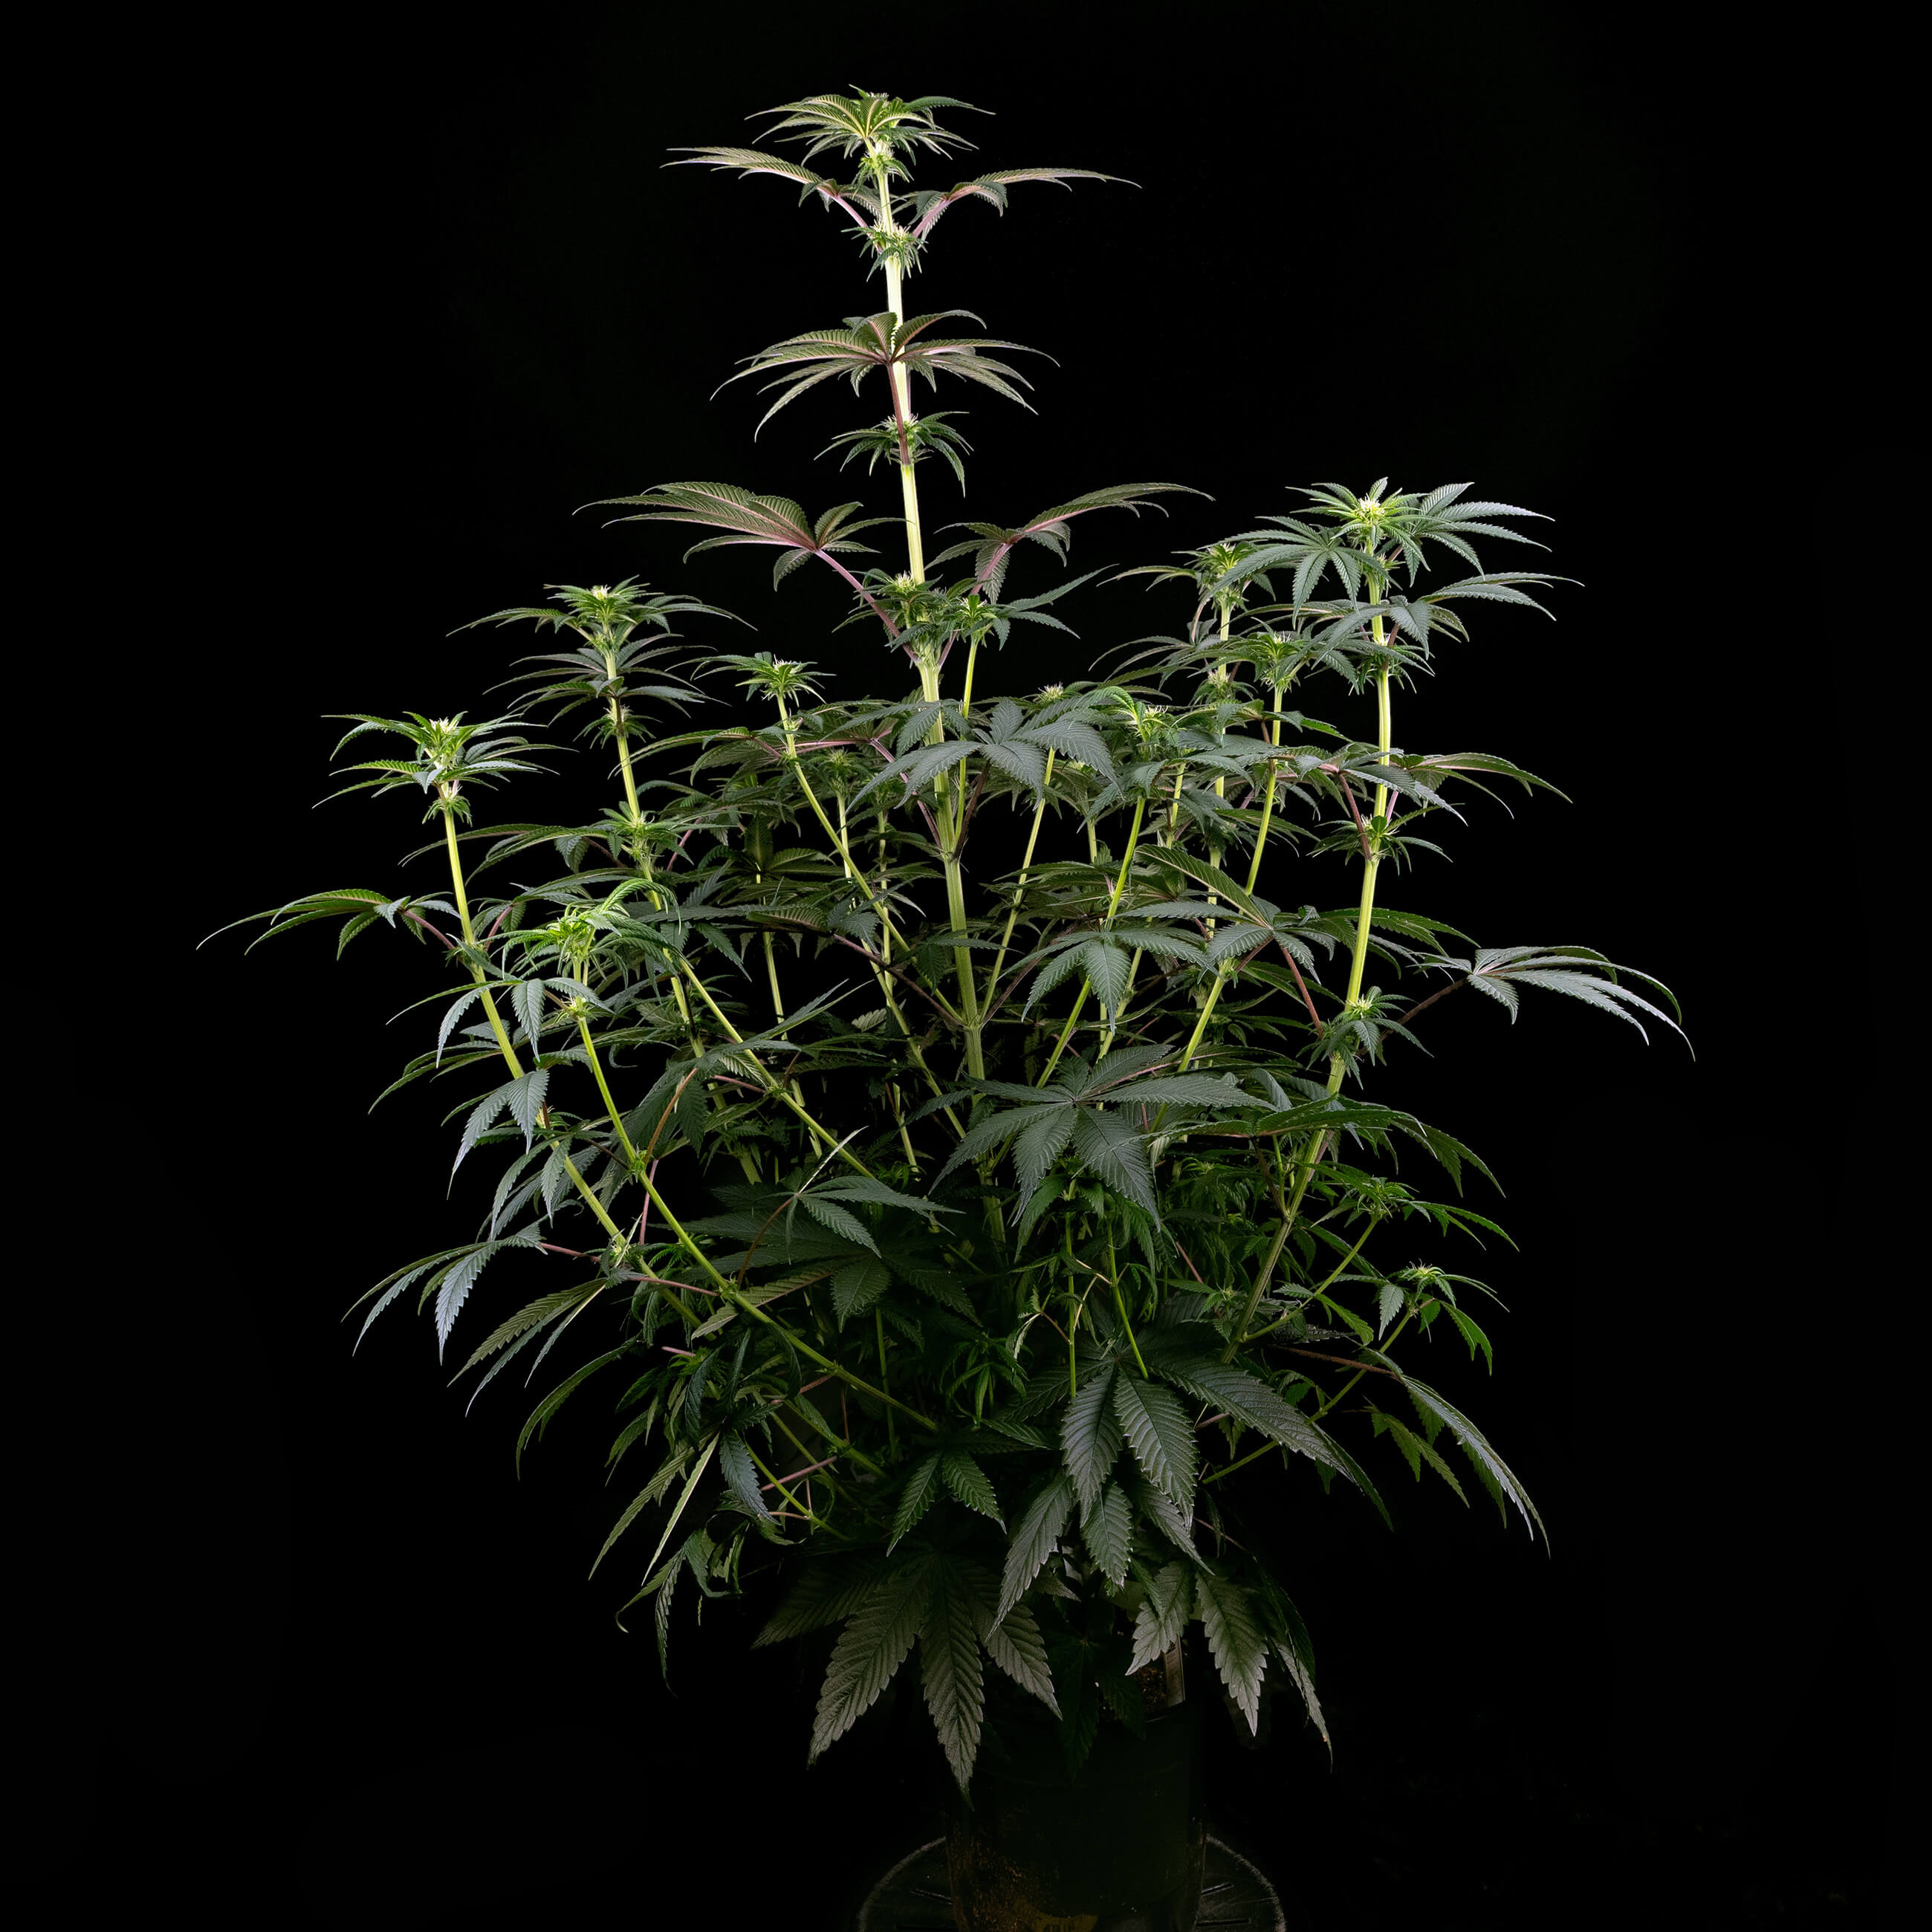
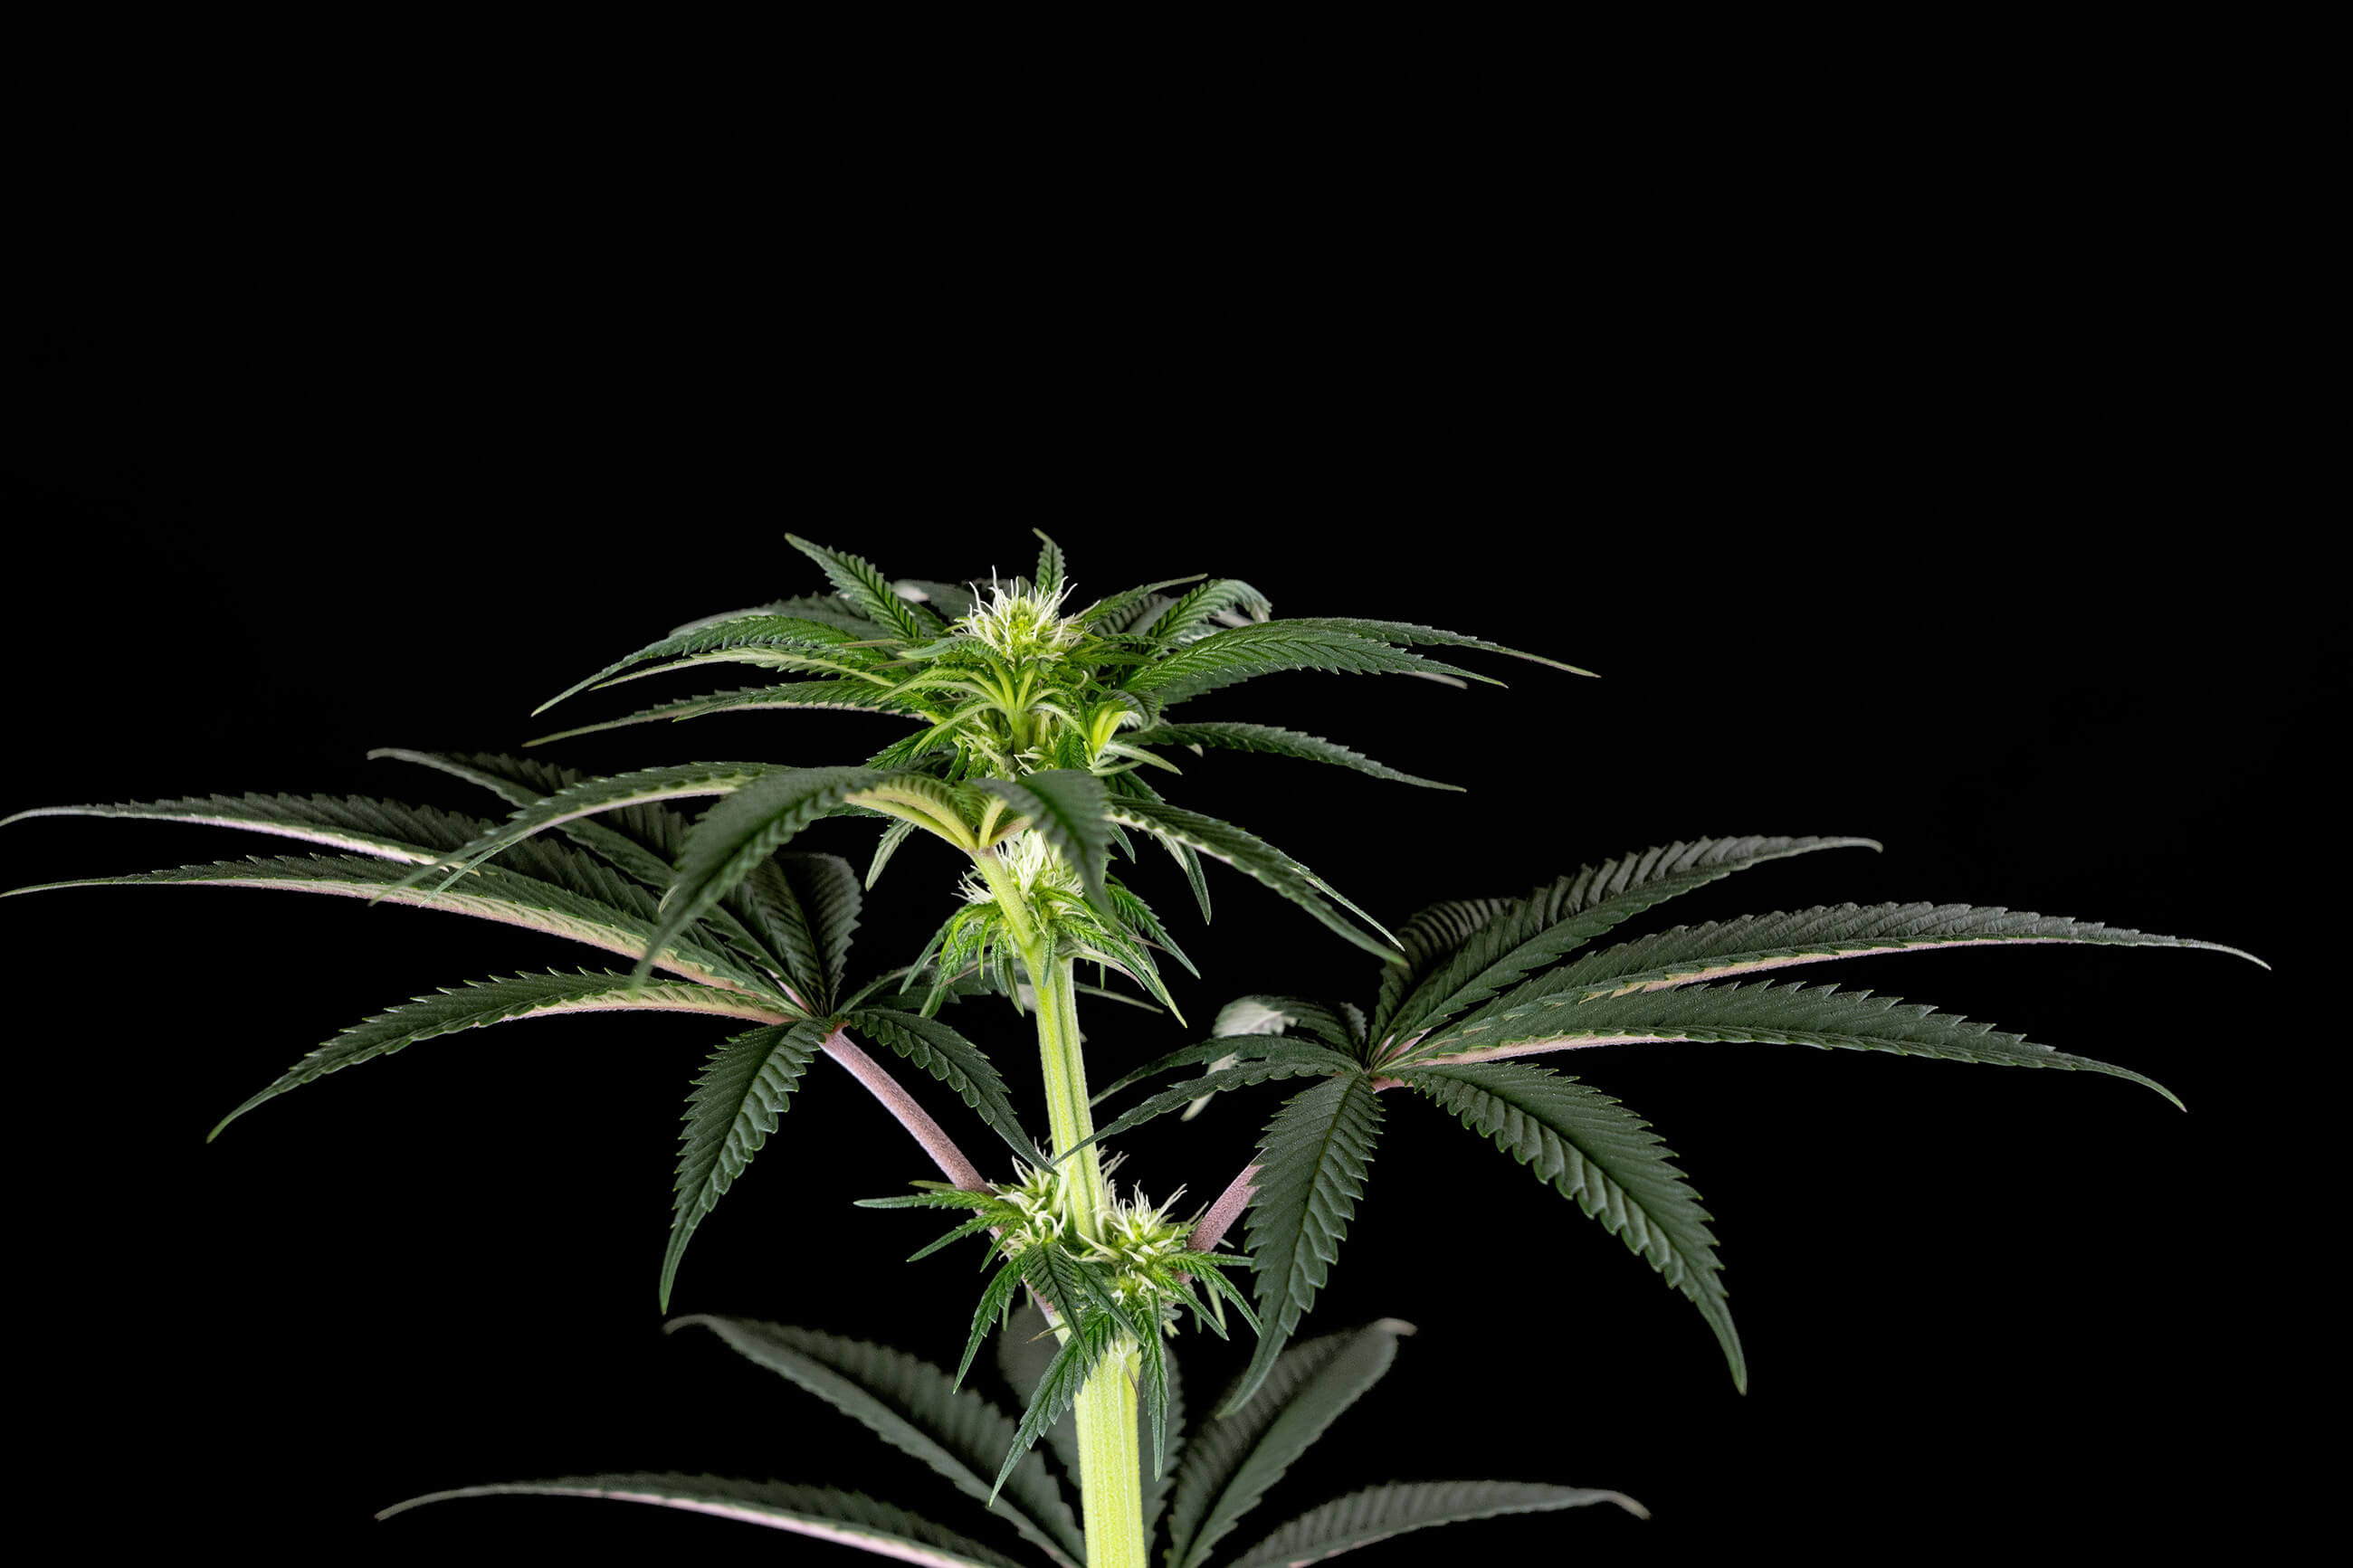
In week eight, our plant had its largest week-on-week growth spurt as it gained a whopping 19 cm to reach a new height of 76 cm. By the end of the week, our plant had completely transformed, with long slender lateral branches, rather stretched internodal spacing, and a main stem standing well above the rest of the canopy.
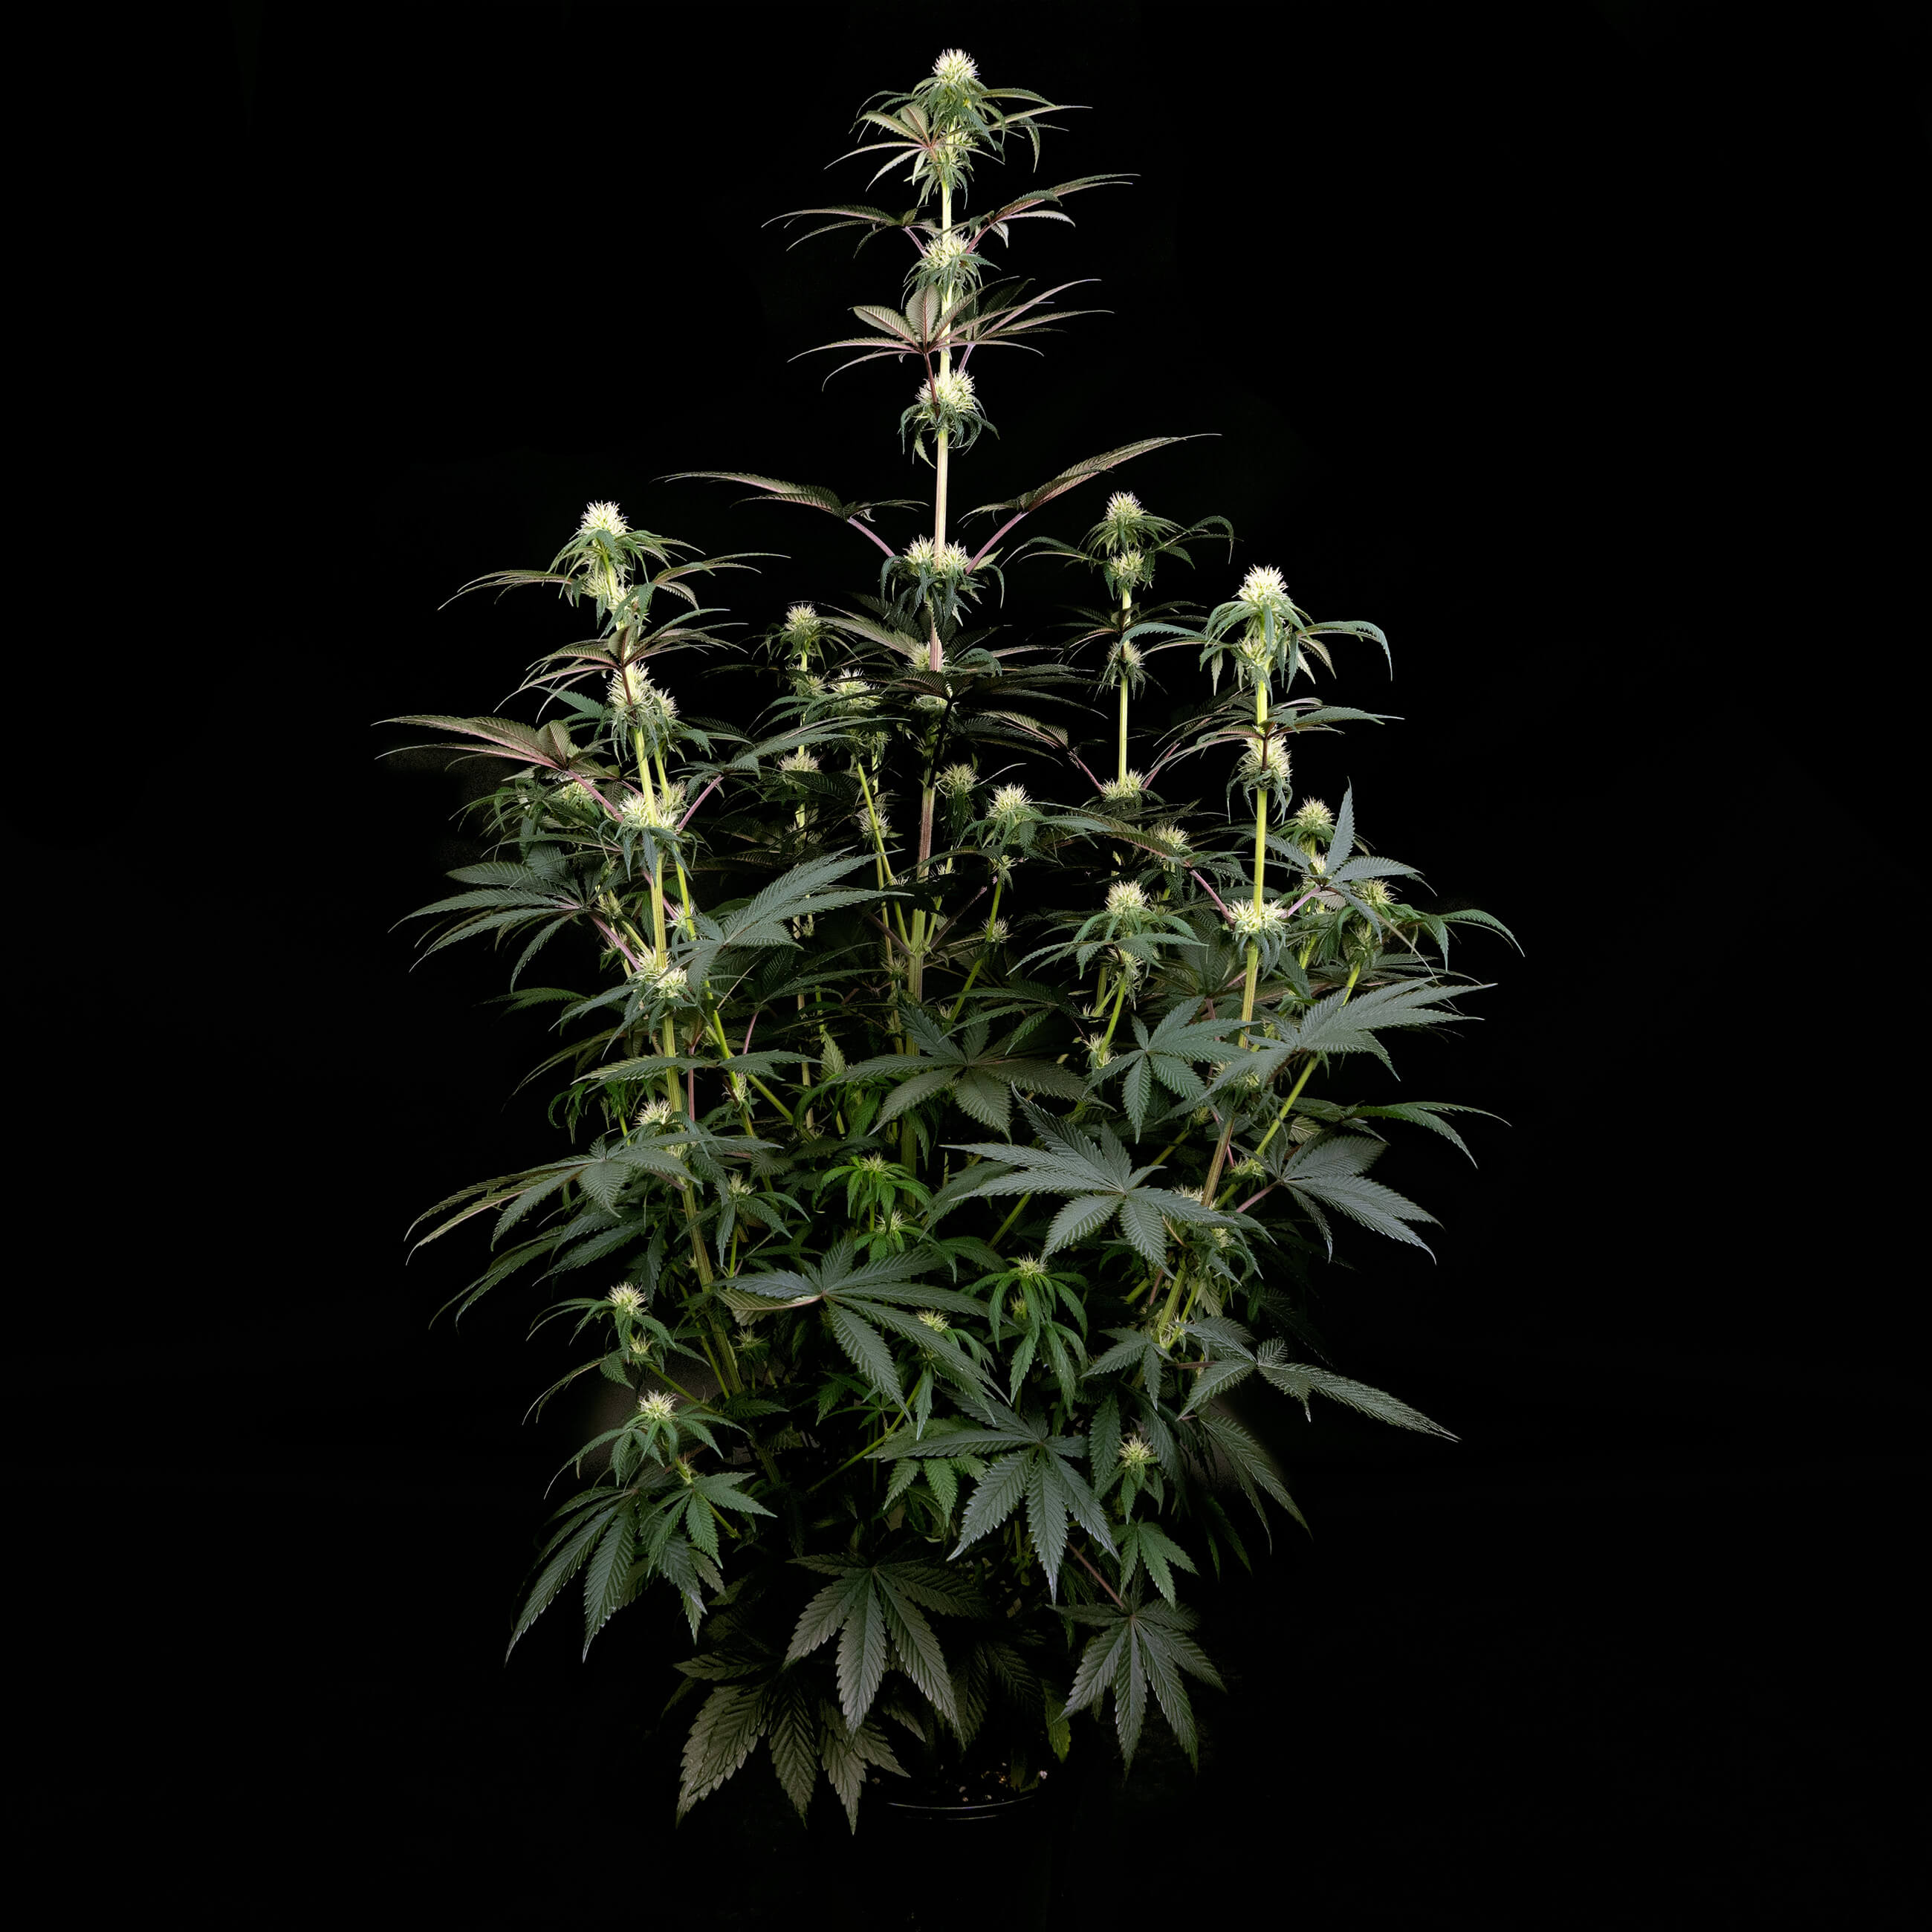
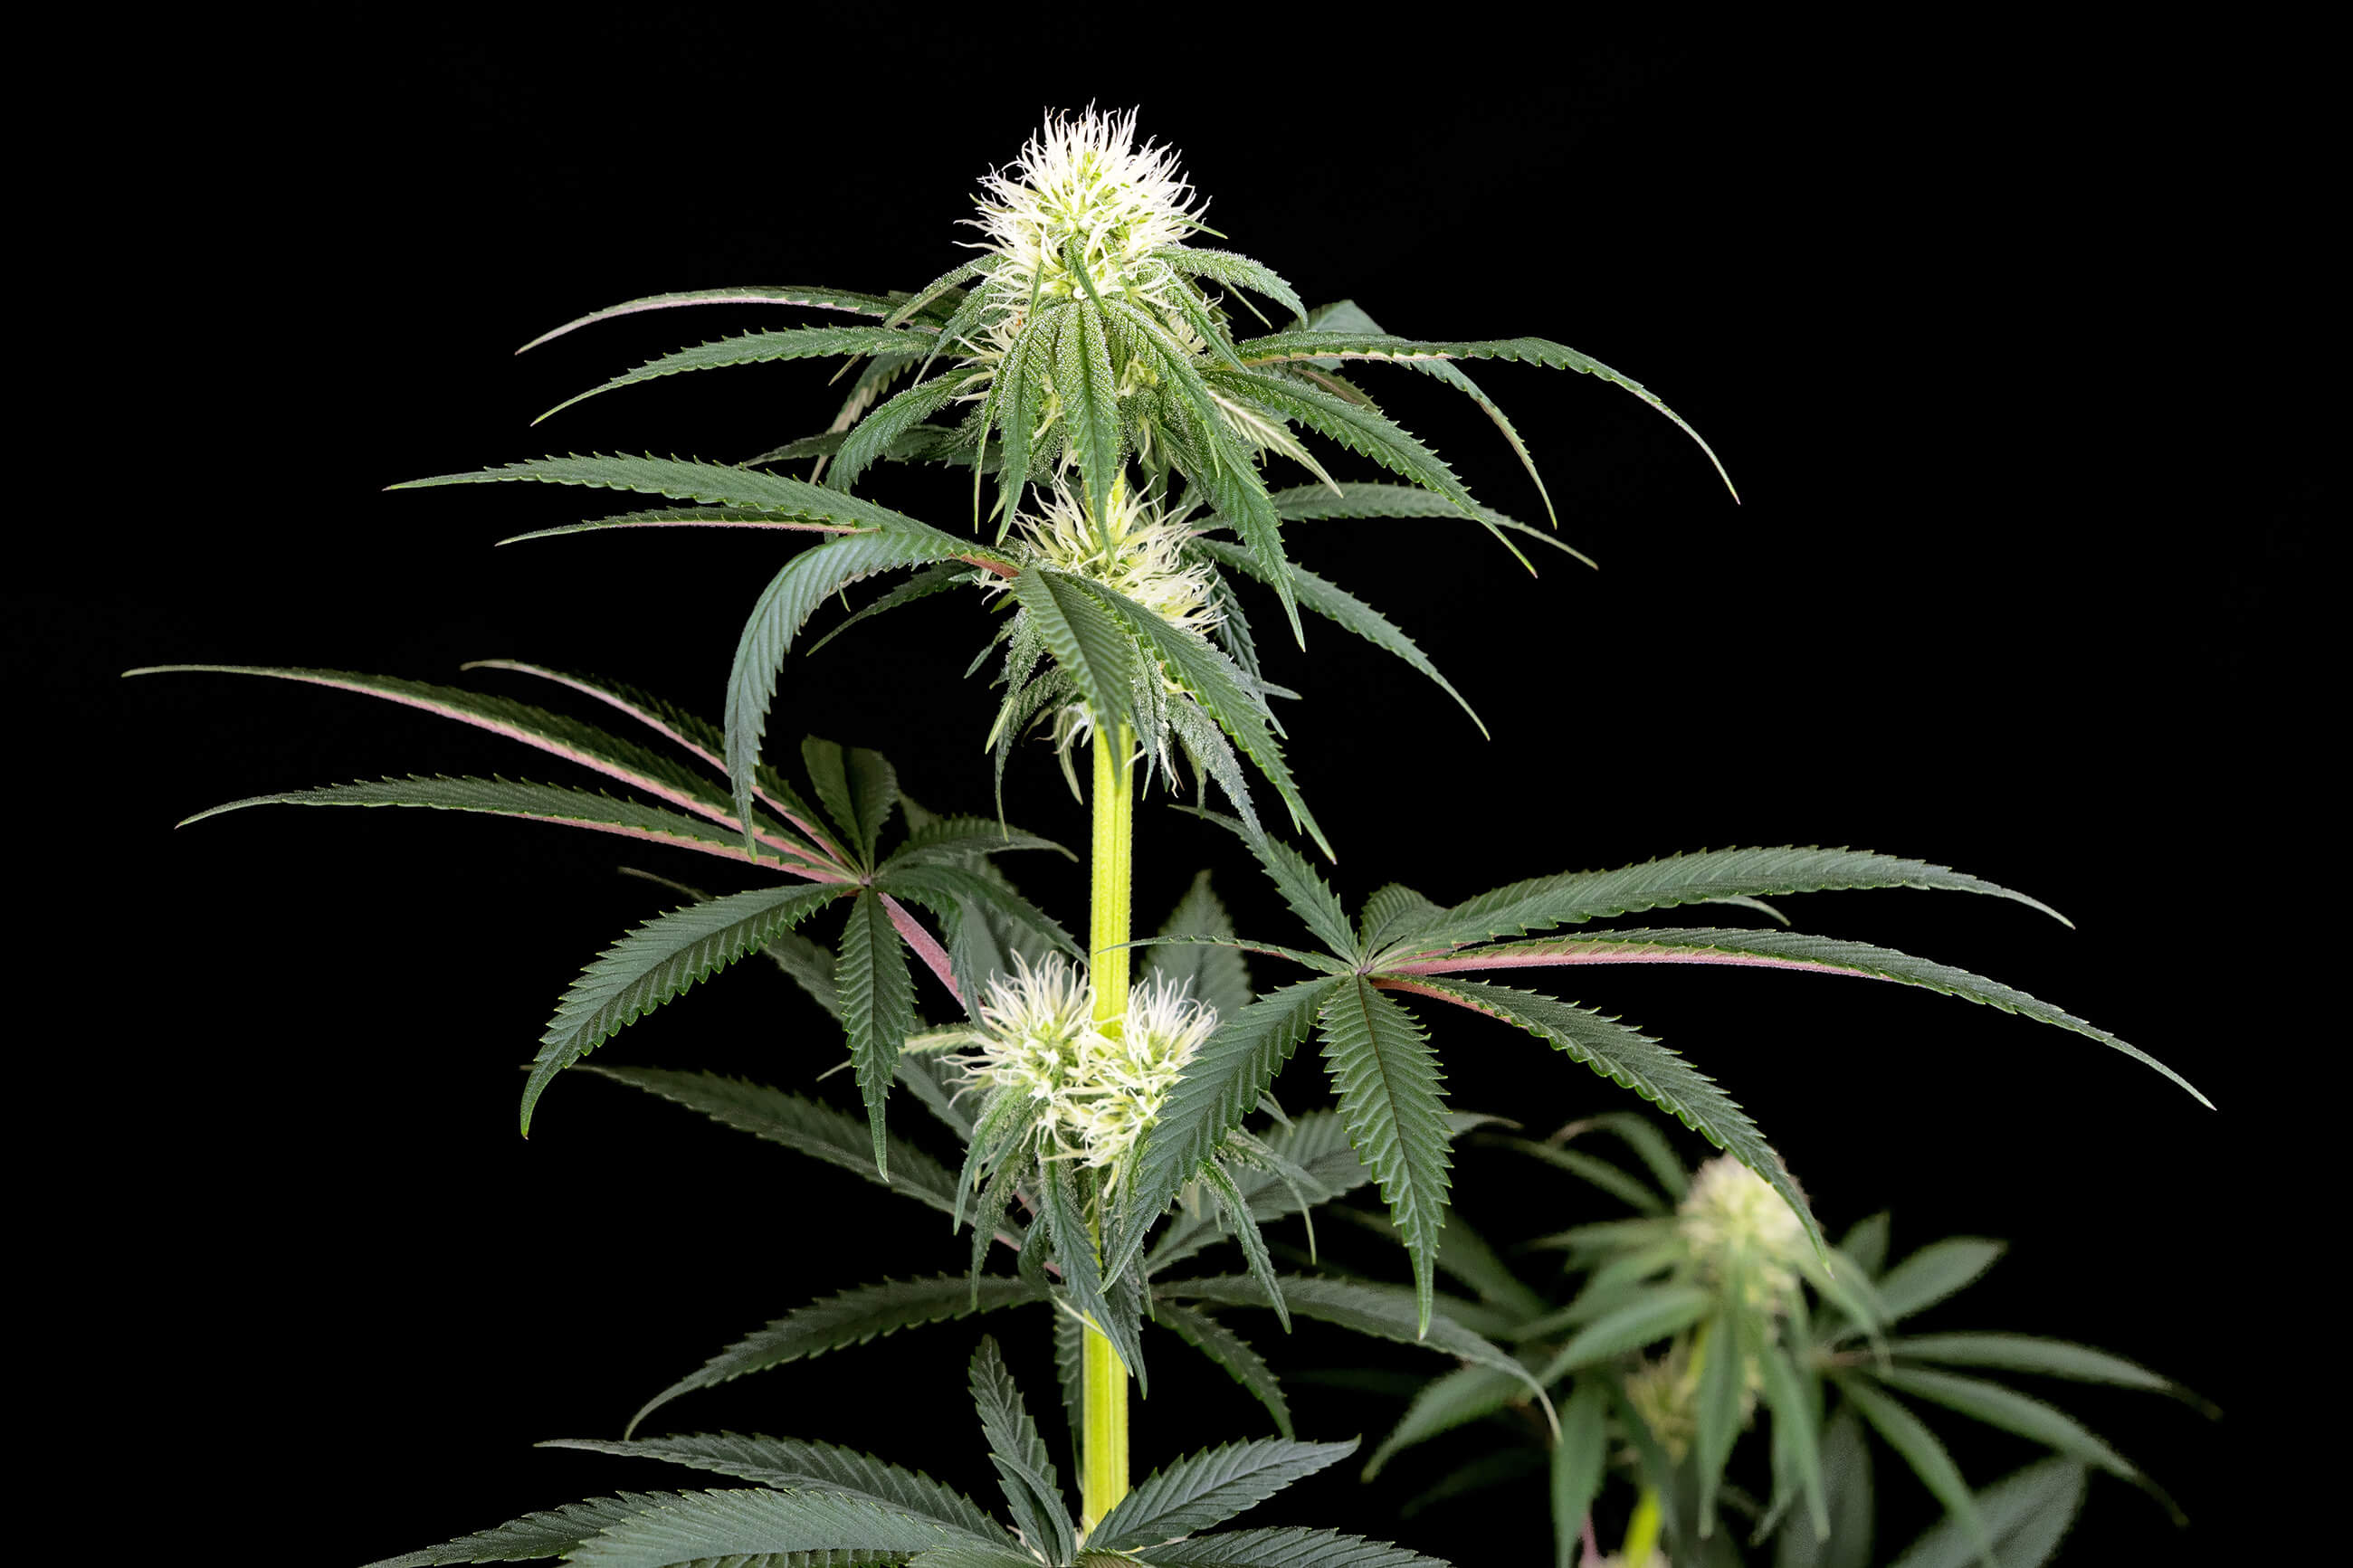
Week nine saw our plant begin to slow its vertical growth as it topped out at 90 cm. By now, every inner node and branch tip was sporting a dense, fluffy ball of pistils, and it seemed like our plant was bout to enter full bloom.
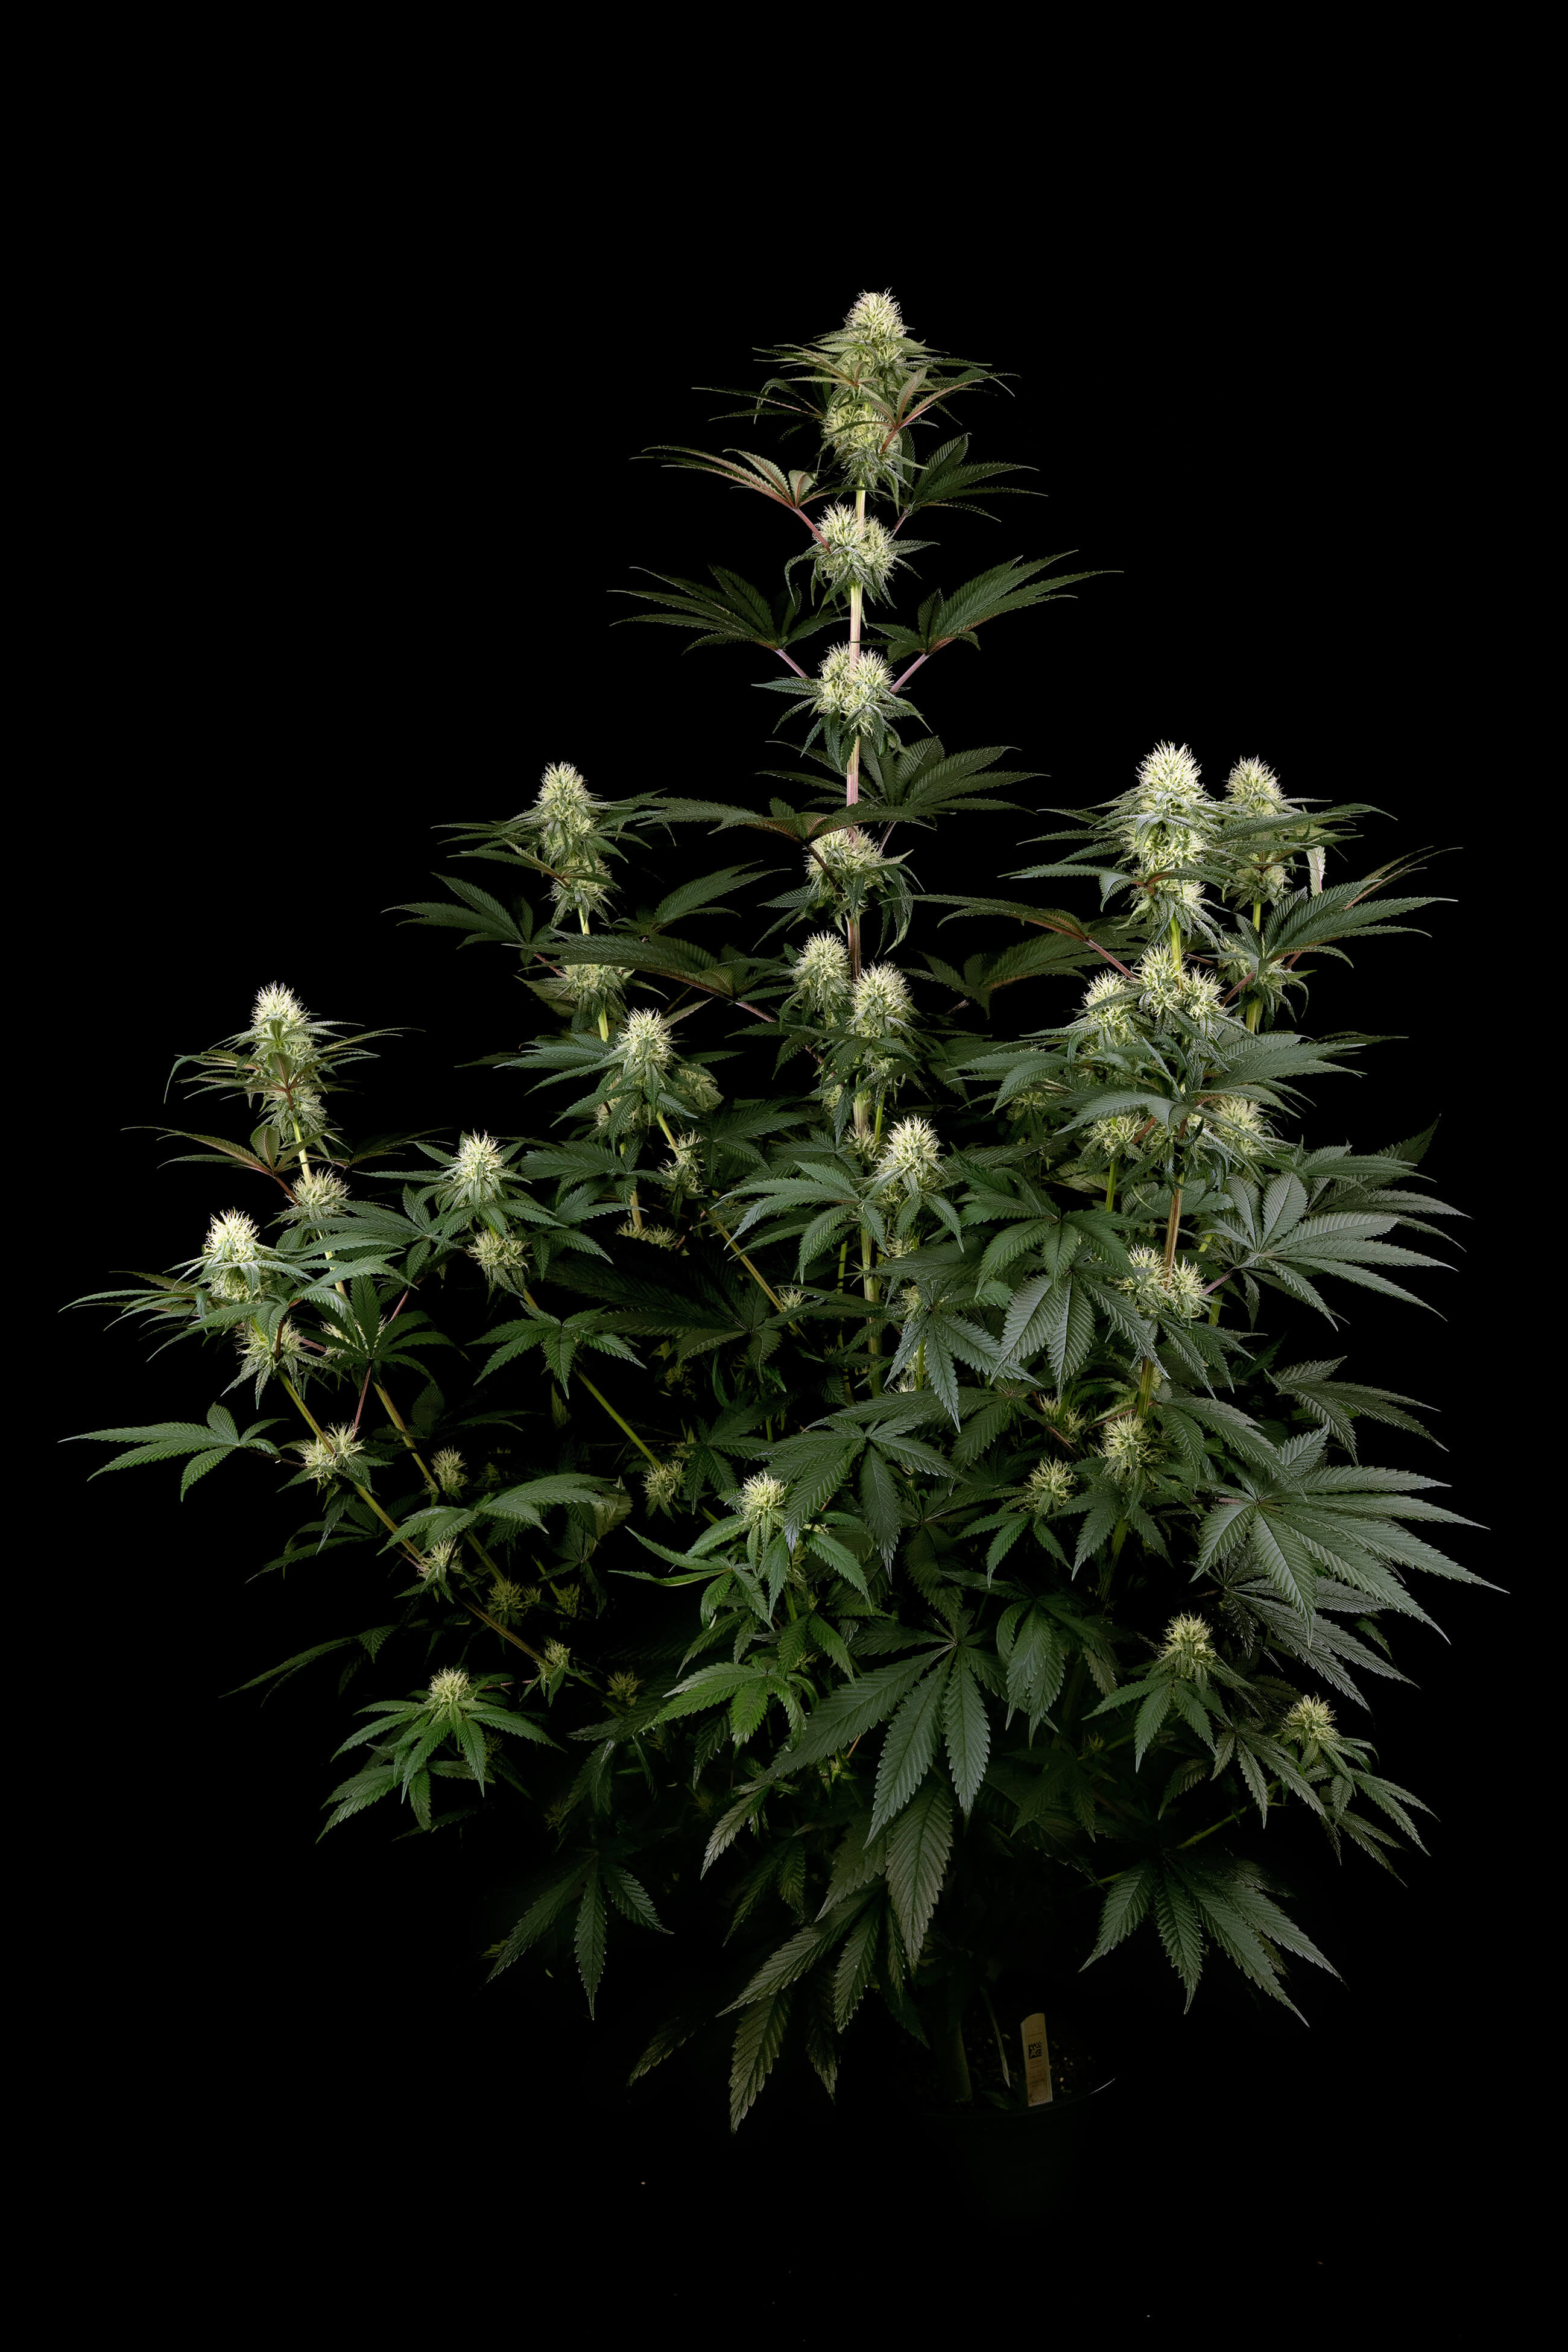
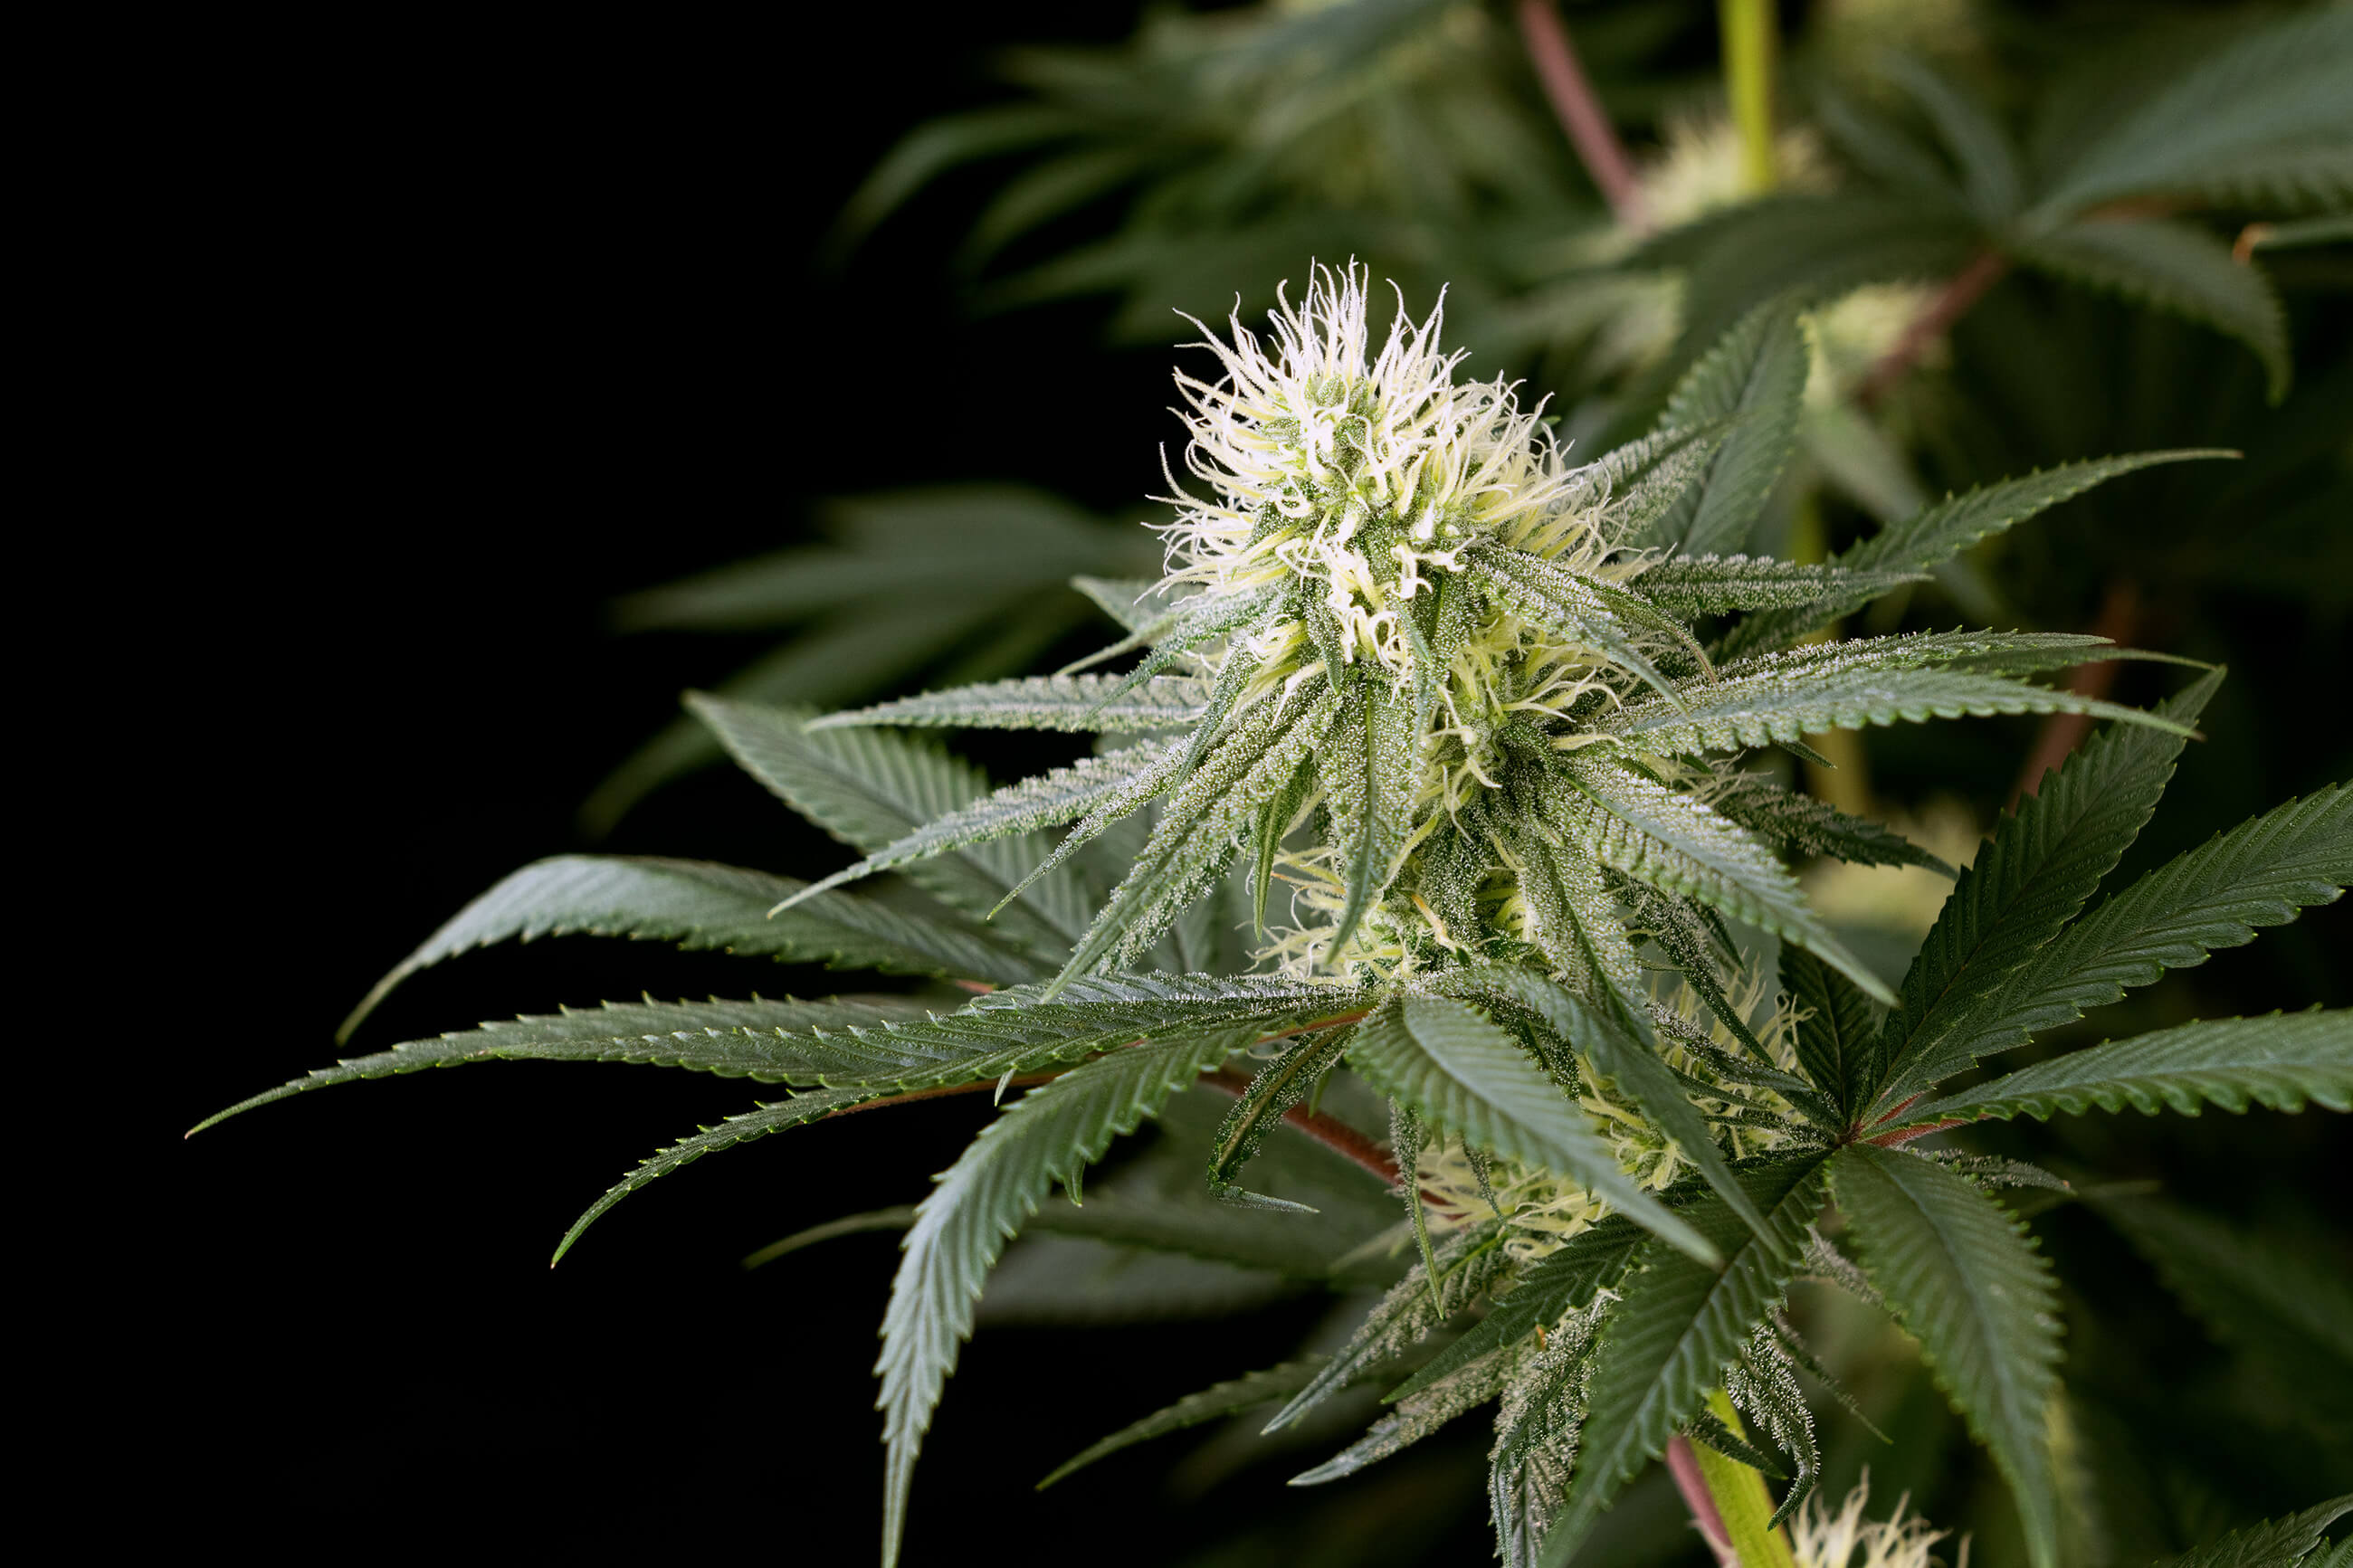
In week ten, our plant’s slowdown continued as it grew to 99 cm. This slowdown was offset by a tremendous increase in the size of the buds as each one was growing noticeably larger with every passing day. The lateral branches were beginning to be pulled down by the weight of their buds, but they were still able to support themselves.
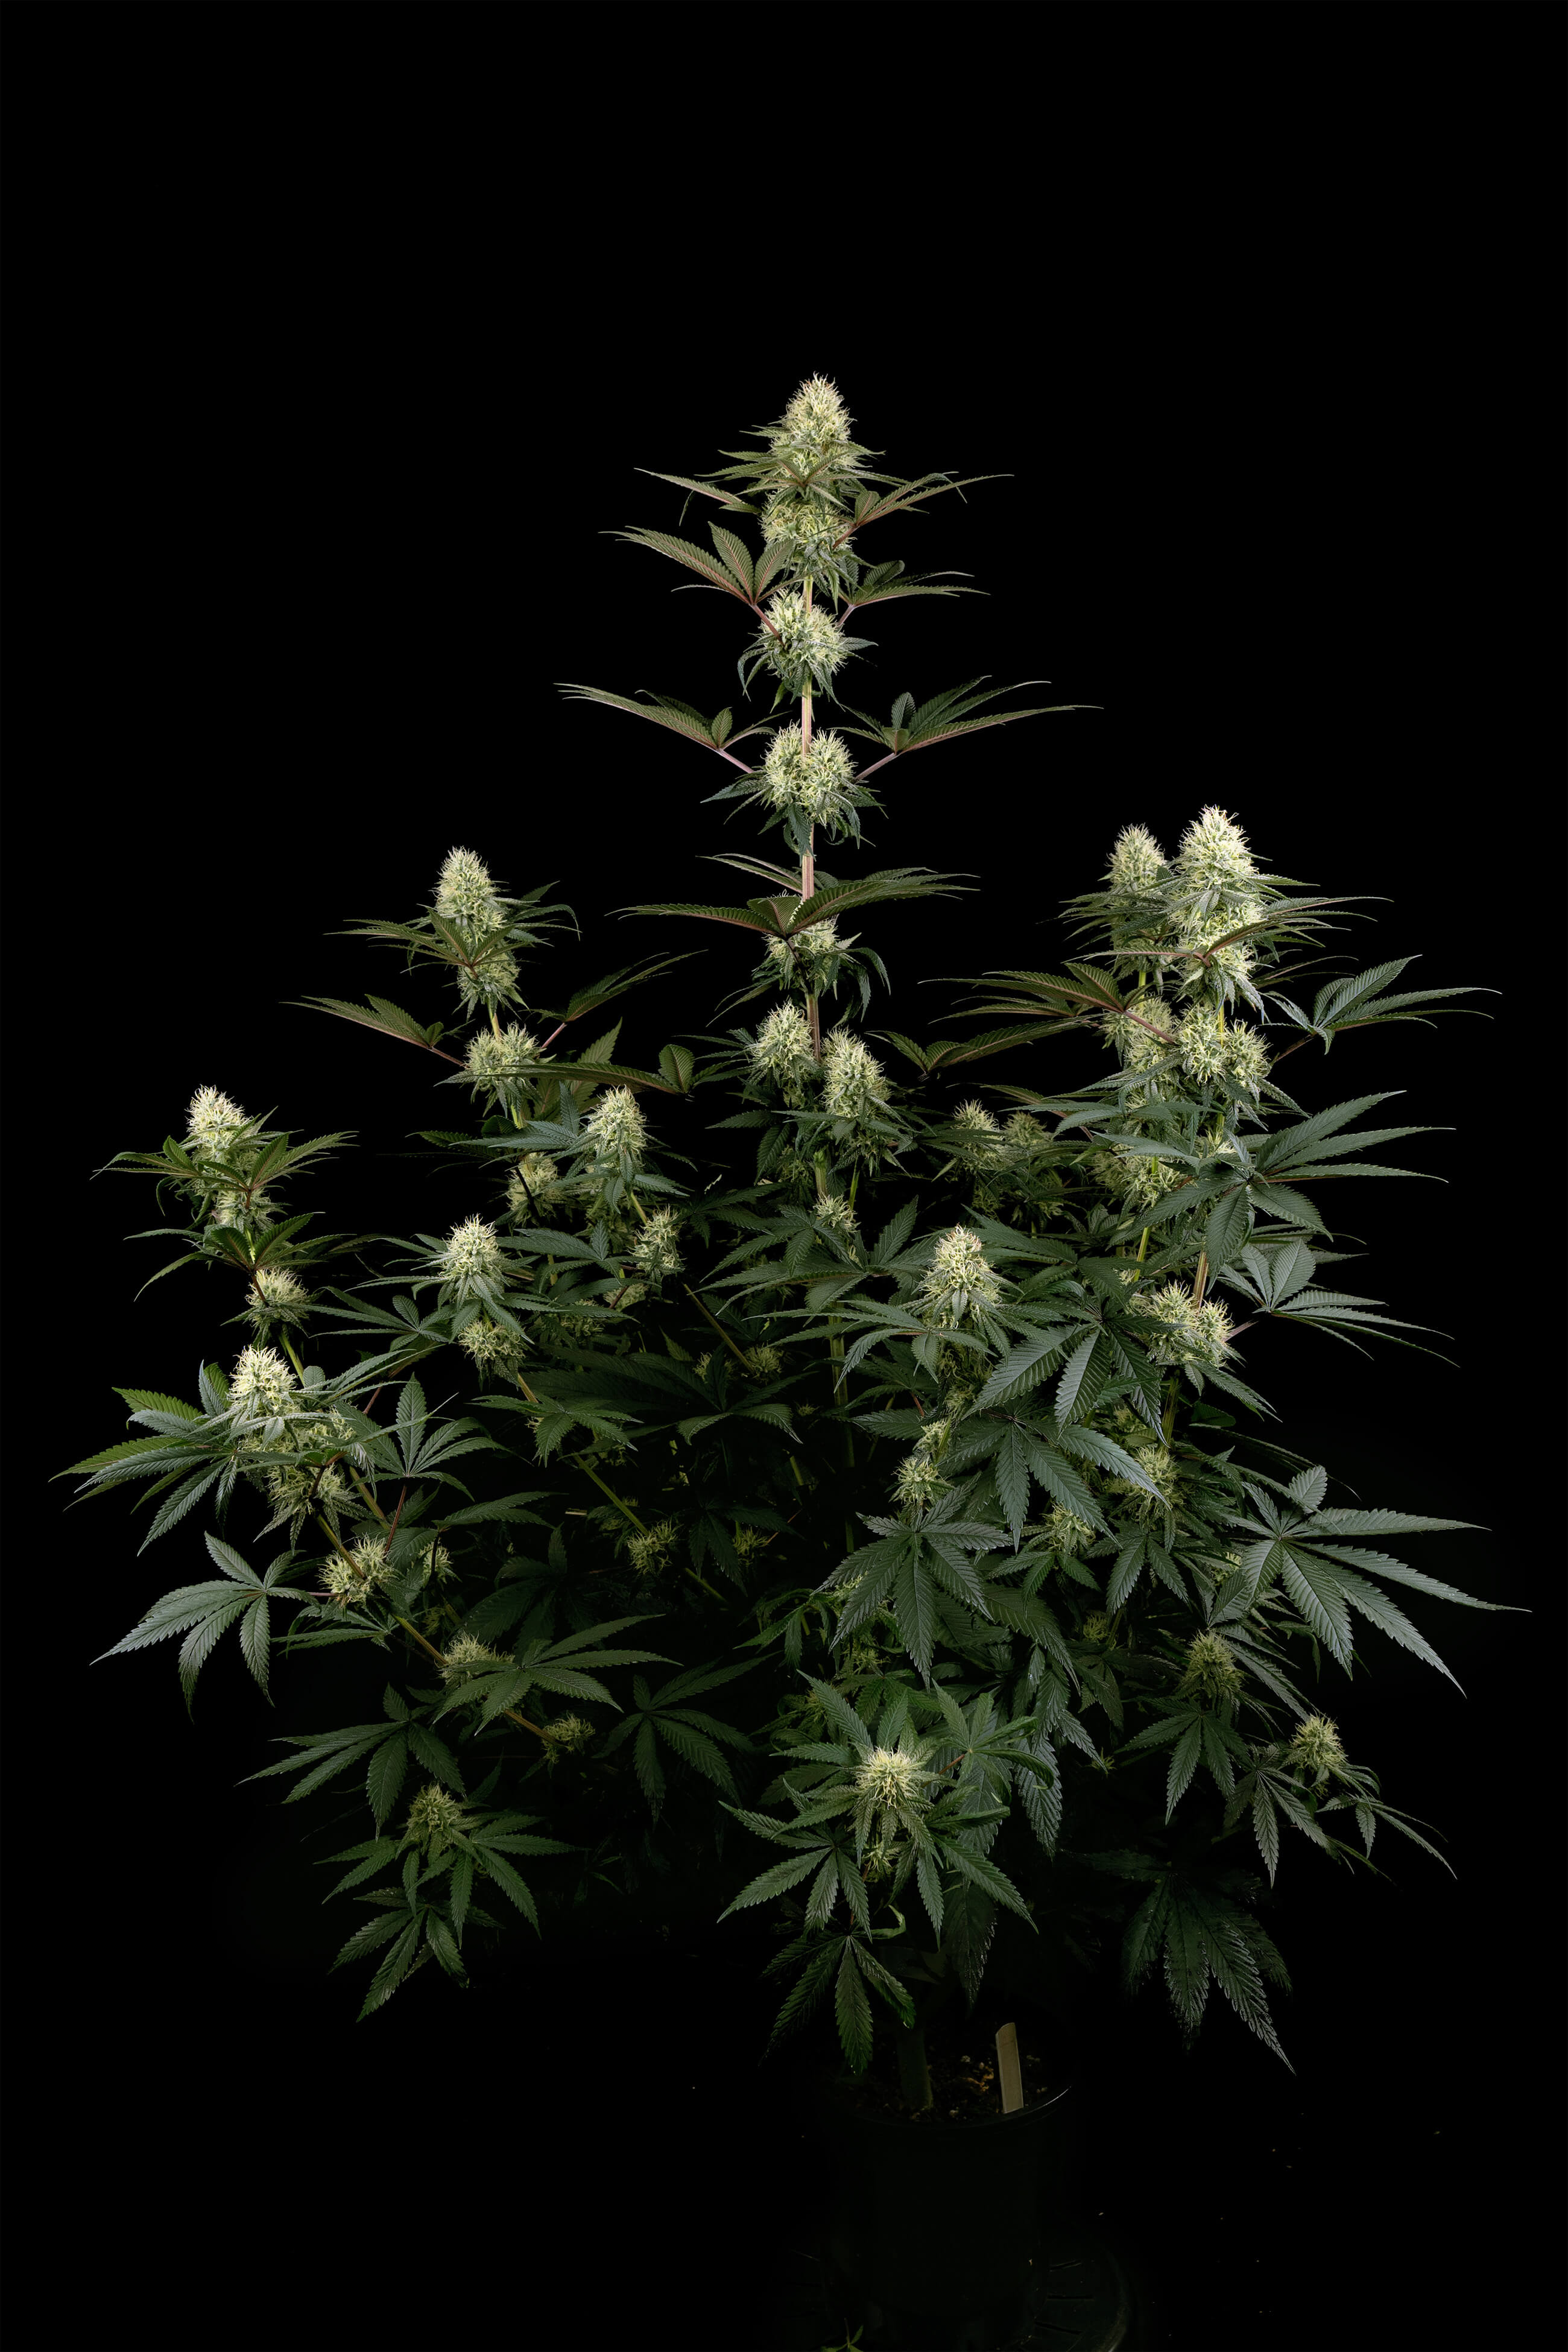
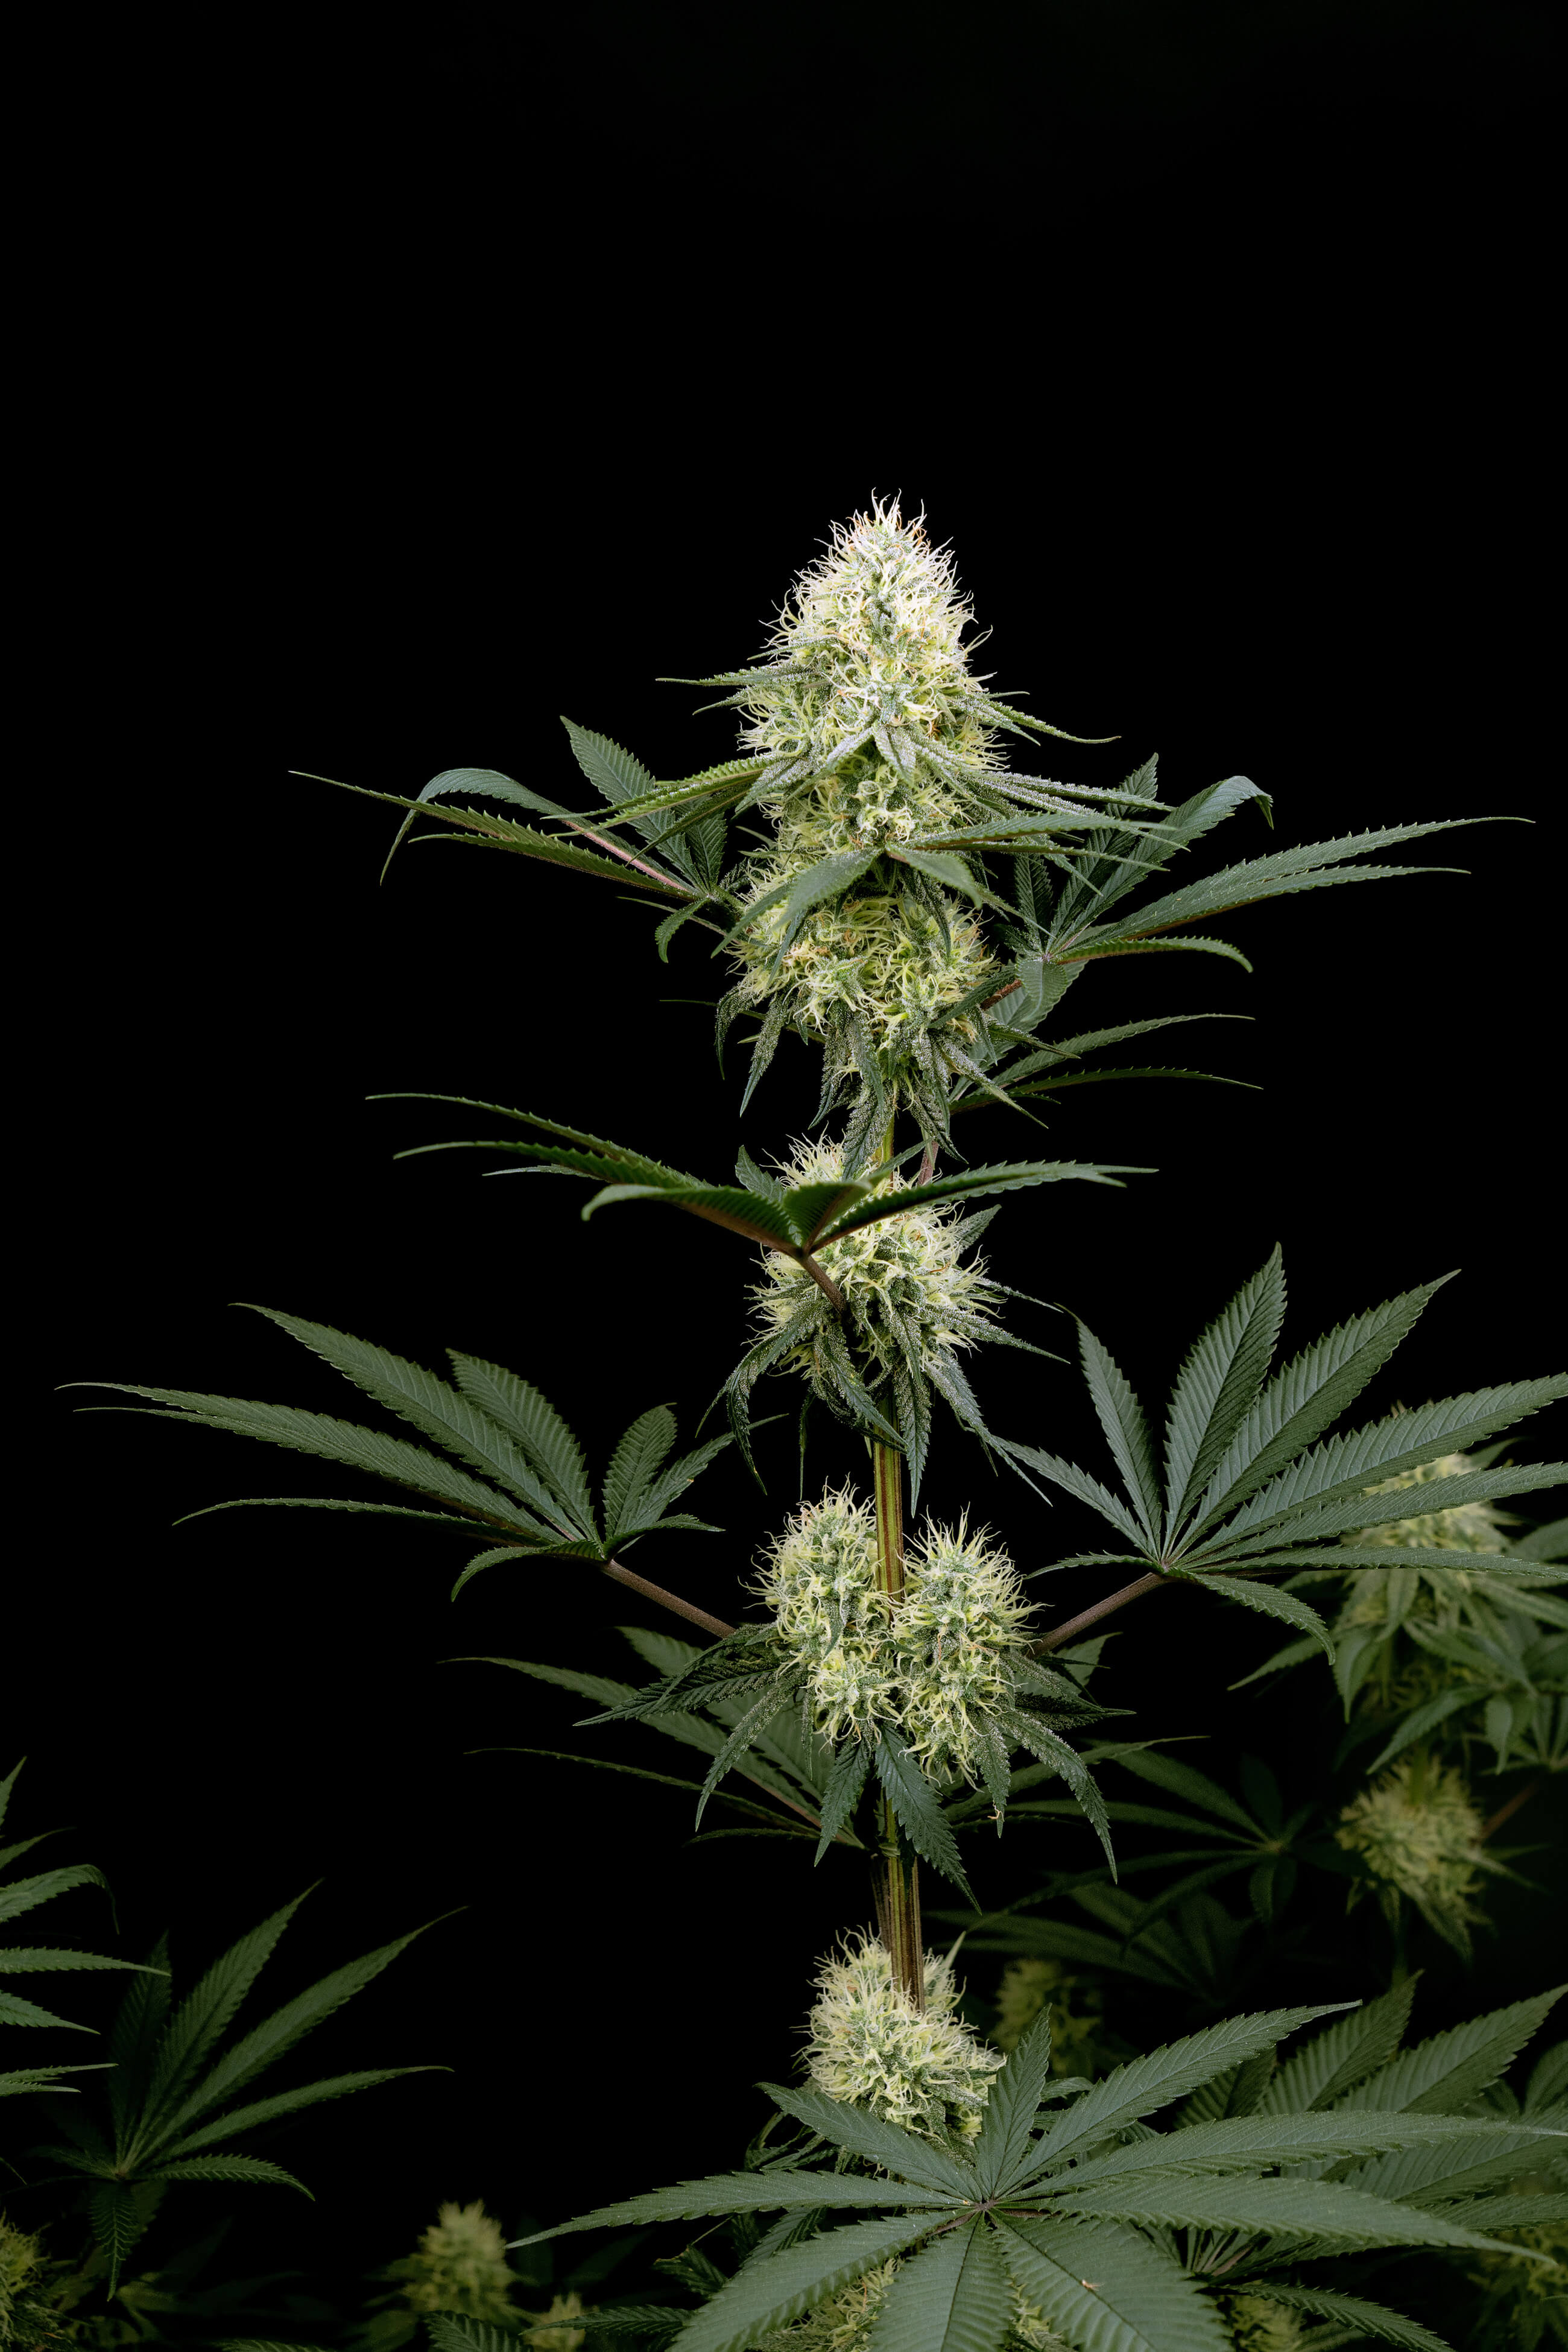
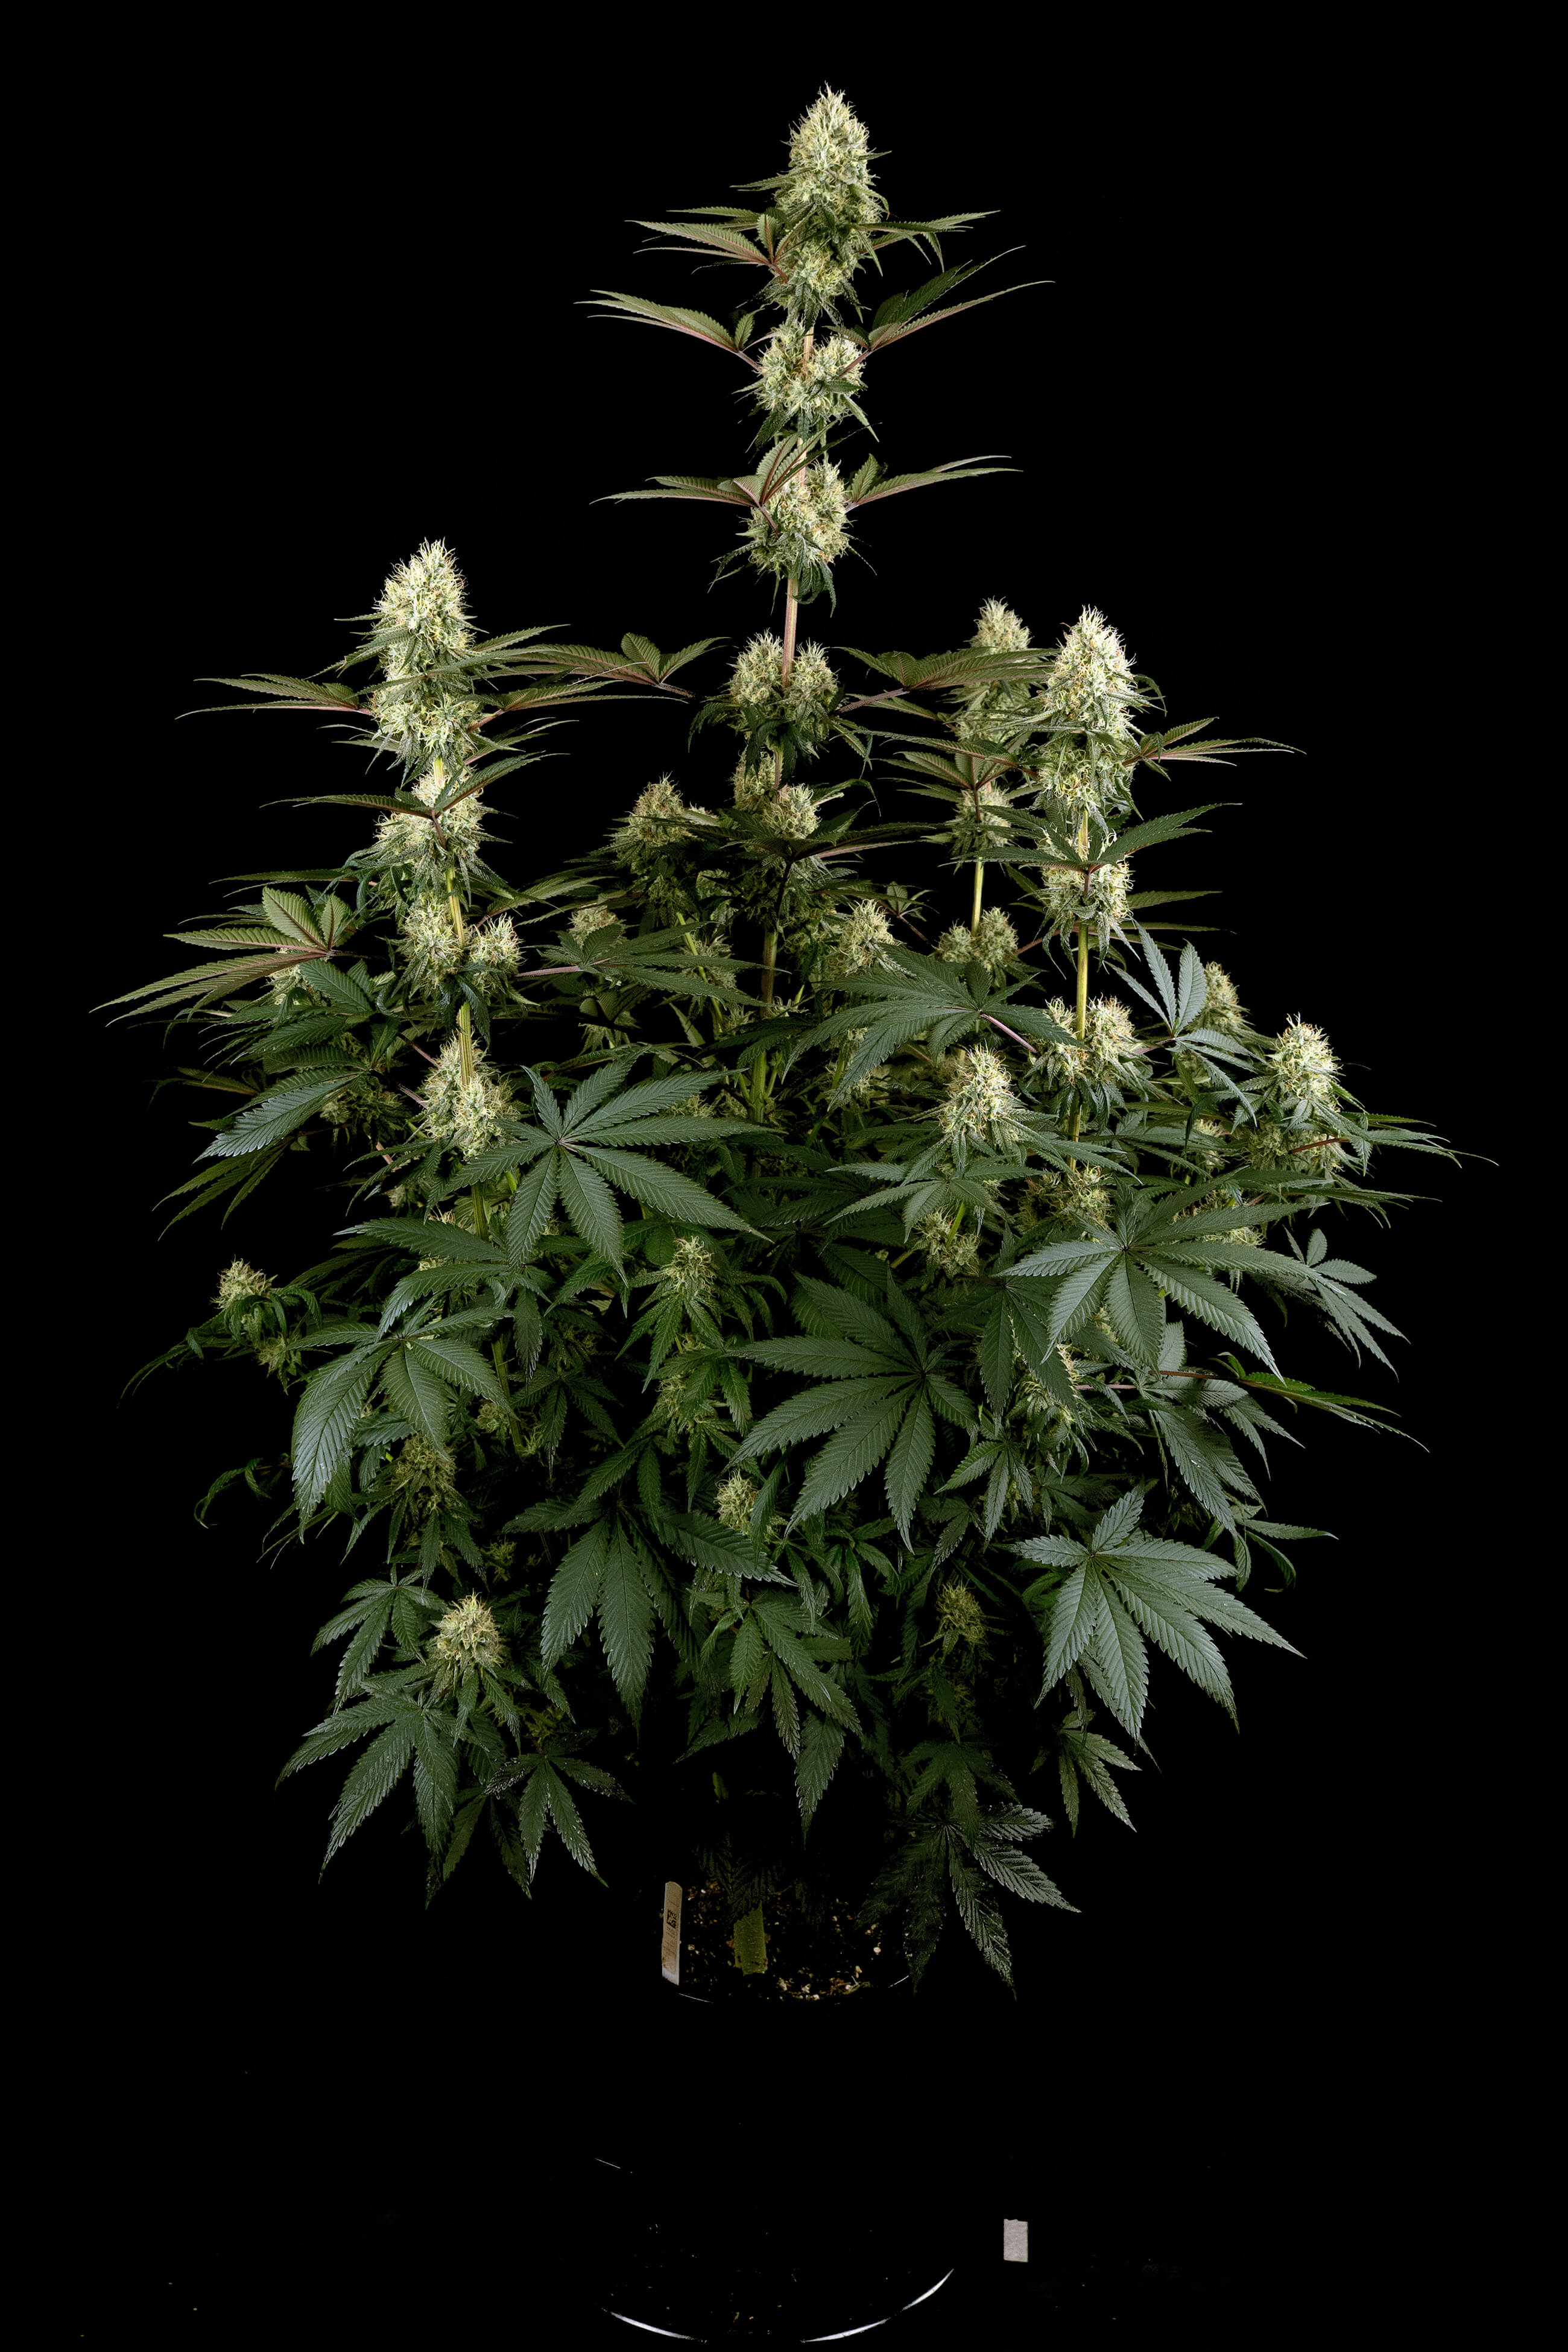
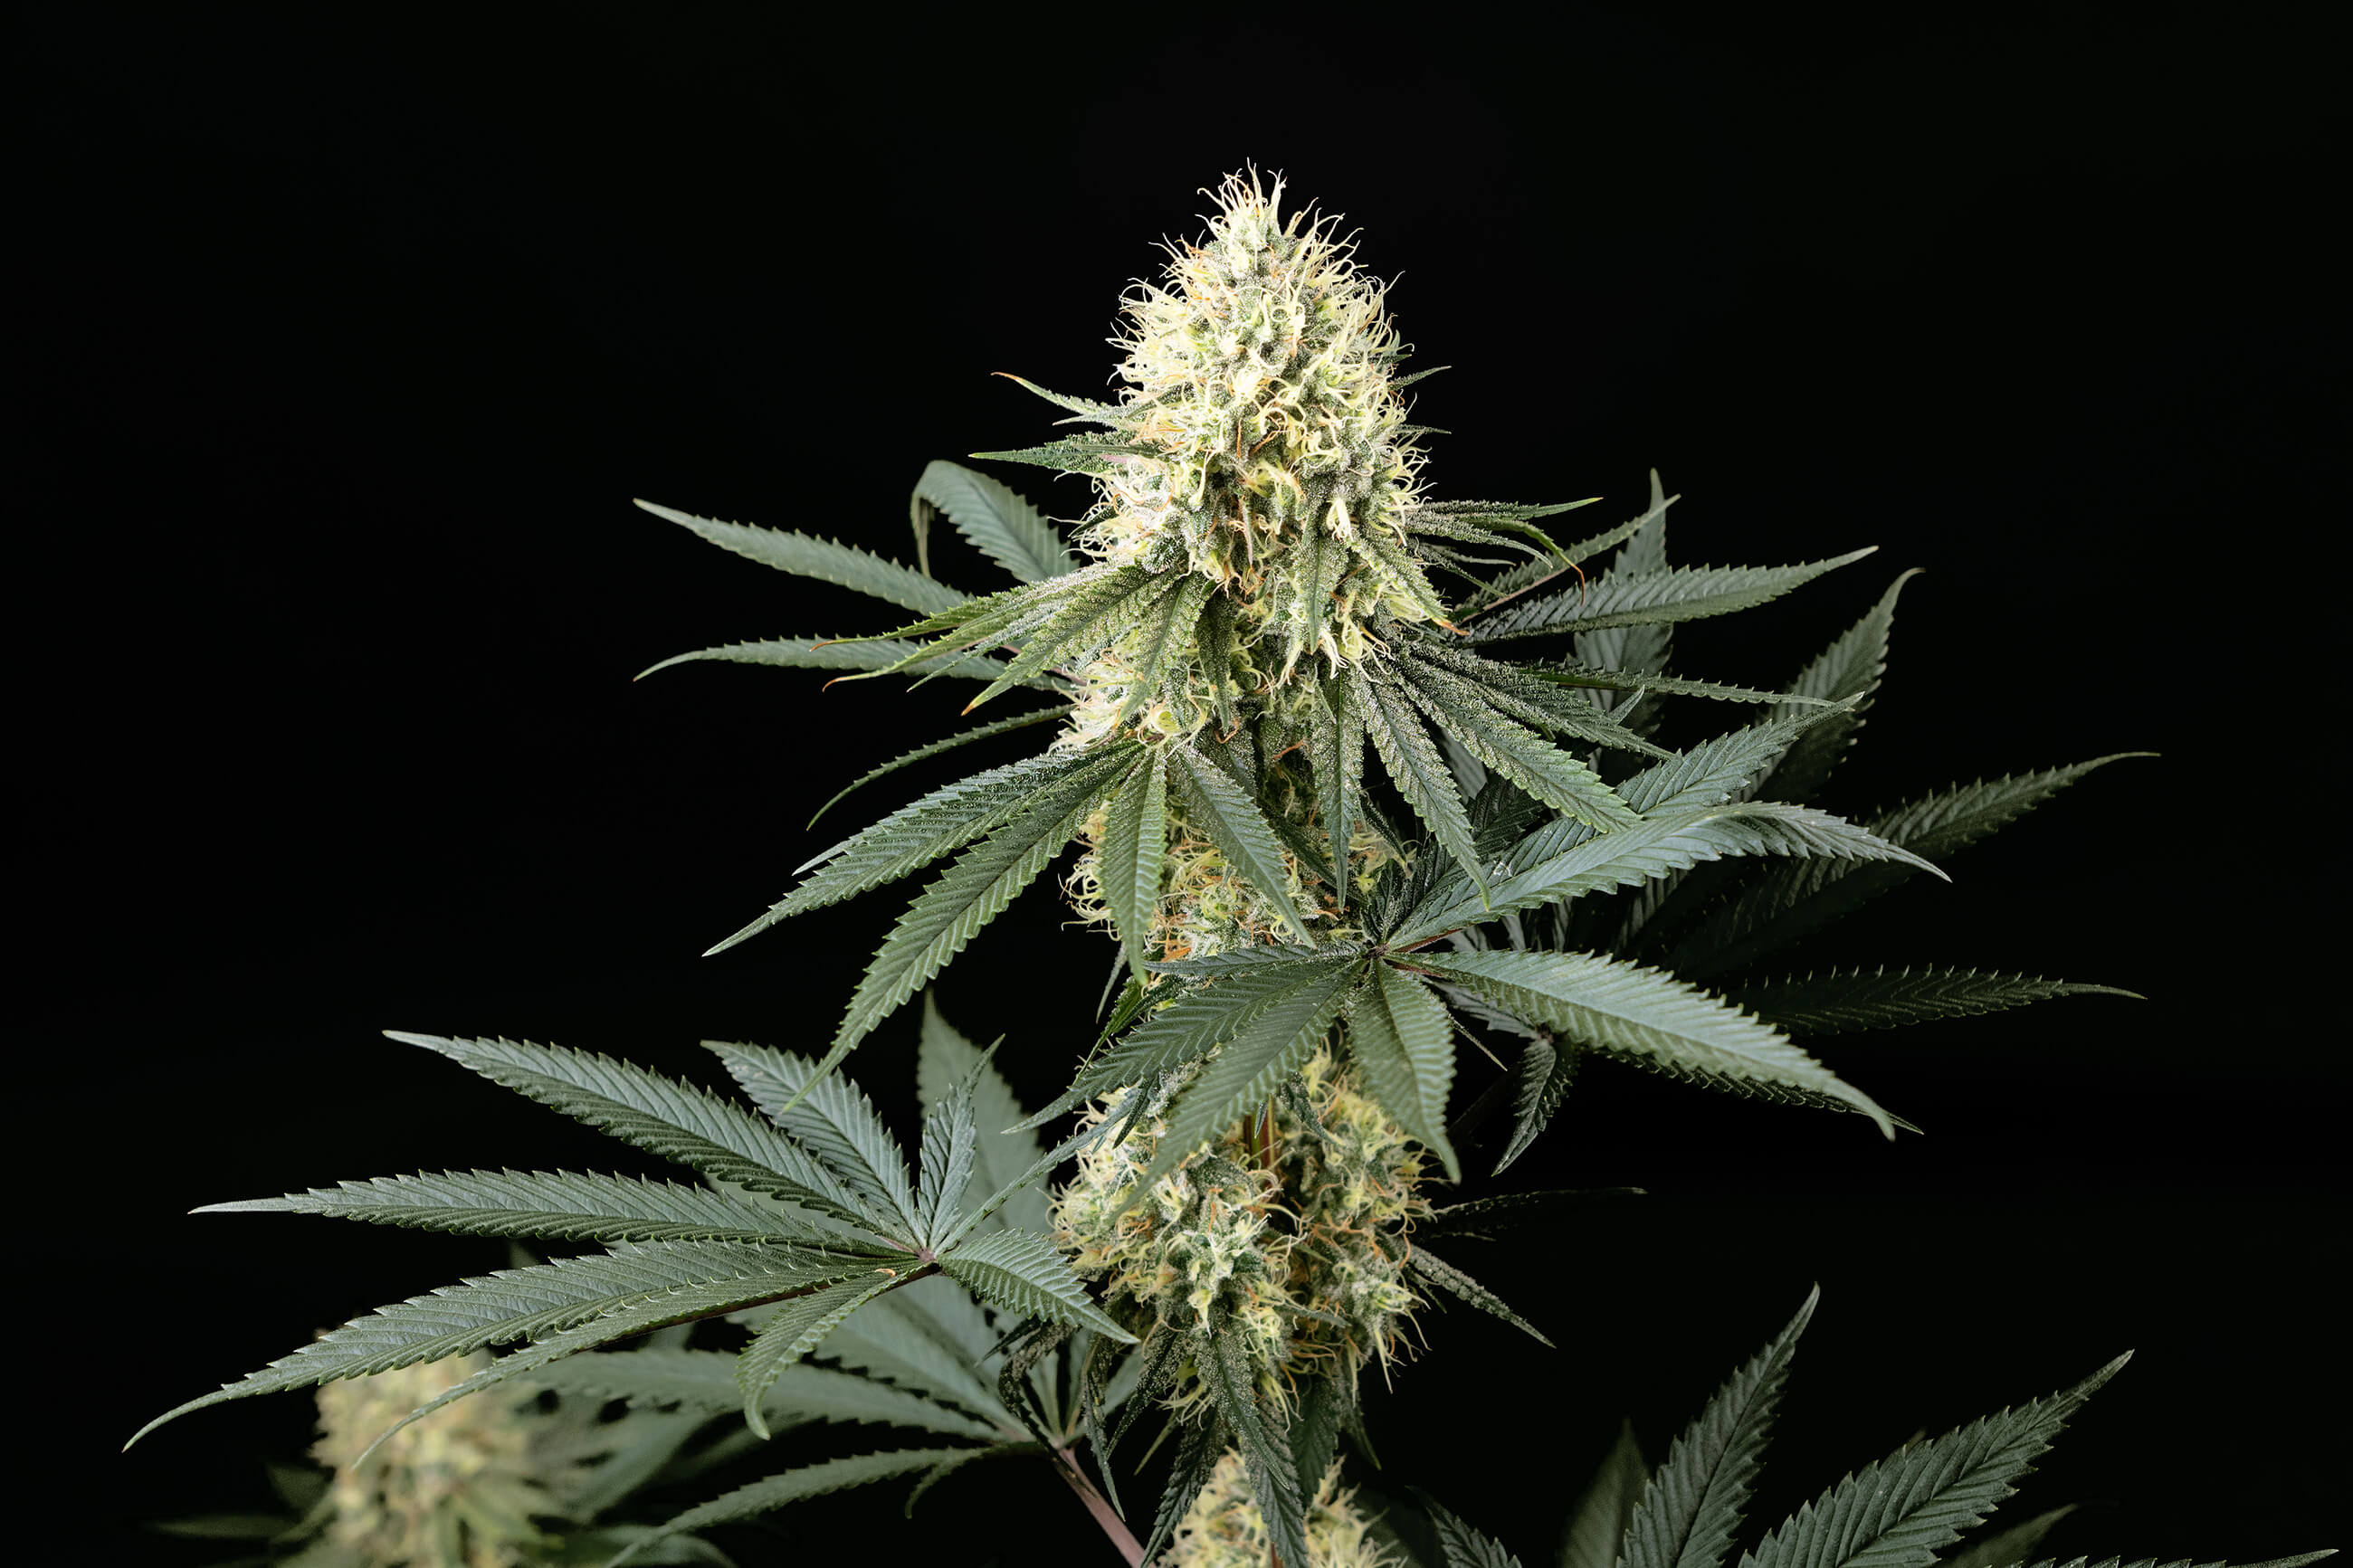
Weeks eleven and twelve were perfectly uneventful as everything continued to develop nicely. Our plant grew slightly to reach its final height of 106 cm, and the buds continued to mature. By now, the plant was giving off a powerful odour and there was nothing left to do but wait.
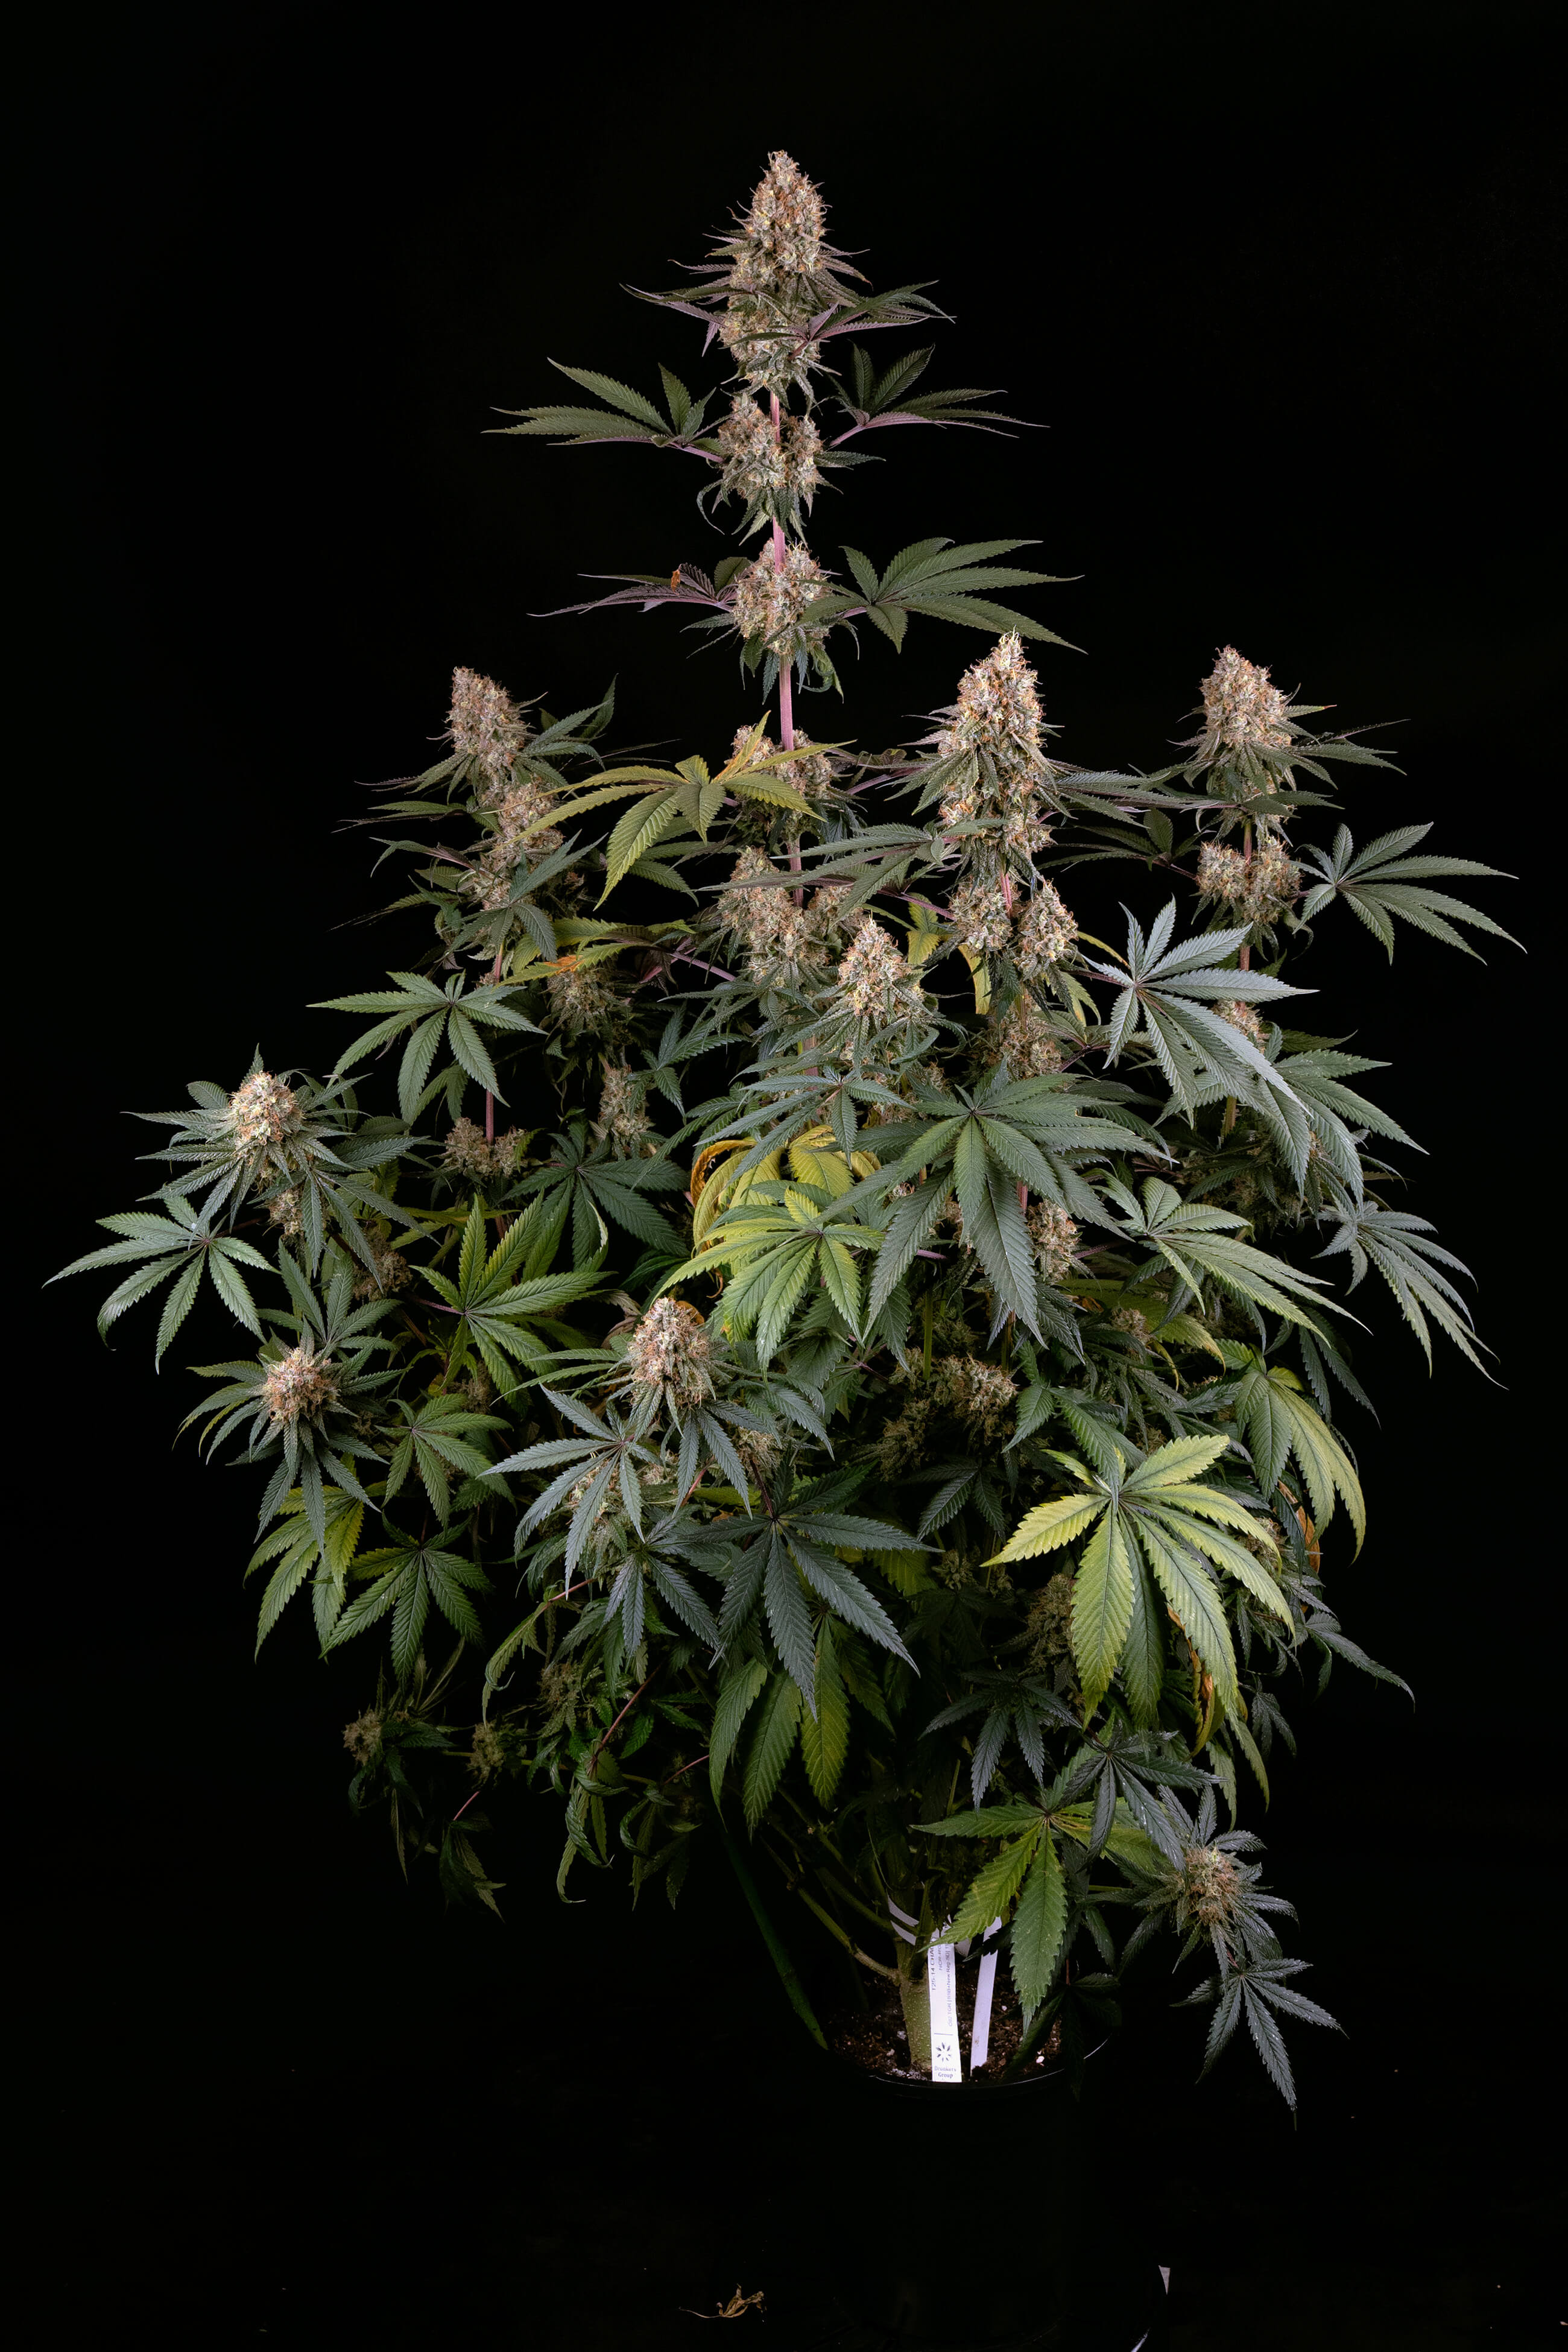
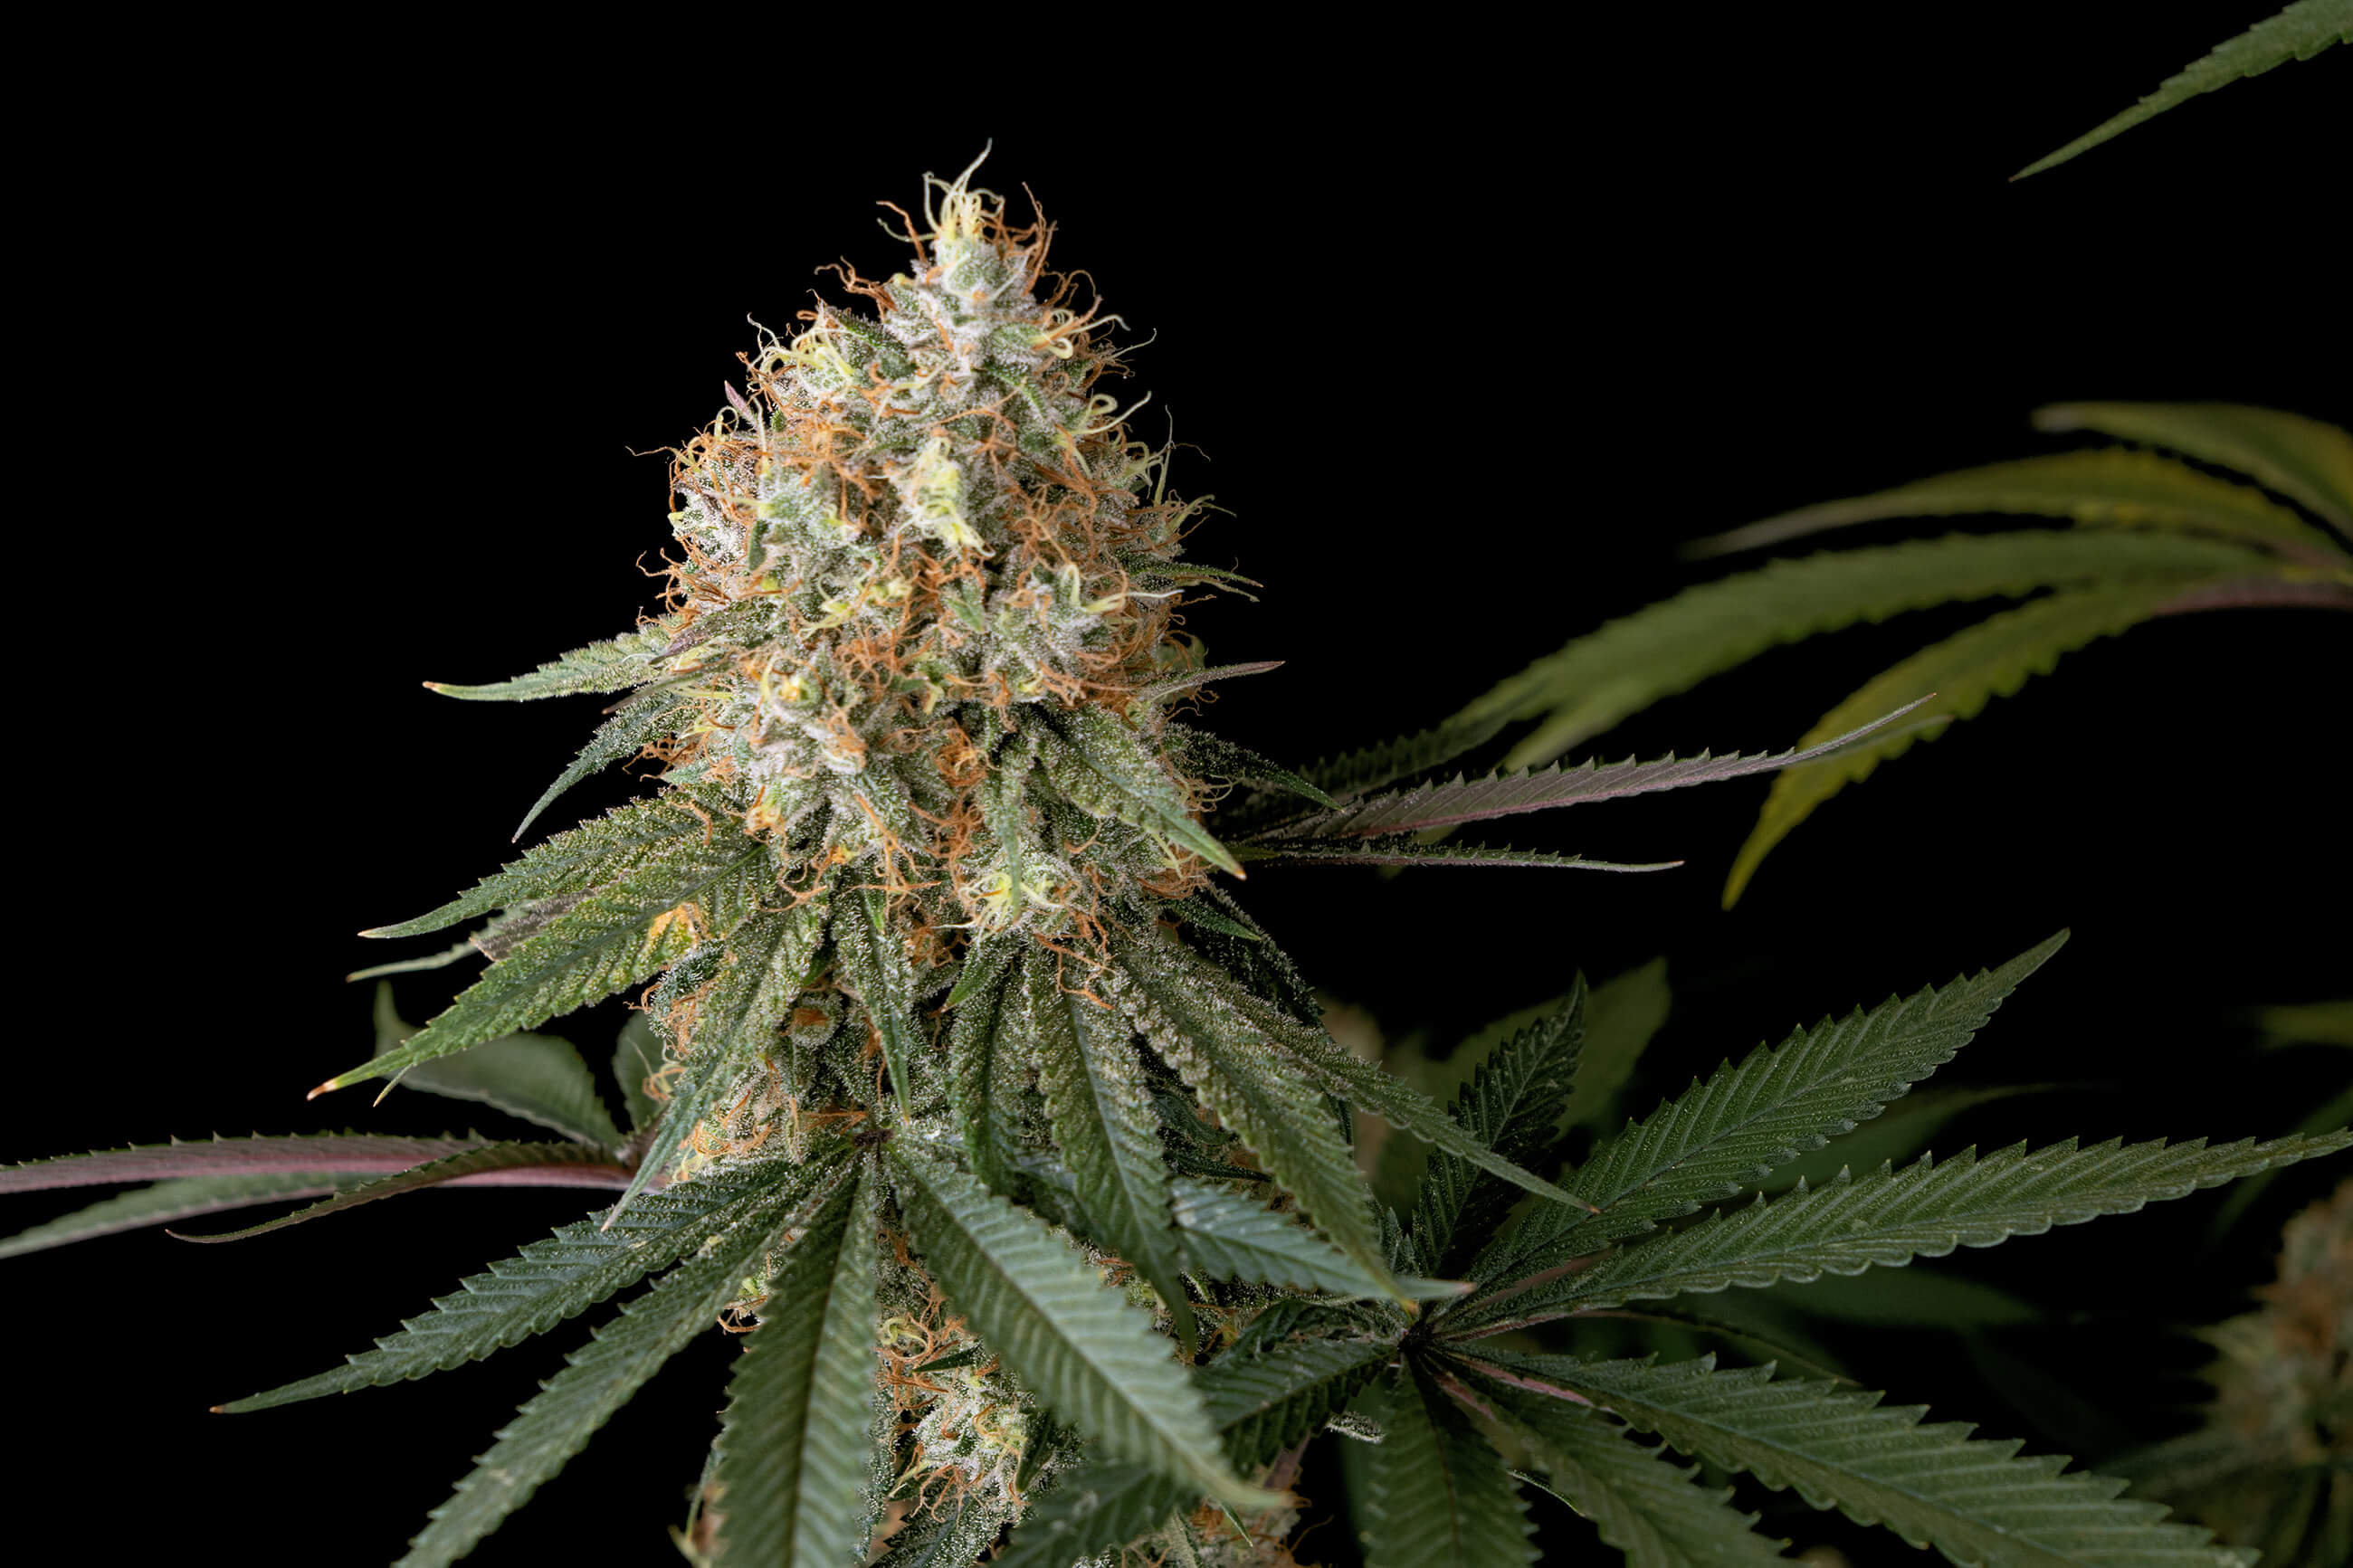
Finally, in week thirteen, it was time to harvest our Studio Candy Feminized cannabis plant.
Harvest
Now that our Studio Candy Feminized cannabis plant was ready for harvest, we moved quickly to cut it down at the base. Next, we trimmed off any large fan leaves and hung the plant upside-down to dry in our drying room, which we keep at 15.5°C with a relative humidity of 50%. We left our plant hanging here until the smallest branches were dry enough to snap when bent; typically 10-20 days.
After our plant had dried sufficiently, we trimmed the flowers off of the stems, removed any remaining leaves, and put the buds into glass jars for curing. These jars were left open for the first 24 hours to allow the bulk of the moisture to evaporate.
After a full day, we closed the jars and then “burped” them for about an hour at a time, a few times a day. Over the next several weeks, we gradually reduced the burping duration and frequency to only about 30 seconds once a day. Overall, this entire process typically lasts 4-6 weeks to complete, and you can’t rush it, as proper curing is key to a smooth flavour.
Once everything was properly cured, we ended up with a respectable 118 grams of dried flower with a THC content of 23.6%.
Related post
Terpene profile
As our Studio Candy Feminized plant began to flower, it gave off a distinctly pungent and aromatic aroma, blending earthy and spicy notes with sweet, doughy undertones. As harvest approached, these scents were joined by a sharp, gassy odour which cuts through the air. Overall, these plants’ aroma was quite noticeable, and growers who value privacy may want to take extra precautions.
Once the buds were fully cured, the smell mellowed out slightly but remained a potent blend of sweet candy, sharp diesel, and mellow creamy vanilla. These same notes all made an appearance in the flavour, which showcased a smooth, sweet smoke with creamy vanilla and candy notes on the inhale with a potent gassy kick rounding out a subtle aftertaste.
We found Studio Candy Feminized to be deeply relaxing with a powerful body sedation from its RS54 x Coffin Candy genetics. This strain locked us to the couch, so grab a snack, put your feet up, and get comfy.
Related post

The outcome
In the end, Studio Candy Feminized was a joy to grow, and we were extremely happy with the results. If you’re looking for a plant that can thrive in almost any conditions or you just want some weed that will knock you out, this strain is worth a try.
- Disclaimer:Laws and regulations regarding cannabis cultivation differ from country to country. Sensi Seeds therefore strongly advises you to check your local laws and regulations. Do not act in conflict with the law.
