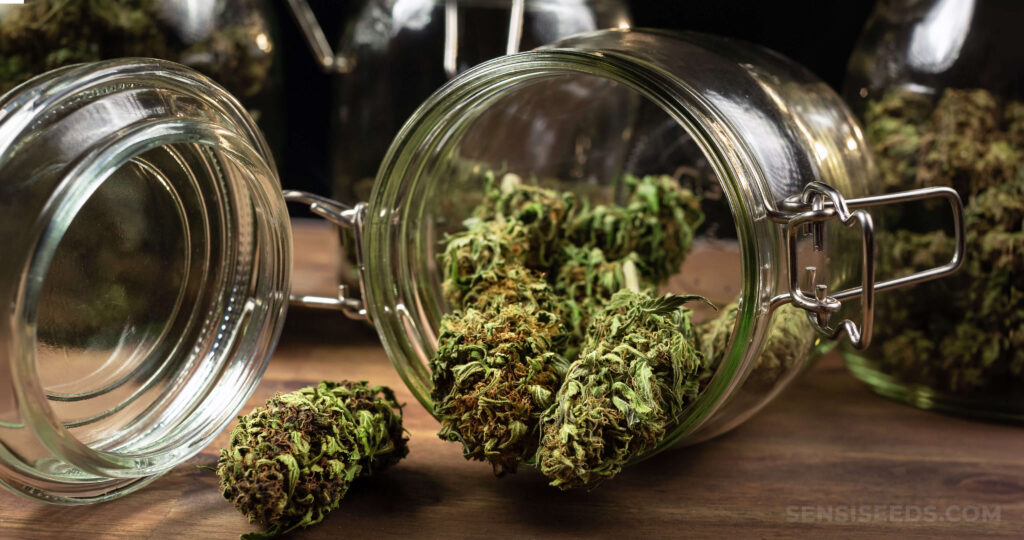
The final step of curing cannabis is an essential step that shouldn’t be overlooked. Curing your harvested cannabis enhances flavour, aroma, and cannabinoid content while ensuring a smooth smoking or vaping experience. Let’s get into the fundamentals of curing, covering the what, how, and why.
You’ve spent months carefully cultivating, harvesting, trimming, and drying your cannabis. Now you’re anxious to spark your first joint, but not so fast! Simply paying close attention to growing and harvesting techniques is not enough to achieve the perfect combination of moisture, flavour, and aroma. You must take another step to ensure your weed will reach its highest potential. Your cannabis buds first need to be cured.
Before you cure your cannabis: harvesting and drying
Before curing, cannabis must be properly harvested and air-dried. To harvest your plants, remove the fan leaves before cutting them down whole and hanging them upside down in your drying area. Make sure to allow space between the branches for adequate airflow, which will aid in even drying and mould prevention. The time it takes for dry-trimmed weed to finish drying typically takes about 14 to 21 days, depending on the size of the buds.
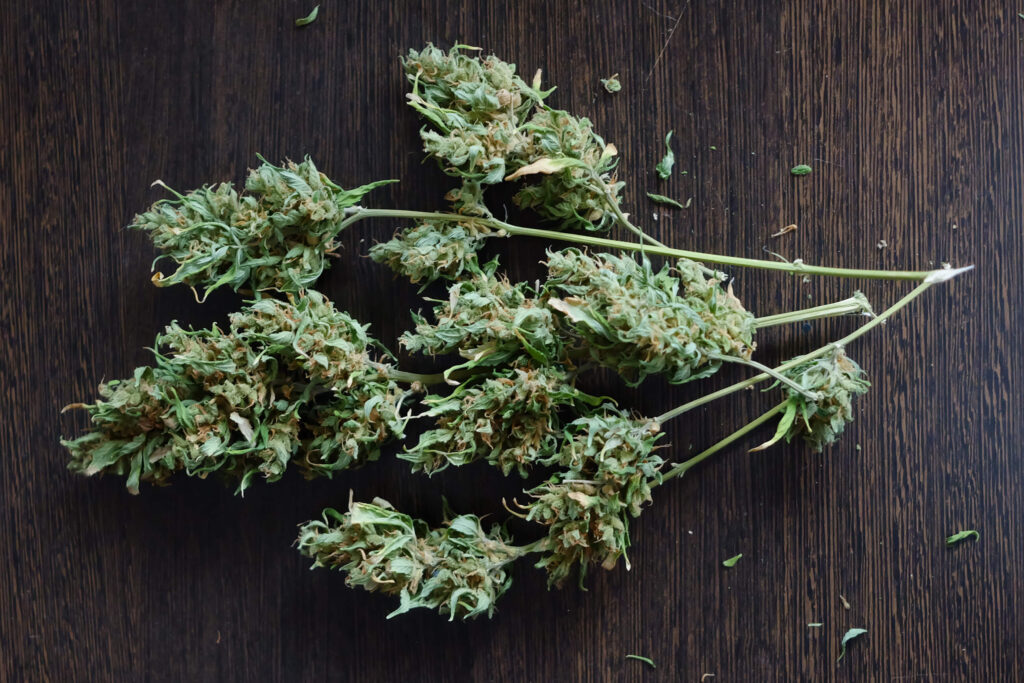
Maintaining optimal drying conditions in the room is essential, with temperatures between 18-20°C and a relative humidity of 55-65%. Too warm, and the buds will dry too fast, which will cause terpene degradation; too damp, and you increase the chance of botrytis. Keep the air circulating with fans, and use a dehumidifier if needed. Resist the urge to increase the heat and lower the humidity to speed up drying, which will degrade your weed.
During drying, rotate the buds regularly to ensure they dry evenly. The drying process is complete when the buds feel dry to touch on the outside and the bud stems snap instead of bend. Once the cannabis has been dried, it is vital to remove the buds and trim the sugar leaves to give them a neat appearance. Once the trimming is done, the buds are ready to undergo the curing process. But what is cannabis curing?
What is cannabis curing?
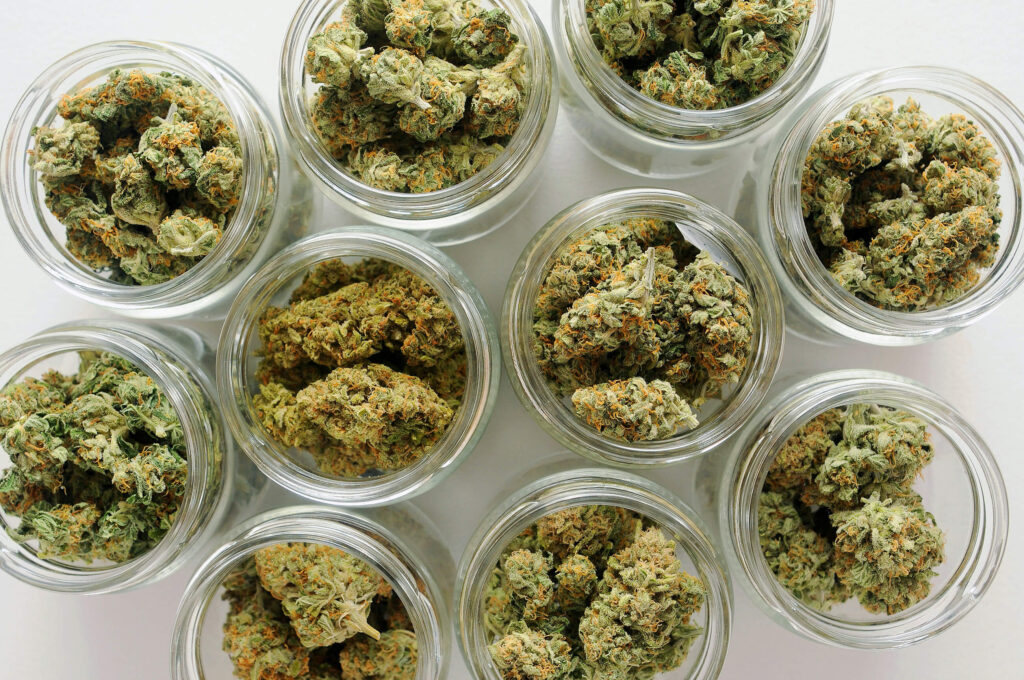
Cannabis curing is a process that facilitates the redistribution of residual moisture deep within the buds while allowing excess moisture to be removed. The curing process involves storing dried cannabis buds in airtight glass containers and “burping” them to replenish fresh air in the containers. This process requires careful attention to detail throughout to ensure the best results. Why is this step so important? Let’s learn why curing cannabis is a good idea.
The benefits of curing cannabis
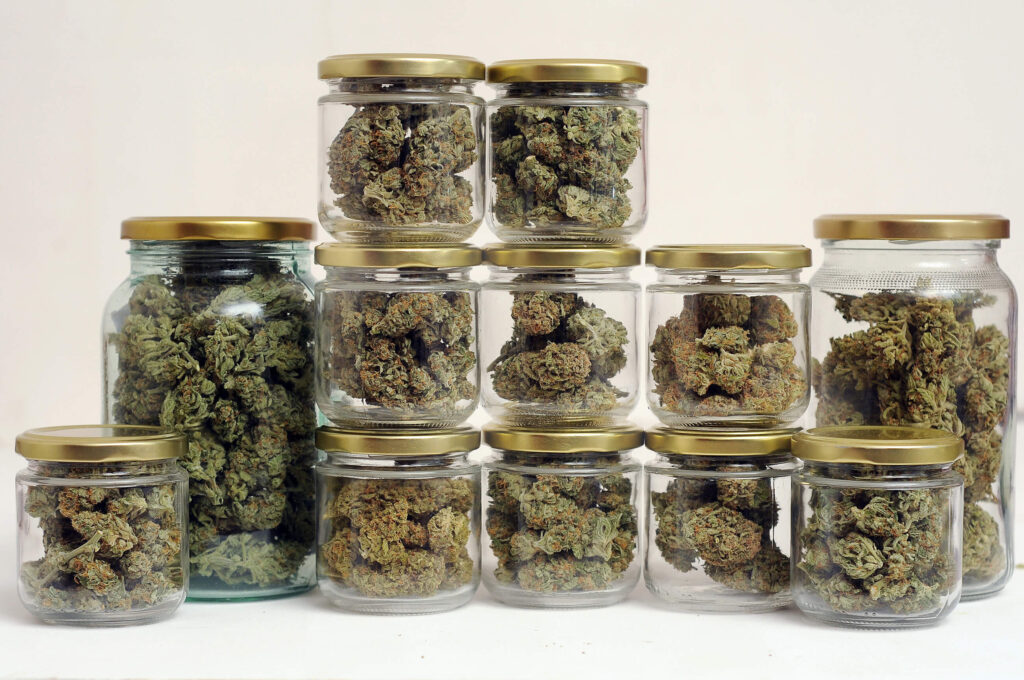
Curing your cannabis ensures that your harvested buds display as much quality, character, and complexity as a fine wine. Skipping this step may result in cannabis that smells grassy, with a harsh, irritating smoke and an unpleasant flavour. Here are three primary benefits of curing your weed:
1. Enhanced terpene profile
Throughout the curing process, unwanted compounds such as chlorophyll break down, which helps to eliminate the characteristic grassy flavours often associated with improperly cured cannabis. Simultaneously, the aromatic compounds known as terpenes, responsible for the distinctive fragrance and flavours inherent in each unique cannabis strain, become more pronounced and refined. This results in a more flavourful smoking or vaping experience.
2. Enhanced cannabinoid content
Curing cannabis is vital for preserving its potency by maintaining its cannabinoid levels. It protects the cannabinoids from degrading due to air and light exposure, ensuring a superior quality product.
Additionally, curing results in a relative increase in cannabinoid concentration. While the total amount of cannabinoids remains the same, the reduction of moisture during the curing process means that, on a per-weight basis, cured cannabis is richer in cannabinoids compared to its fresh counterpart.
3. Smoother smoking experience
As cannabis is properly dried and cured, excess moisture evaporates, and any remaining moisture is evenly distributed throughout, from the exterior leaves to the interior of the buds. This moisture consistency discourages the growth of mould and other potentially harmful microorganisms, leading to an even, steady burn and a smoother, more enjoyable smoking experience.
Step-by-step guide to curing
Now that you know the advantages of curing, let’s walk through a step-by-step guide to achieving the perfect cure. To cure your weed, you will need:
- Airtight glass containers
- Hygrometers
- Dried cannabis flower
- Humidity packs
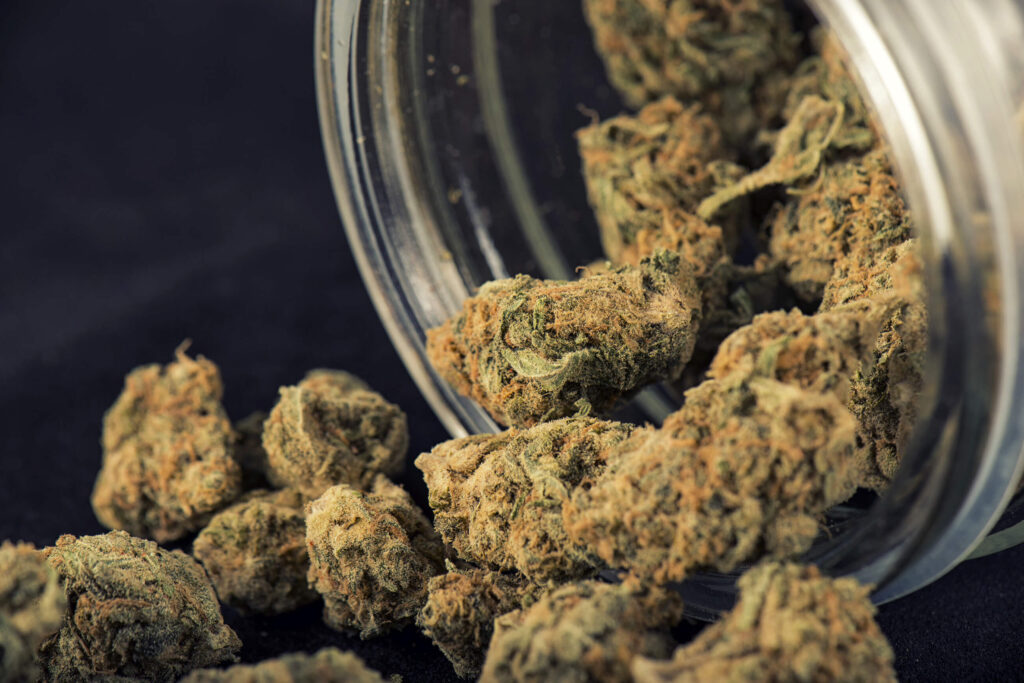
1. Loosely pack your dried buds in airtight glass containers
To ensure that your cannabis remains fresh and free from moisture, it’s essential to fill your airtight container loosely. This will prevent the build-up of moisture and stagnant air, which could increase the chance of botrytis and mildew. It’s also recommended to place a small hygrometer in each container to monitor the humidity levels accurately. Once you have filled the container with your dried buds, seal the lid and store it in a cool, dry, and dark place.
2. Check the humidity levels
Within the first day or two, your buds will have begun to soften as the moisture in the interior has started to migrate outward. A hygrometer should be used to measure the relative humidity level, which should be maintained at around 50-60%. Add a commercially made humidity pack to replace moisture if buds have been over-dried. If the humidity is above 65%, leave the lid off several hours a day, then reseal. Keep checking humidity levels, and repeat if necessary.
3. Replenish fresh air
For the first week, “burp” or open your containers one to three times daily for five minutes to release moisture and replenish oxygen. After a week, continue to burp your weed every couple of days and then once per week as you continue to monitor and cure.Ifthe buds smell musty or of ammonia at any time during the curing process, keep the lid off for a day and see if the odour improves.
4. Wait for the cure
The curing process for cannabis typically takes anywhere from two to eight weeks. However, some growers may extend the curing period for several months for optimal results. Properly-cured weed will smell rich, fragrant and ‘finished’. The buds will feel dry to the touch but with a slightly spongy texture, maintaining their shape when squeezed. Some cannabis cultivators cure their weed for as long as six months, believing that a longer curing time reaps even more rewards.
Adjusting humidity for smoking, vaping, or bongs
You may want to adjust the relative humidity levels of your cannabis according to which consumption method you choose. Avoid a relative humidity below 50%, which can create harsh, irritating smoke and less flavourful vapour.
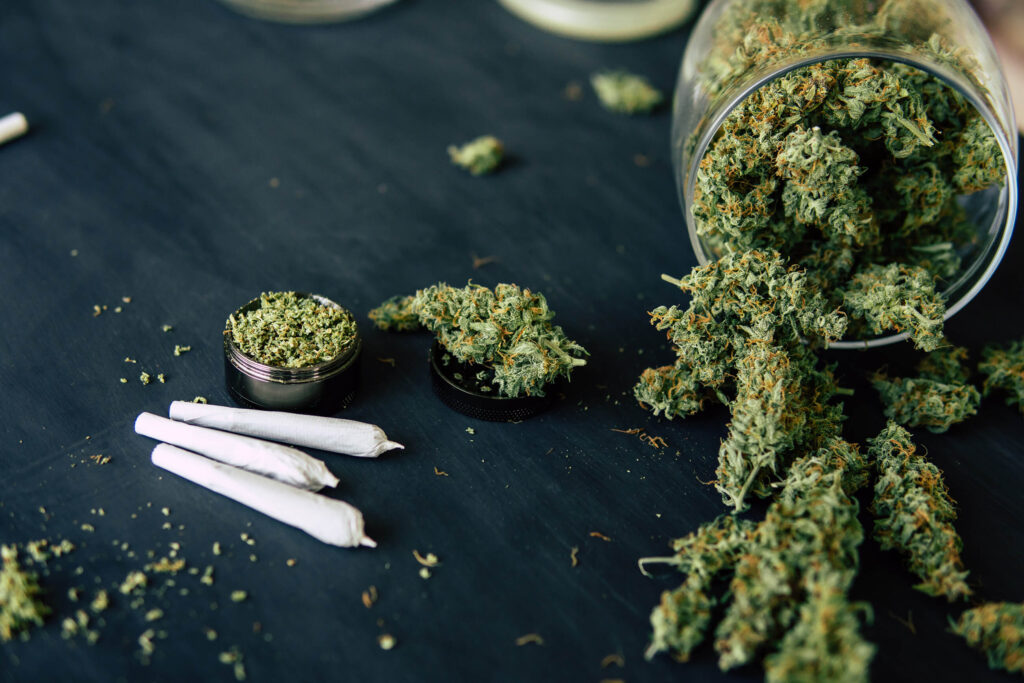
For joints, pipes or bongs, a relative humidity of 55-62% is optimal for flavour and smoothness, whereas for vaping, 55% is ideal. A higher level of humidity will make the cannabis harder to pack and require more energy to vaporise.
What about water curing?
Water curing is the process of submerging fresh cannabis buds in water for a few days to remove harsh chemical compounds that can give weed a harsh flavour and an irritating smoking experience. Because many of these compounds, like chlorophyll, are water soluble, they easily dissolve in water, leaving fat-soluble cannabinoids intact. Water curing is achieved in a few days, while dry curing requires several weeks of meticulous attention.
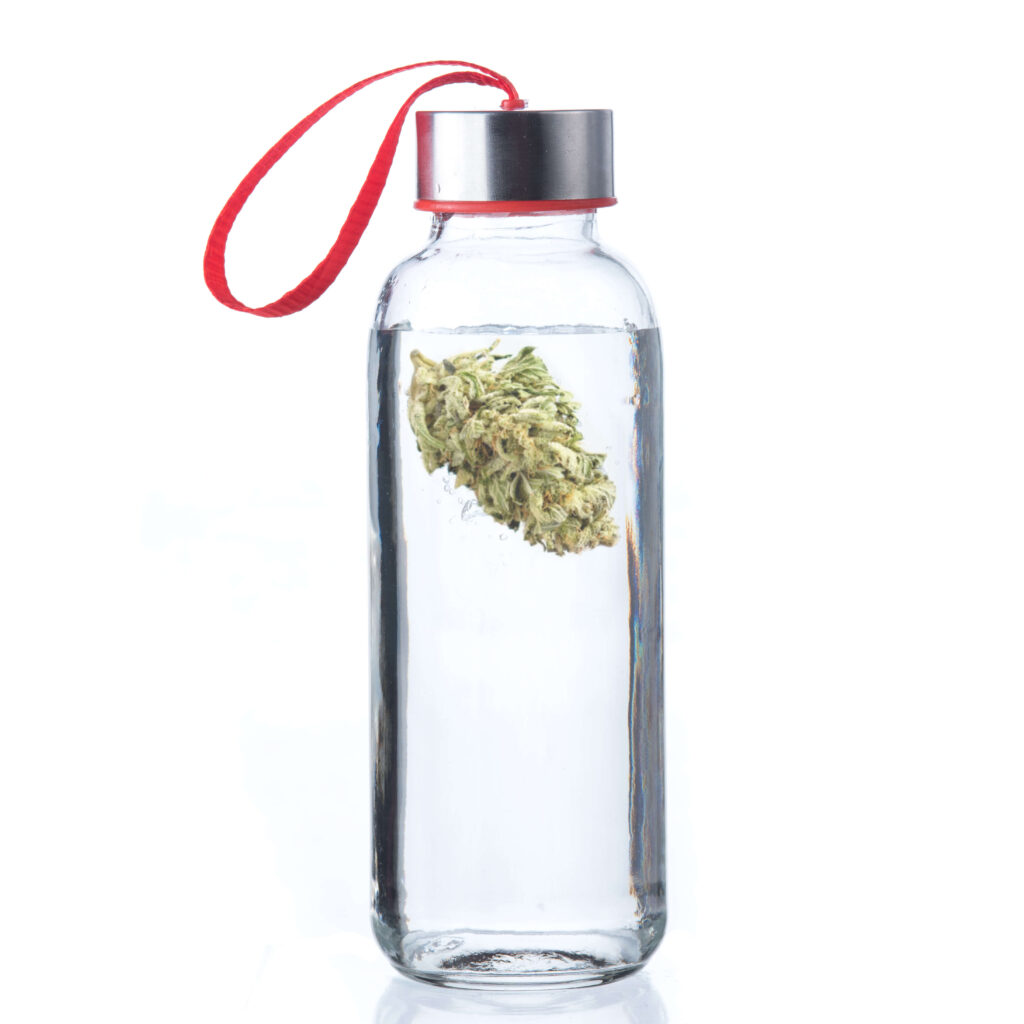
Does the notion of a fast and easy curing method sound too good to be true? Sadly, it is. Because terpenes are also water-soluble, water curing leaches out a fair amount of these precious molecules, sacrificing fragrance, flavour, and unique properties to save time. Water-cured cannabis often exhibits a grassy or even flavourless taste, accompanied by a flat and less nuanced overall effect.
After curing: How to store your cannabis buds?
Storing cannabis in mason jars
To ensure the quality of your weed is maintained, it is essential to store it in airtight glass containers in a cool, dark environment. This is because light and heat can quickly degrade your product. When THC-A within the buds is heated, it is converted into THC, which will eventually degrade and change into CBN over time. Therefore, it’s essential to store your weed at a temperature of around 15-20°C to prevent it from degrading too quickly.
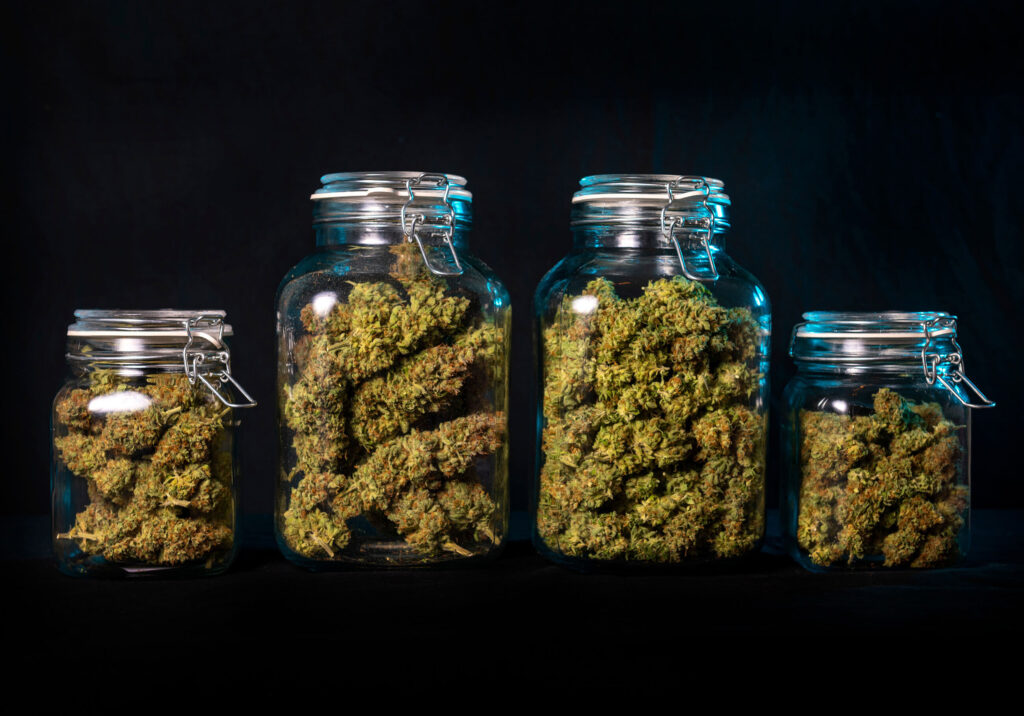
When storing your weed, avoid excess moisture and high humidity levels. These conditions can create the perfect environment for botrytis to grow, which can result in your weed becoming extremely harsh when consumed. Therefore, ensure that your storage area is well-ventilated and that the humidity levels are maintained around 55 to 60% to avoid any moisture-related issues. If the level rises above 65%, open the jar for a day or two.
Don’t forget to label and date each container! This will help if you want to experiment with curing times, which can significantly affect the terpene profile. By keeping track of this information, you can find the optimal curing time for each strain and ensure you are getting the best possible flavour and aroma from your weed.
Storing cannabis by freezing the weed
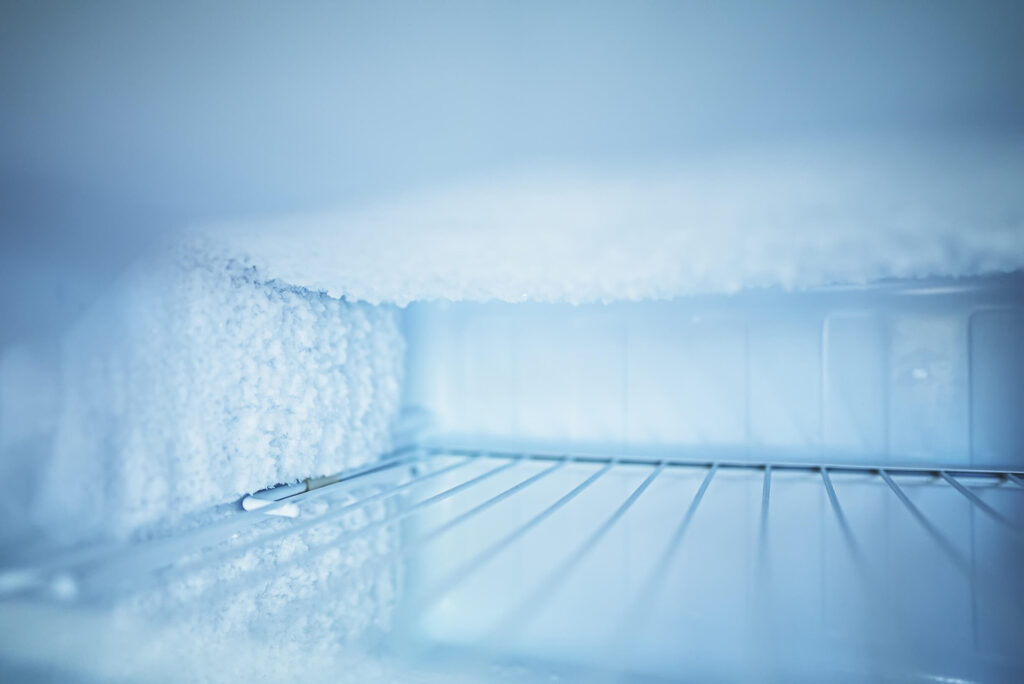
If you plan to store your cannabis for extended periods, some old-school growers store their weed in the freezer, claiming it remains fresh for much longer than if kept at room temperature. However, freezing introduces potential risks to your cannabis.
- When subjected to freezing temperatures, the delicate trichomes become more susceptible to breakage, and there is also a risk of freezer burn. Freezer burn occurs when cannabis is frozen, exposing it to the freezer’s cold, dry air. Extended exposure leads to moisture evaporation, resulting in changes in texture, flavour, and potency.
- Freezing can cause moisture in cannabis to crystallise. This crystallised moisture may promote mould and mildew growth upon thawing, especially if the cannabis is not sealed correctly.
If you opt to freeze your cannabis for storage, follow these detailed steps: Begin by vacuum-sealing the cannabis thoroughly in a freezer-compatible bag to achieve an airtight seal. Moreover, it’s essential to maintain a constant temperature of approximately -18°C (0°F) to enhance the preservation of your cannabis.
Adding that final touch to your cannabis
As a dedicated cannabis grower, you have put months of effort into carefully cultivating, harvesting, and drying your cannabis plants. It only makes sense to bring your fragrant flowers to their highest potential by curing them. Curing your weed not only enhances the cannabinoid content and terpene profile but also improves the aroma, flavour, and potency. Additionally, it ensures a smooth and even burn, providing a more enjoyable smoking experience.
- Disclaimer:Laws and regulations regarding cannabis cultivation differ from country to country. Sensi Seeds therefore strongly advises you to check your local laws and regulations. Do not act in conflict with the law.


