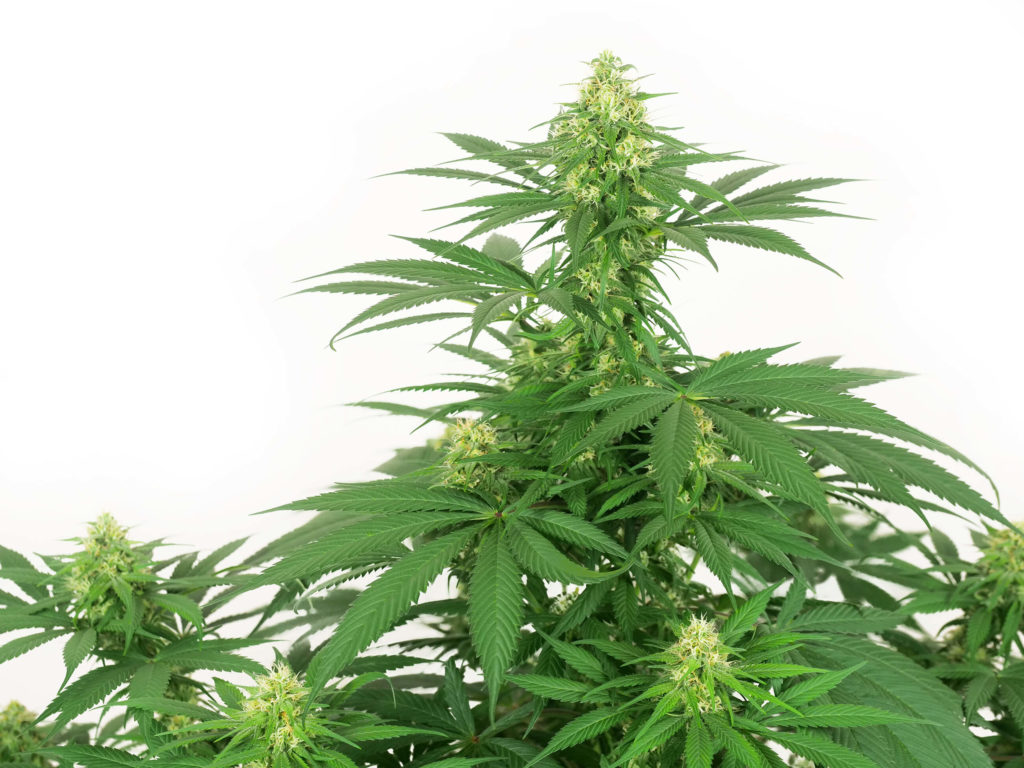
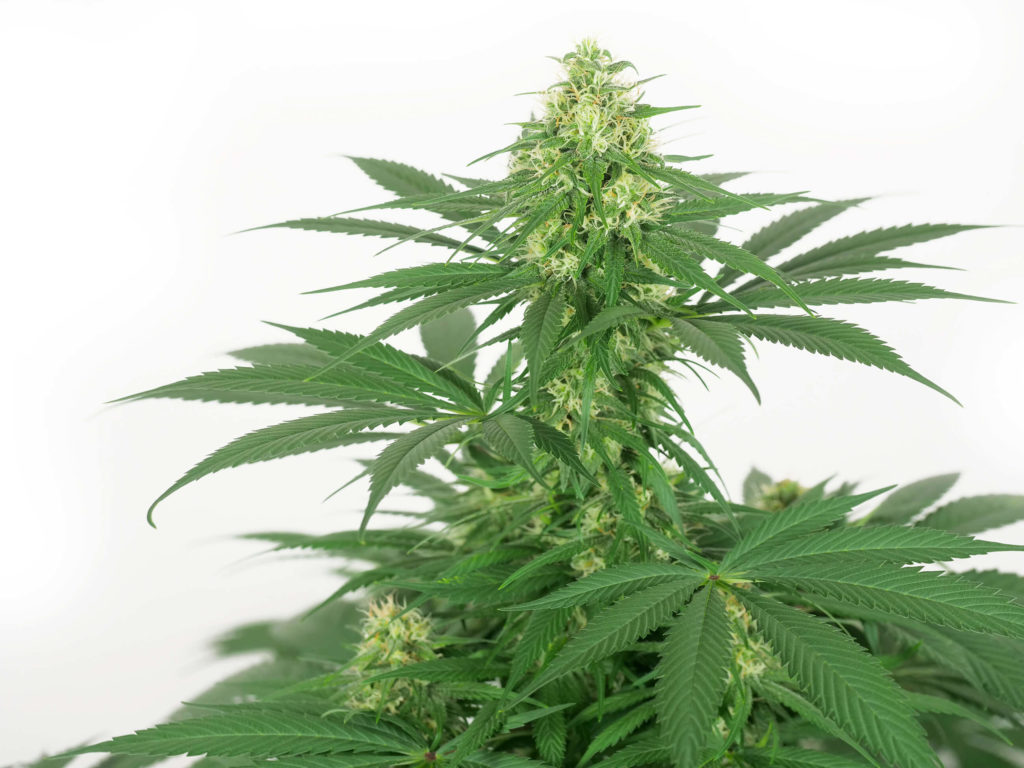
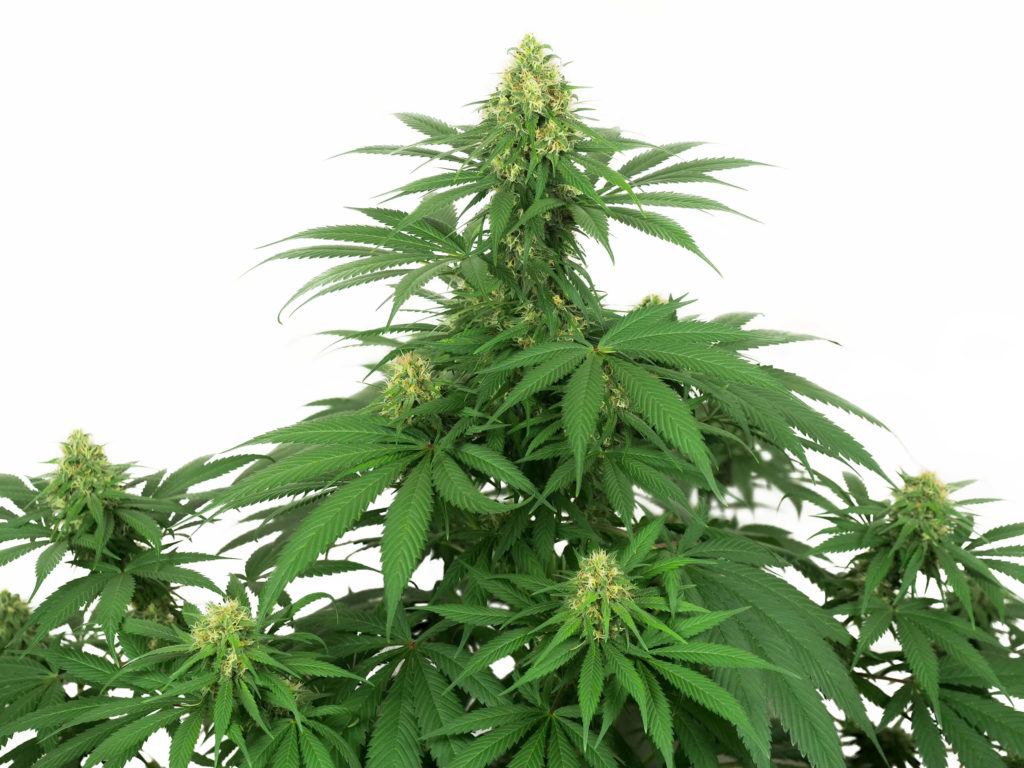
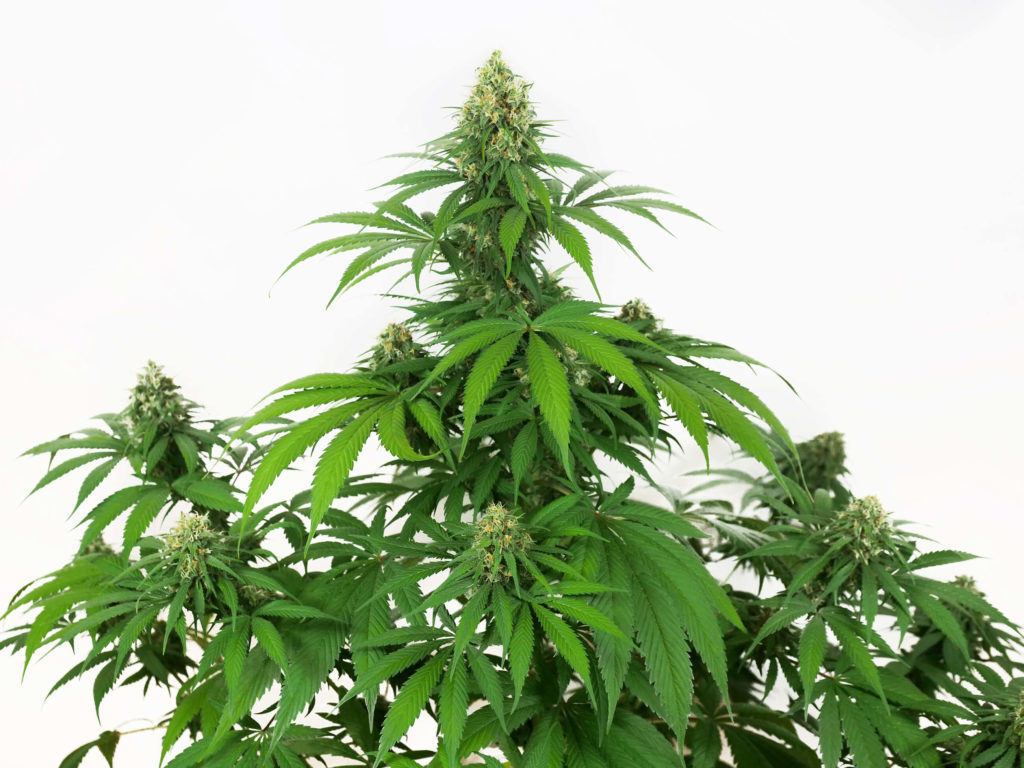
Big Bud Regular is the result of combining Northern Lights, Skunk #1, and Afghani #1. This 85% indica-dominant strain is known for producing large yields of heavily relaxing flowers. The terpene and flavour profile is a distinct combination of earthy and woody notes with a touch of sweetness. We feel Big Bud is an excellent choice for growers of all levels.
Flowering stage: 63 days
Total time, seed to harvest: 98 days
Final yield: 95 grams
THC content: 25.32%
Big Bud Regular seeds have a long and celebrated history, with a renowned worldwide reputation. They made an immediate impact on the indoor cannabis cultivation scene, thanks to the bountiful yields of sweet, trichome-filled flowers. Big Bud was created in the 1980s by combining three legendary cultivars. This strain has a lineage that consists of Northern Lights, Skunk #1, and Afghani #1. This combination of trusted genetics leads to the 85% indica / 15% sativa profile of Big Bud Regular.
Hobbyists and commercial gardeners quickly gravitated to this creation for various reasons. As the name implies, Big Bud produces big yields, which has always been a quality people look for when choosing seeds. She is also a quick finishing plant; seed to harvest can easily be achieved in under 100 days.
As connoisseurs, we are treated with earthy, sweet, and floral terpenes. The effects of Big Bud Regular are highly sought-after and described as a soothing, full-body stone. Combine these qualities, and you begin to understand why it is so popular. So, let’s grow one together!
The cycle was conducted in our indoor cultivation room, and BAC Lava Mix was used as our medium for our new growing adventure. Our Big Bud was placed under a 1000W Green Power Phillips HPS combination that also included a reflector hood, which directs light down onto the plant canopy.
Air movement is an integral part of any indoor garden, and we equipped our grow area with two types of fans. We used small, clip-on fans with adjustable speeds for moving air within the grow room and around the plants. We used an inline fan connected to a carbon scrubber to remove unwanted odours.
Germination & seedling
We started by placing our Big Bud Regular seeds into a damp paper towel, which we covered and placed in a dark area. Within a few days, our seeds opened, and we could see the white tap root emerging. Our seeds were carefully transferred into a 1-litre container using tweezers to gently hold (not squeeze) the opened seed.
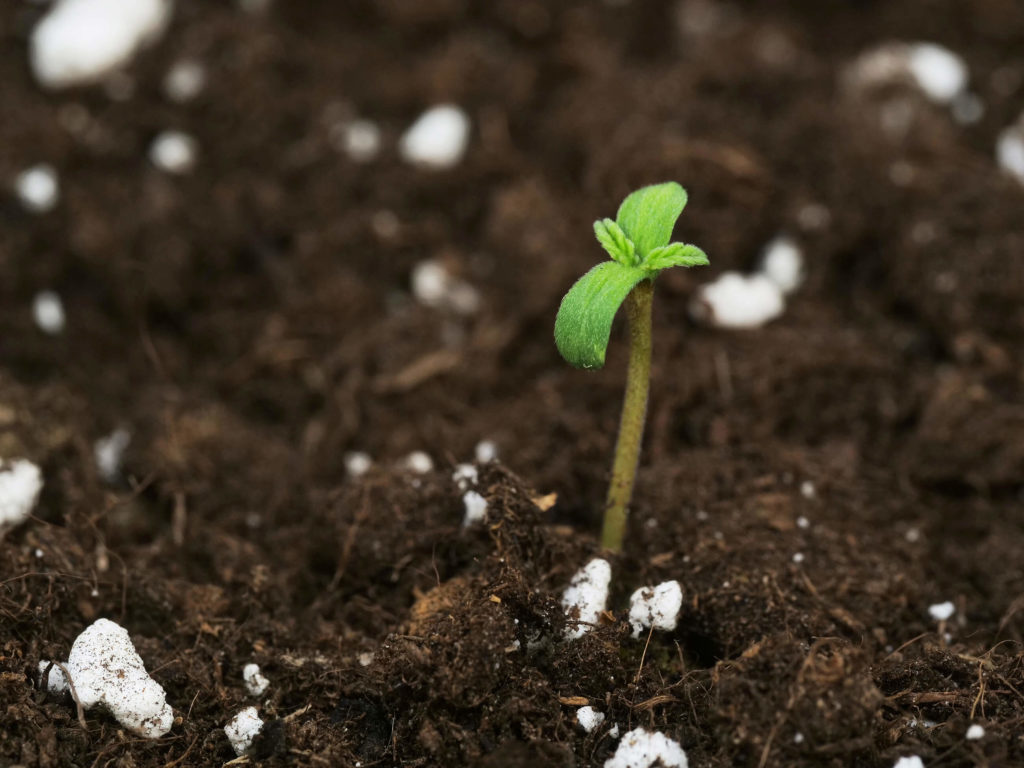
Our seed was placed root down into the soil and gently covered with approximately 6 mm of soil. On the second day, our Big Bud popped above the surface to greet the world. Environmental conditions were monitored and maintained within the desired range. The ambient temperature with the lights on held steady at 23°C. The air temperature for the lights-out period was kept at 21°C. Humidity in our garden space stayed at 65%.
Vegetation
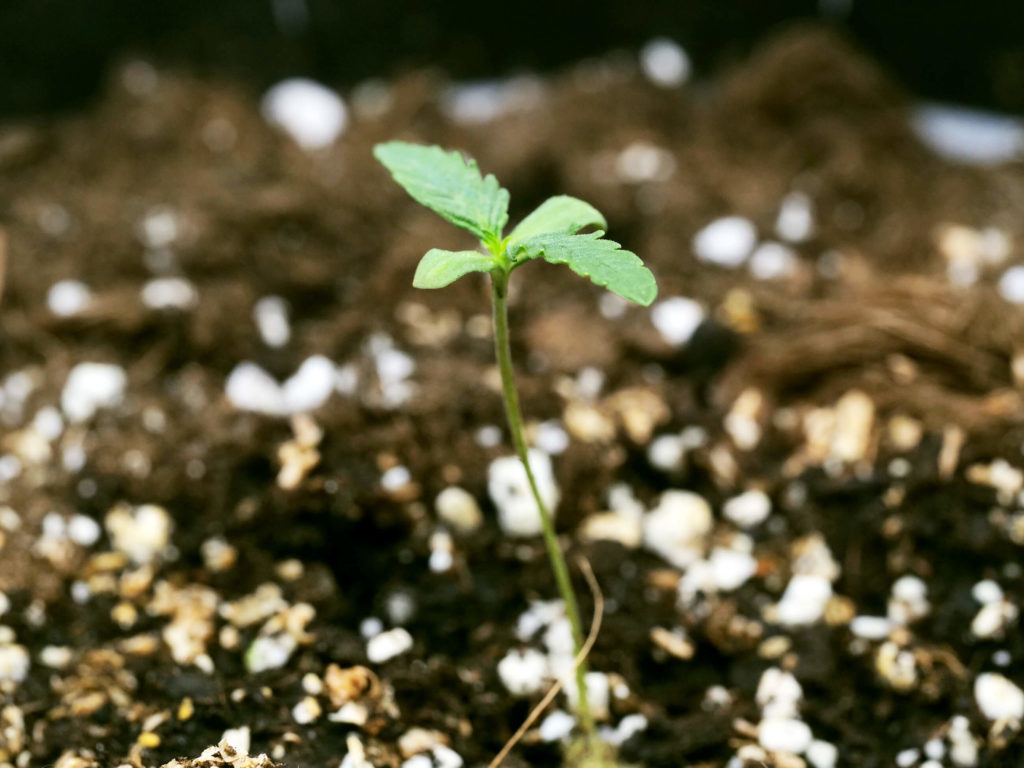
We started week one to an encouraging start under the 18 to 6 hours light schedule. After breaking the soil surface in the 1-litre pot, our plant quickly shucked off the outer seed shell and began to reach up towards the light.
Our light was fixed to the ceiling, which reduced our ability to raise and lower the light. Given the power of the light and the sensitive nature of seedlings, the fixed distance of 300 cm from the canopy worked out fine.
The first single blade leaves had emerged and took on a nice emerald-green colour. This was a good indicator of health and vigour. In general, It is not necessary to immediately start feeding new seedlings and be careful not to overwater the premature root zone.
During the first week, we also release beneficial insects. This organic method of predator insects helps eliminate any harmful critters that could spell disaster for our Big Bud plant. We dispersed Hypoaspis Miles to prevent fungus gnat and thrip pupae as part of our proactive IPM (Integrated pest management) routine.
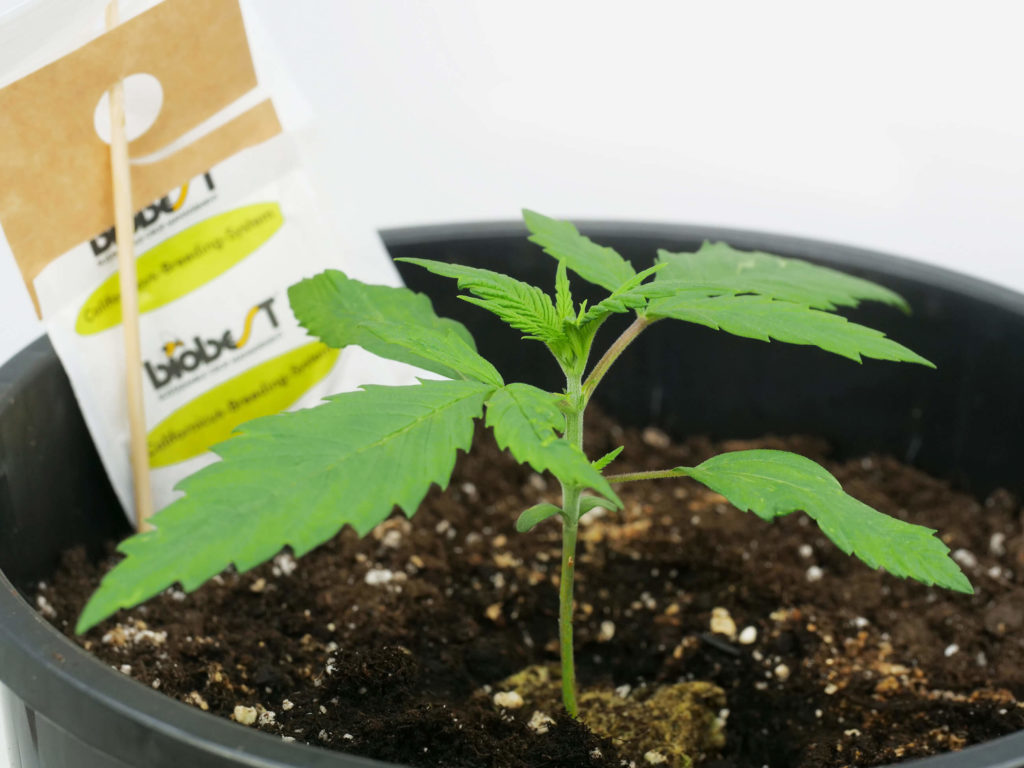
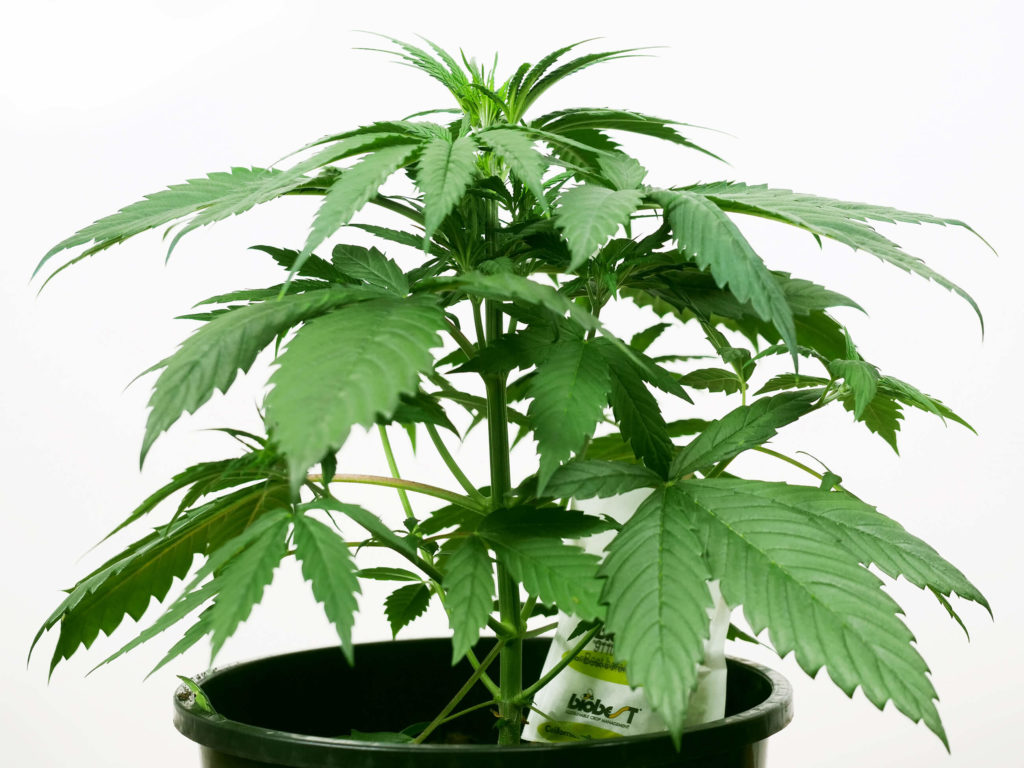
Our second week did not see much vertical growth but saw an increase in lower foliage. At this early stage, our Big Bud is working hard to establish and grow new roots below the soil, which will later support the biomass growth above the ground. To encourage this new root growth, we transplanted from the 1-litre pot into a 3-litre pot, which gave the roots more room to stretch.
To assist our Big Bud in growing evenly, we rotated the plant a quarter turn daily, which helps strengthen and develop the stem. Constant air movement can also strengthen limbs; however, we didn’t let the fan blow directly onto our young plant.
We also began mixing vegetative cycle nutrients into our water solution. The EC of our solution at the time of feeding was 1.5, which can be high for young roots, but we wanted to push the limits with this grow. The solution was added around the base of the central stalk at a volume of 100 ml.
Week three started, and we noticed a significant increase in height, nodes, and leaf-set. The plant had gained a substantial 10 cm of vertical growth from 4 cm to 14 cm.
We continued with a daily feeding schedule of 100 ml of solution, and this week we bumped the EC slightly to 1.6. The pH of the solution before feeding has remained constant at 6.2. Our lighting schedule remained 18 hours on and 6 hours off per 24-hour cycle. The internal spacing on our Big Bud remained close together, giving the plant a short, squatty appearance.
We added two new beneficial insects to the Big Bud plants. First, we added Amblyseius Cucumeris, which is used to eliminate thrip larvae. Then we added Amblyseius Californicus to battle any two-spotted spider mites lurking in the grow.
We already saw roots protruding from the bottom of our 3-litre pot at week four. This was a visual indicator that our Big Bud needed to be transplanted, so we moved her into a 5-litre pot to encourage continued root growth.
We began the week watering 100 ml, but we gradually increased that amount each day to finish the week at 200 ml per day. To prevent salt build-up in the root zone, we did a one-day flush of the soil, which saw us add 500 ml of pure, pH’d water to the growing media.
IPM applications consisted of dispersing the second round of Hypoaspis Miles to prevent fungus gnat and thrip larvae. Although the plant was sturdy and growing firm, we continued to rotate out Big Bud one quarter turn each day so that it adjusts to the light angle evenly.
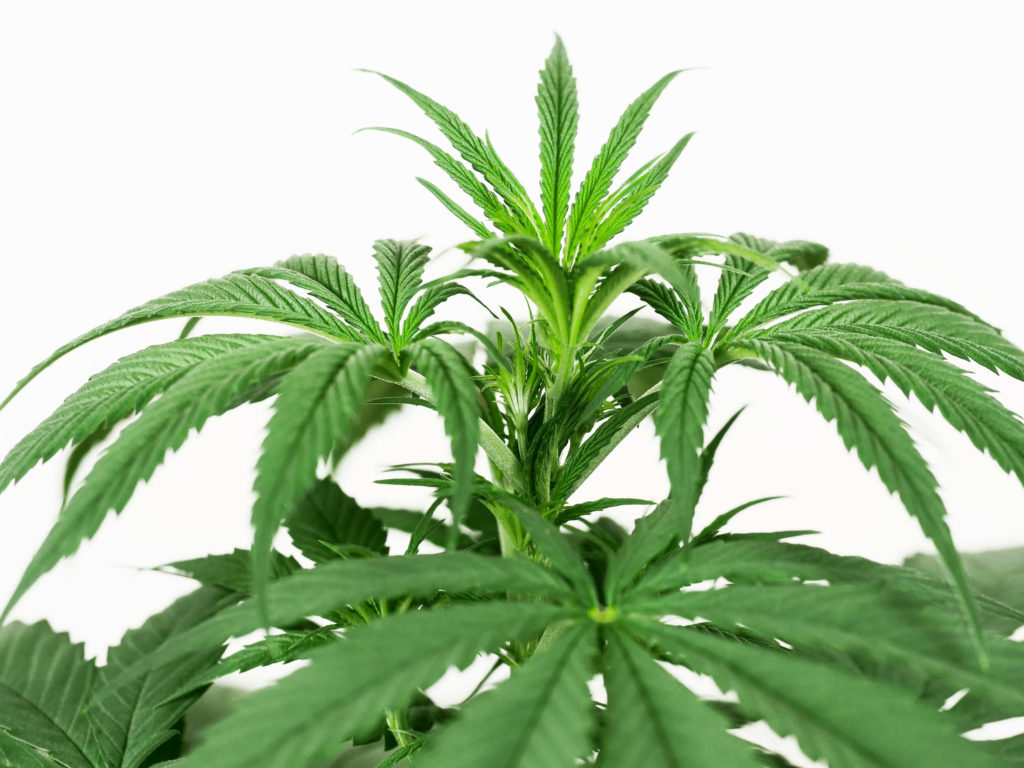
Week five is usually the time we flip our light schedule to induce flowering, but our Big Bud wasn’t ready just yet. The tight nodal spacing kept the plant shorter, but we are happy because it will lead to denser colas later.
Because of our Big Bud’s compact stature and the broad width of the blades on the fan leaves, a few of the lower branches were covered from the light. To counteract that, we tucked the big fan leaves to the sides of the branches as they shot up, looking to reach the light.
The overall colour of the leaves was a healthy, vibrant green with no signs of nutrient deficiency or toxicity. The solution volume began at 200 ml daily and was adjusted daily to finish the week at 450 ml. The EC of the solution moved up slightly to 1.7 on each feeding. Humidity was also modified, dropping from 65% to 60%.
Flowering
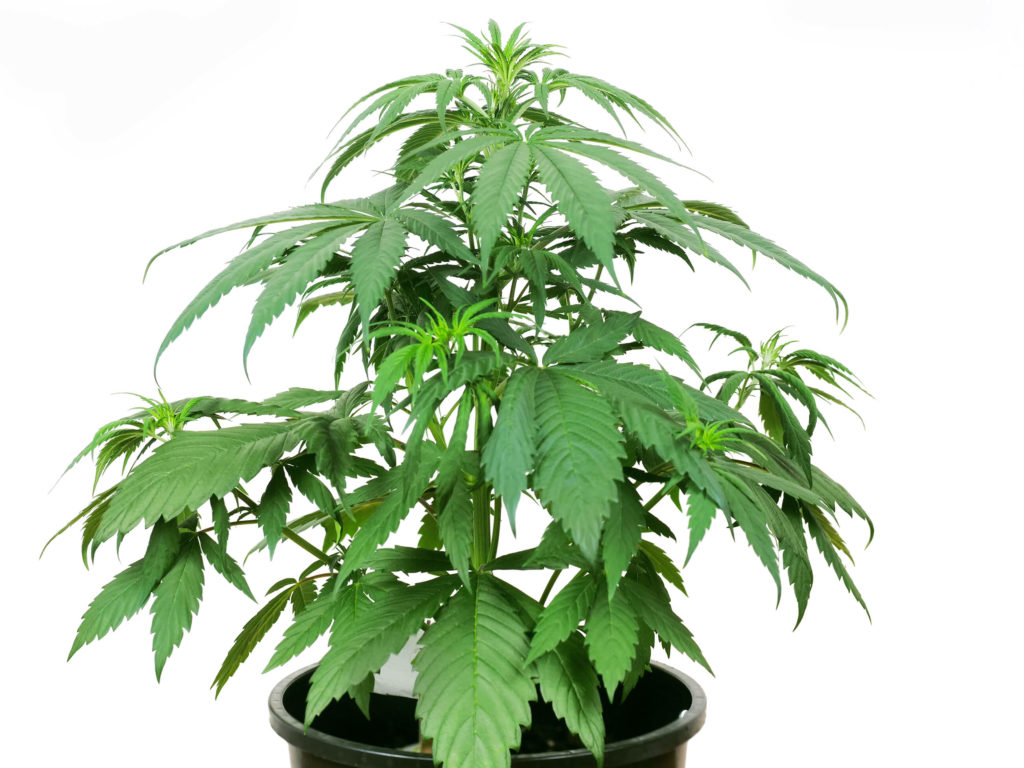
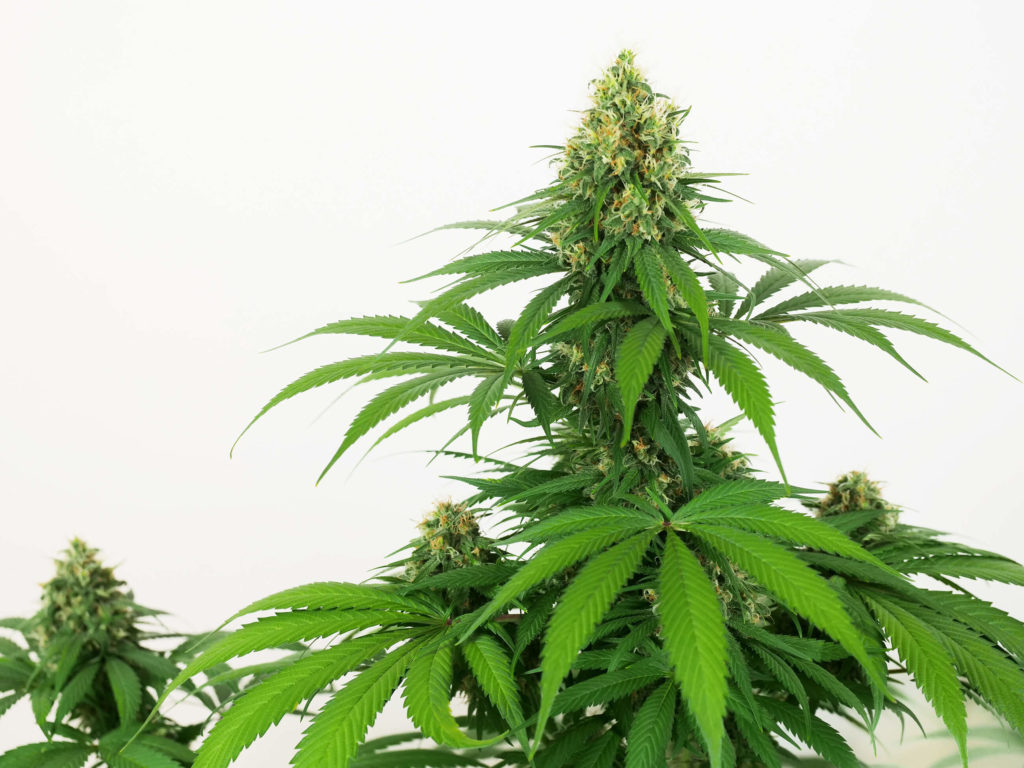
By the start of week six, the plant had quickly gained some additional height, and our Big Bud plant now stood 42 cm above the soil. We decided this was a good time to flip the light schedule to 12 hours on and 12 hours off to initiate flowering.
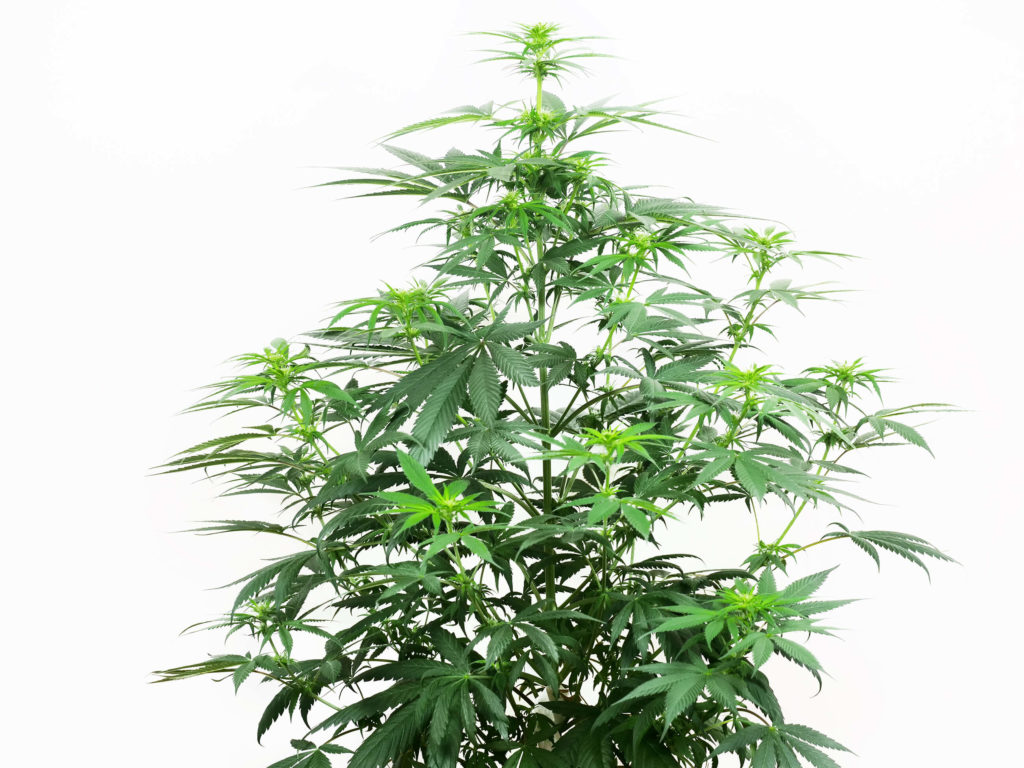
The nutrients switched from the vegetative formula to the flowering formula, and we bumped up the EC of our solution to 1.8, which will be the same for the remainder of the growing cycle. As the week progressed and the plant began to stretch, we saw our Big Bud plant taking on the classic Christmas tree shape.
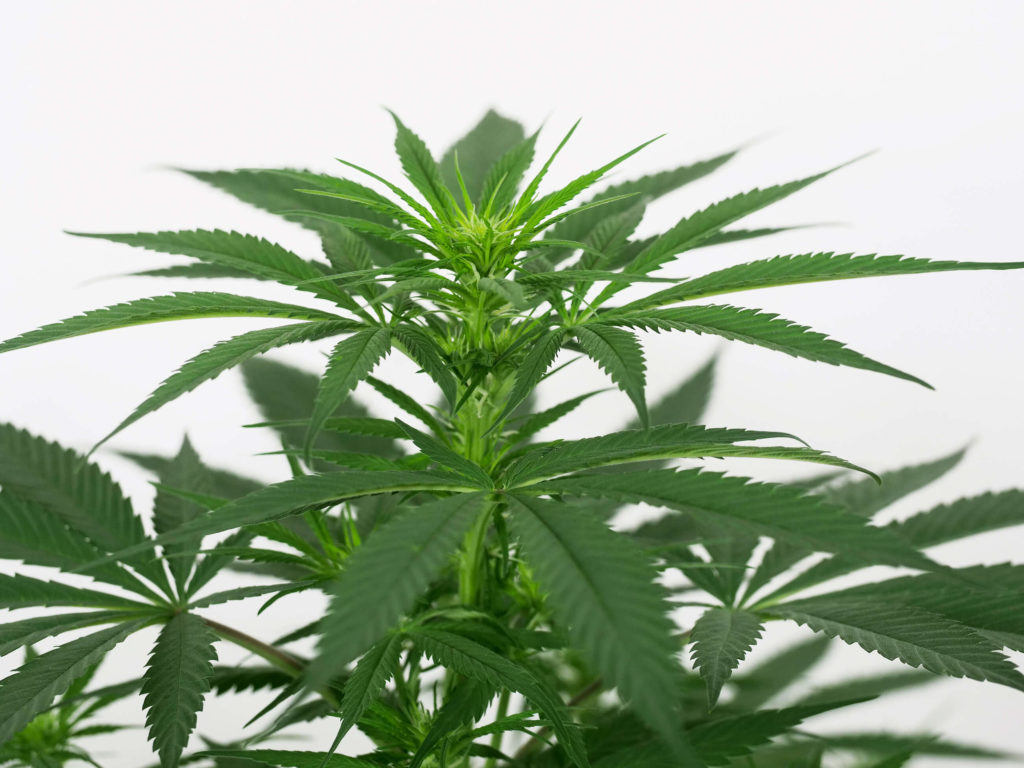
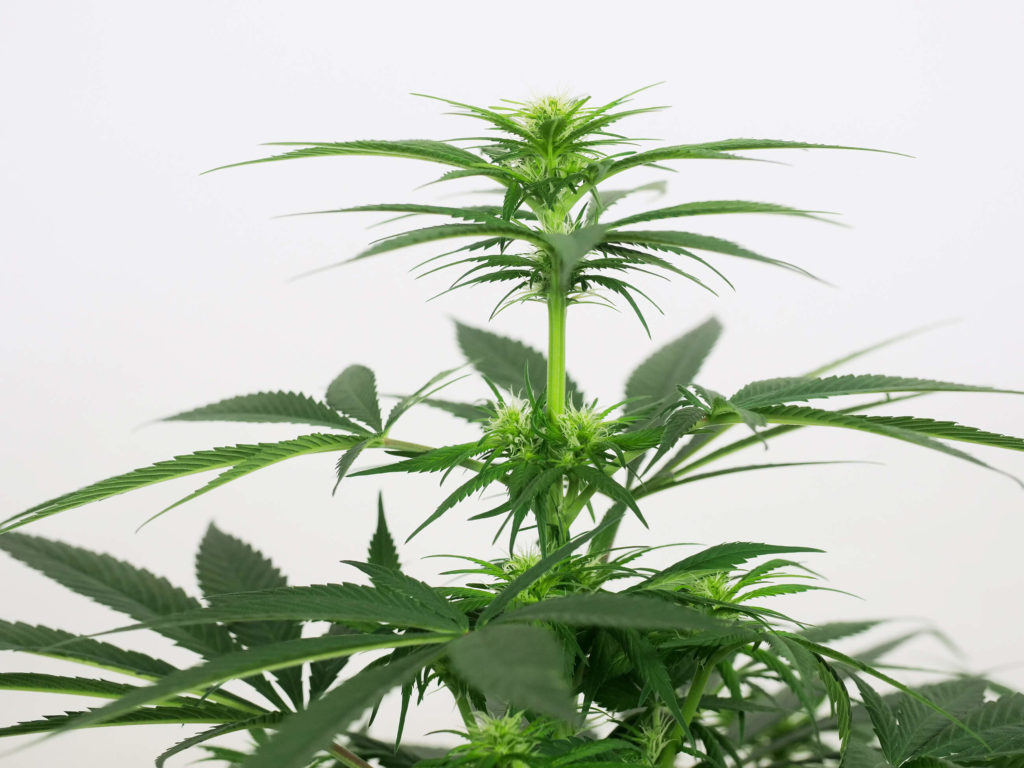
Because our Big Bud seeds are regular, we had the potential to get either a male or female plant. Sex identification is performed in the first few weeks after a cannabis plant is switched to the flowering cycle. Gardeners are looking at the nodes along the central meristem for the pre-flowers to begin forming.
We identified our Big Bud as female by the end of week seven. Continuing our IPM efforts, we release another round of Amblyseius Cucumeris and Amblyseius Californicus to deter any significant populations of thrip and two-spotted spider mite larvae.
Starting off week eight, we performed another pure water flush pH’d to 6.2. Our Big Bud was then fed with 500 ml of water mixed with bloom nutrients for the remainder of the week at an EC of 1.8. From week to week, the plant grew nearly 30% in height, from 58 cm to 75 cm.
Our Big Bud’s morphology was in line with its 85% indica / 15% sativa lineage. It remained compact overall, despite the growth spurt during the stretch phase of flowering. The tight nodal spacing is a precursor to larger colas, as the young flowers grow and swell into each other with time.
Although we have not seen any outbreak of pests during this grow, we don’t want to get complacent with our IPM, and released one more round of Hypoaspis Miles to control any fungus gnat or thrip pupae.
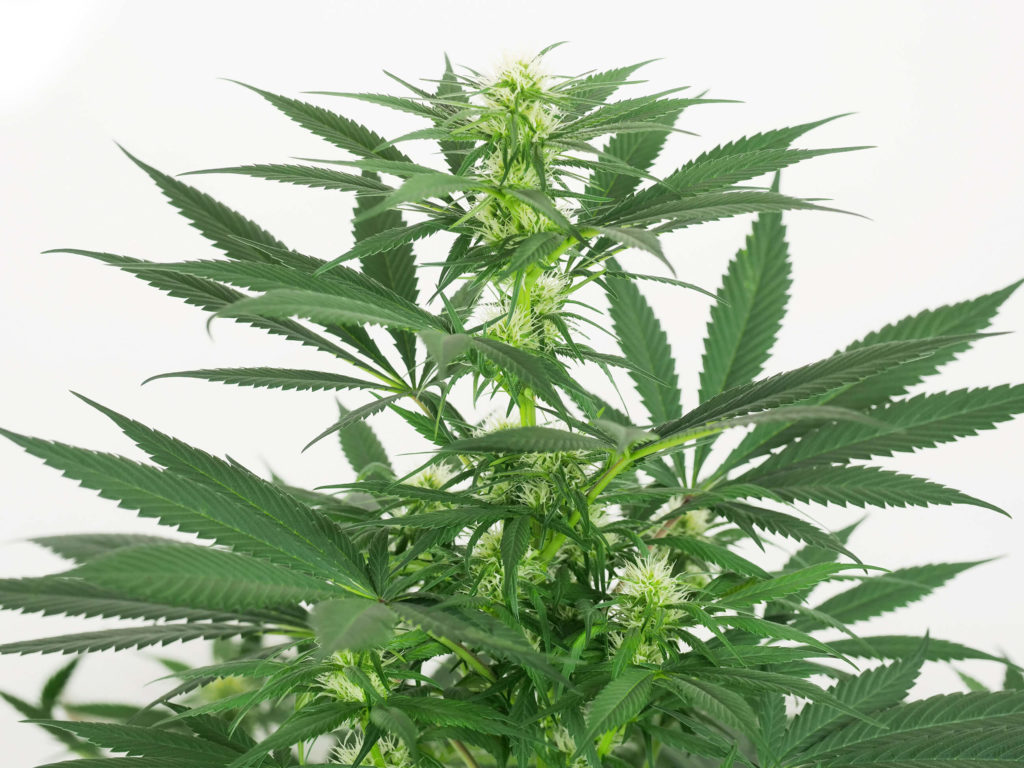
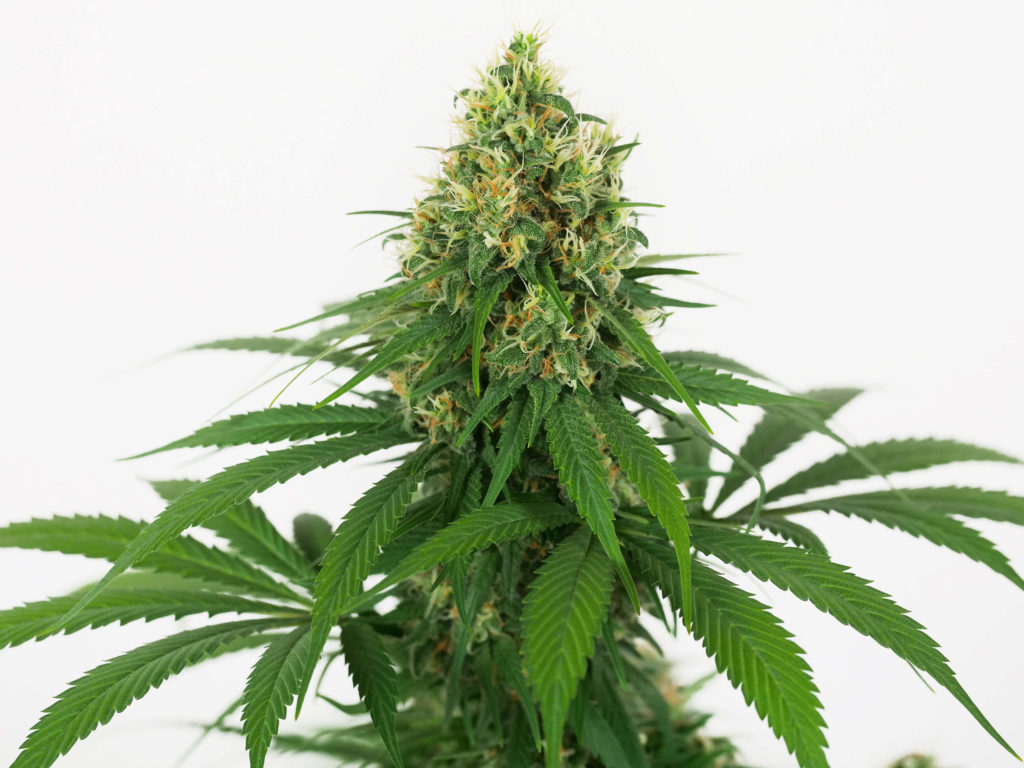
Week nine and every tip on the branches were now covered with little white puffballs of stigmas. As the bracts from which the stigmas emerge are now growing in numbers and density, early signs of bud development continue to show.
Humidity was reduced by 2% to 58% this week to counteract any potential of botrytis or bud mould. This is a common practice during flowering and significantly when growing strains that form large thick colas as Big Bud does.
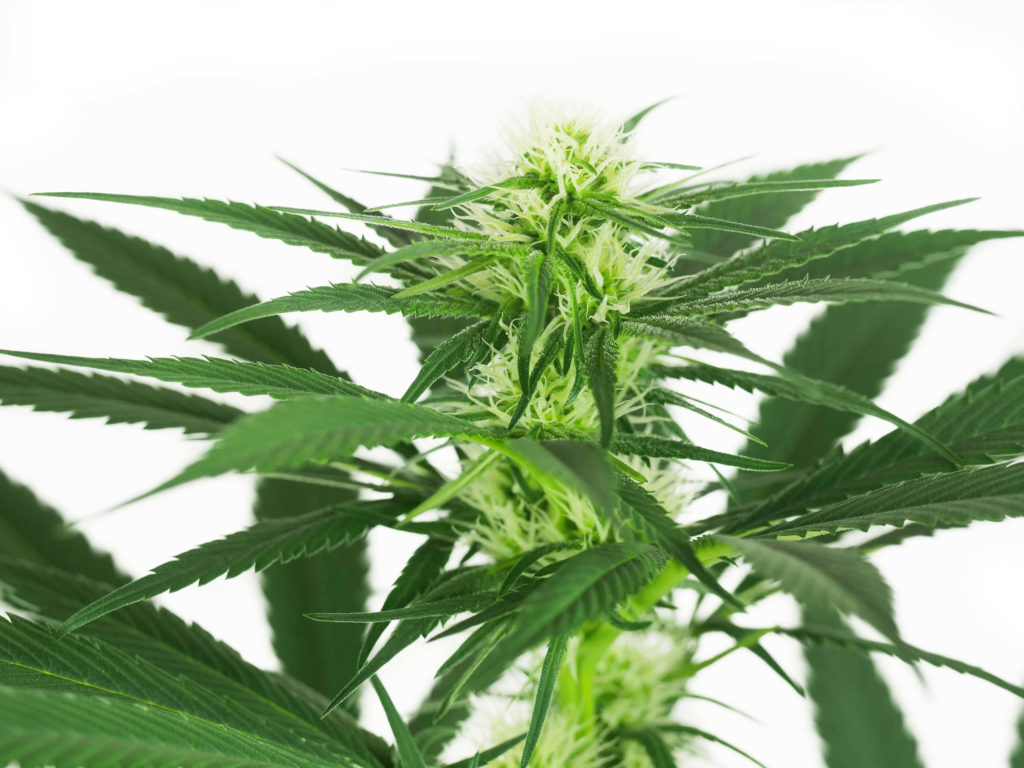
Trichome production has become noticeably higher at the start of week ten. With the increasing size of the buds, we ensured adequate airflow around our canopy from the in-tent fan.
Starting this week until harvest, we kept the RH at 52%. We also did a one-day flush to remove any excess salt deposits in the soil. We accomplished this “mini-flush” by using 500 ml of pure water, which we hand watered as a root drench. Our Big Bud was given blooming nutrients mixed into the water for the remaining six days with an EC of 1.8.
By week eleven, the overall height increased by just 3 cm, from 90 cm to 93 cm from the previous week. Our Big Bud plant was showing signs that it had entirely switched from root and biomass production to flower and resin production. We continued feeding the plant 500 ml of water with bloom nutrients daily.
Week twelve, and there were still many white stigmas sticking out in all directions from the newly formed buds. Typically, in the fifth or sixth week of flower Big Bud will start developing buds faster than in the earlier weeks of flowering.
Evaluating the plant, we opted to flush the soil using 500 ml of pure water on the first day. We returned to our bloom nutrients for the remainder of the week. The solution continued to be fed at an EC of 1.8 and a pH of 6.2.
The vertical stretch of our Big Bud was over by week thirteen and remained unchanged at 93 cm tall. Trichome production also increased, with sugar leaves and buds covered with more glistening heads each day.
The true test for the ripeness of any cannabis plant is by looking at the colour of trichome heads. After seeing more clear than amber heads on our flowers, we continued with our regular feeding schedule using bloom nutrients.
In week fourteen, we began the end of flower flush, which consisted of giving the plant 500 ml of pure water pH’d at 6.5 each day. This removes mobile nutrients from the soil, which triggers the plant to use its stored reserves. There was a natural fade in the leaf’s colour, and more stigmas had turned brown and withdrawn into the bracts. This colour change is an excellent visual indicator of the effectiveness of your flush.
In week fifteen, we continued with the pure water feedings each day. Just as we desired, we saw more and more fading of the colour in the leaves.
Because we had misplaced our jeweller’s loupe to inspect the trichome heads, we grabbed our cell phone, took a close-up picture, and increased the size of the image. This gave us a clear view of the trichome heads and the ratio of their colours. Our Big Bud Regular was finally ready to be harvested!
Harvest
Our Big Bud Regular seed had sprouted and grown into a magnificent, ready-to-harvest plant in 98 days. The decision to harvest was based upon the ratio of clear, milky, and amber-coloured trichome heads.
Before we chopped the plant off at the base, we did a few things to prepare it for drying. First, we removed the large fan leaves from our Big Bud plant. Removing these large fan leaves will speed up the drying process.
We cut down our Big Bud at the base of the soil using a large lopper to slice through the thick central stem. We brought our freshly harvested plant from the growing area into our dark, climate-controlled room for drying.
Temperatures were maintained at 15.5°C, and humidity remained steady at 60%. This allows the plant, which we hung upside down to dry, to dry at a moderate pace. In total, it took 17 days before we felt it was dry enough to begin the curing process.
Curing our Big Bud was achieved in a few steps. First, we trimmed the buds and removed them from the branches. The flowers were big and dense, with a high calyx-to-leaf ratio. This made trimming easy, as there wasn’t much foliage to remove from between the shimmering buds.
We then broke down the large colas into smaller pieces to ensure an even cure while in the glass jars. We removed the curing jars each of the first few days from our dark and cool storage space and opened them to release built-up moisture from the still drying buds.
We burped the jars of freshly harvested Big Bud flowers for the first week, each time the terpene profile getting stronger. The buds had now evened out the internal vs external moisture levels, and we sealed the jars to cure for another few weeks.
After drying and curing, we had 95 grams of great smelling, trichome-covered, top-shelf cannabis. Our Big Bud was laboratory tested and had a THC level of 25.32%. Big Bud packs a big punch, and we achieved some outstanding results.
Terpene profile
As our Big Bud was growing, it emitted a sweet scent, reminiscent of molasses but with a hint of spice. As we harvested our Big Bud, an earthy, woody undertone had begun to develop. Each time we burped our curing jars, the complex blend of terpenes became ever more present. The primary terpenes present in our Big Bud were pinene, myrcene, and ocimene.
Pinene is the most common terpene found in nature. A-pinene can take on a variety of smells, most commonly associated with the scent of pine trees. Our Big Bud is an example of a cannabis strain with the b-pinene terpene, which offers us an earthy and woody fragrance.
Myrcene is a terpene that often mixes well with other terpenes instead of being the dominant aroma. The scent, however, compliments the other terpenes by adding another layer of earthiness, but more importantly, for this strain, it adds an air of sweetness and spice.
Ocimene is a rarer terpene in both cannabis and nature. In the case of our Big Bud, ocimene was added to the bouquet in key areas, reinforcing the overall terpene profile. Ocimene added a faint, woody smell as well as adding to the underlying sweet fragrance of our Big Bud.
The flavour palette of our Big Bud was equally complex. On one end of the spectrum, our Big Bud had an earthy, sandalwood, and spicy quality. Complimenting those flavours in an opposite spectrum where the fresh, sweet, and minor floral hints.
True to its heavy indica lineage, Big Bud is a strain to relax with. Our experiences with Big Bud have been calming, potentially related to the presence of myrcene in the profile. Most people agree that Big Bud offers a comforting body stone that is smooth and stress-relieving, but also one that can lead to couch-lock if too much is consumed.
The outcome
The experience needed to grow this strain at peak performance is not very high. With some planning and the right environment, gardeners of all experience levels can succeed with a rewarding harvest of giant-sized buds from our Big Bud strain (available in regular, feminized, and automatic seeds).
This strain did not require special feeding or watering regimens, which is ideal if you have multiple strains in the garden. The compact nature of our Big Bud plant and the strong lateral branches allowed us to complete our grow without needing any special training techniques or SCROG nets.
We harvested 95 grams, which equals a gram for every day our Big Bud was in the soil. This strain proved to be one that we enjoyed most in the evening due to its relaxing qualities and high levels of THC, which was tested at 25.32%.
What has your experience been with Big Bud? If you are a gardener and have grown out of one of the Big Bud varieties, we would love to hear about your experience in the comment section.
Be sure to check out our other grow reports covering the cultivation of world-class, award-winning genetics offered by Sensi Seeds.
- Disclaimer:Laws and regulations regarding cannabis cultivation differ from country to country. Sensi Seeds therefore strongly advises you to check your local laws and regulations. Do not act in conflict with the law.









Great review. I would like to ask if there are any diferencies between regular version and feminized version of this strain. May I expect same result with feminized verion of Bigbud?
Good morning Pedro,
Thanks for your comment, i’m glad you enjoyed the report!
Yes of course, you can expect similar results with the Big Bud Feminized.
Best of luck 🙂
Mark