California Indica Regular is a delight to the senses. Visually, she grows sturdy and compact. Flavour and aroma are why wise cannabis connoisseurs flock to this strain. For growers, it is also about the large yields. California Indica is an outcross of two classic strains, Orange Bud and an Afghan Hashplant, to create a new masterpiece for the garden.
Flowering Stage: 60 days
Total Time, seed to harvest: 81 days
Final yield: 73 grams
THC content: 12.22%
California Indica Regular seeds (also available in feminized format) represent the start of an exciting growing experience for cultivators. California Indica was created to be a successor to the legendary Orange Bud from the west coast of California. Sensi Seeds worked with Orange Bud and an Afghan Hashplant to create a sturdy and compact plant that can finish maturing within the short flowering time of 60 days or less.
The flavour of California Indica represents the mouth-watering citrus of Orange Bud, but also coating the tongue is a familiar hashy layer of complexity. For our current run, we wanted the benefits of controlling environmental conditions that indoor gardening offers. We set up our equipment in a 220 x 150 cm indoor area.
The large area allowed us to give each plant dedicated space to grow into. Two types of fans were used in our cultivation area. One focused on cleaning the air (by pulling it through a carbon scrubber) and exhausting the air from our growing space. We also used multiple fans within the growing area to move air around the garden space. This was done to avoid stagnant air pockets in and around our California Indica plant.
Our selected lighting was not changed during the different growth stages. We found that the 600W Green Power Phillips HPS light provides the right spectrum and enough light power to have successful harvests using this option in both vegetative and flower stages.
We do our best to keep tight parameters on environment, feeding, and lighting. Please know that results vary slightly from garden to garden and by experience level. However, we feel confident that with close attention to this Grow Report and the plants, gardeners of all levels will be satisfied with the results.
Germination & seedling
There are various methods for germinating seeds; for our California Indica Regular, we chose to use pre-moistened jiffy propagation cubes. Each seed was individually placed into the tiny holes, with the pointy, narrower side pointed down. Room temperature in the growing area was kept at a steady 24°C until after the seedling stage.
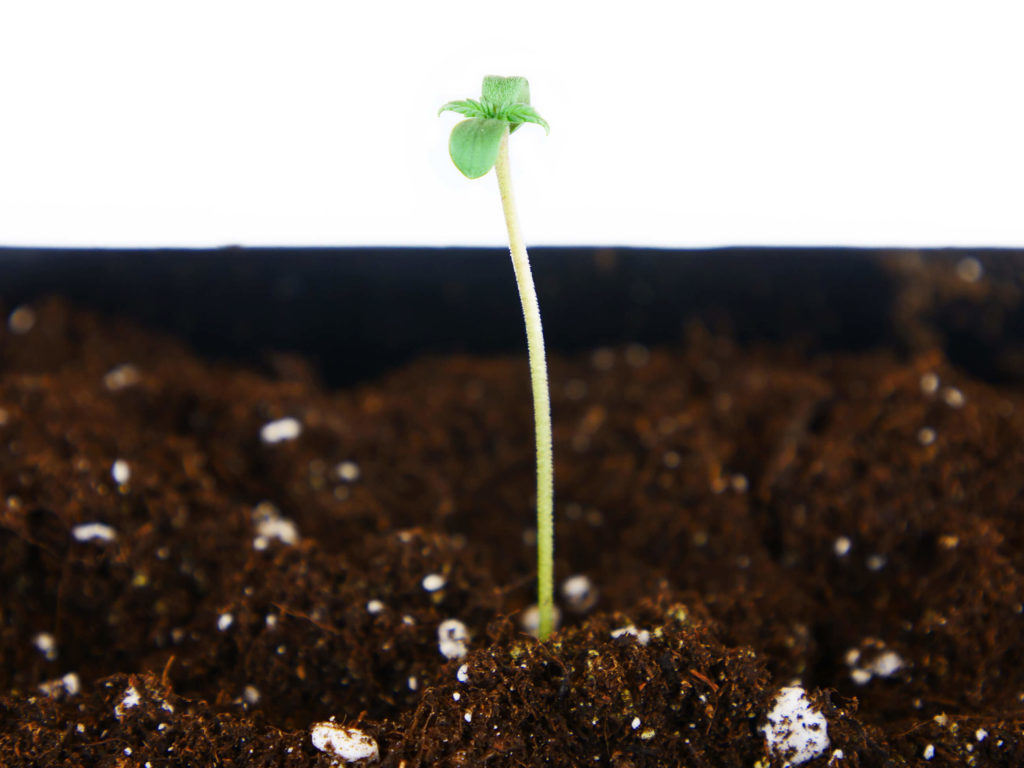
Immediately after emerging from the soil, this California Indica shot upwards. The tall section below the cotyledon can be buried on the first transplant, creating more roots. With the cotyledon exposed to the light, we selected to have our lights-on period for 18 hours and our darkness period for six hours every 24 hours. We were also aware of the light intensity from the high-powered fixture and raised the bottom of the light 80 cm above the top of the sensitive seedling.
Another environmental consideration is the relative humidity. By referencing the temperature and the RH, you are able to calculate your vapour pressure deficit (VPD). VPD is handy to know for maximising the plants potential by controlling root uptake. We maintained a RH of 65% for the seedling and vegetative stage, but at this early moment, our California Indica was still sending out it’s taproot
Within the first week the California Indica Regular had grown long enough roots that they were beginning to show from the sides of the jiffy cube. To avoid air-pruning of these young roots, we transferred our jiffy cubes into 1-litre pots. Each pot was filled with BAC Lavasoil Growmix, which was fresh from the bag and had retained its moisture.
Just prior to transplanting our jiffy cubes, we filled our 1-litre pots with the soil, but we took an unused jiffy cube to place in the position of where our transplant will go. This served as a space saver for the rooted jiffy cube. When we were ready to transplant, we removed the unused jiffy cube, which left us a perfectly shaped hole to plug ours into. The exposed roots coming through the jiffy cubes can be damaged if roughly shoved into the soil without first making space for them, so we took this precaution.
The first couple of days required no watering, but on the third day, the soil showed signs of drying out. Visually, the colour on the top layer of soil had gotten lighter. Physically, the weight of the pot was half the weight of a fully watered 1-litre pot.
Because it is still a young root system, we fed only 100 ml per day. When we watered, it was at the base of the stem. We also added root stimulant to the water, which gave the water a total EC of 0.8. Regardless of the life stage, because we were using soil, all of our watering solutions added to the soil are a pH of 6.2.
Two more things we did to help ensure our success was, one, turn the plant each day a quarter turn. We did this so that our plant would grow a thicker, more robust stem while repositioning itself towards the light. Another thing we did, was to disperse the predator insect, Hypoaspis Miles. These hard-to-see, beneficial insects eat and help control levels of harmful insects like fungus gnats and thrip pupae.
Vegetation
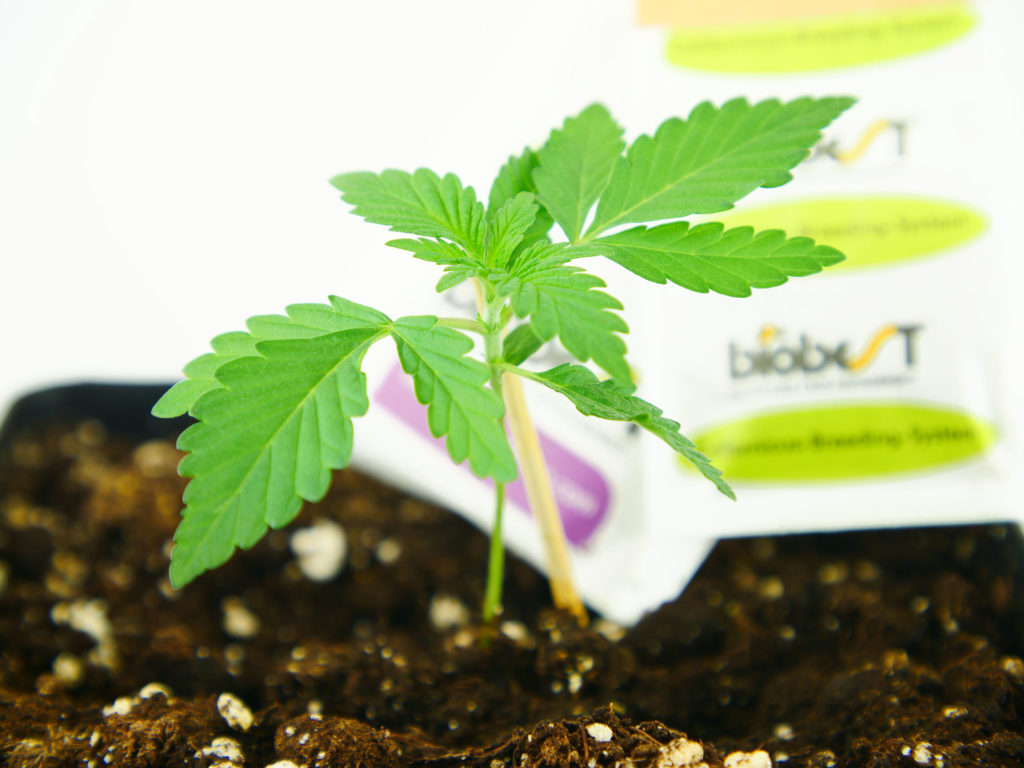
The start of the second week saw a couple of sets of leaves already developing. In most cases, with new seedlings, you will have a single blade leaf, then a three-bladed leaf, followed by a set of five-bladed leaves. Our California Indica Regular was looking normal and healthy. To keep our plants pest-free, we proactively released the predatory bug, Hypoaspis Miles to combat any potential issues with fungus gnats or thrip pupae.
Roots were emerging from the bottom of the 1-litre container, and we decided to up-pot this into a 3-litre container. Transplantation is essential before the root system is too big for the container and growth is restricted. As the root system increases, so does the frequency of watering. We watered daily and started the week at 100 ml and finished the week at 200 ml.
Week three saw substantial growth, going from 10 cm the week before, to 22 cm. To support this growth, our California Indica was watered 200 ml per day, and we included grow nutrients in that solution at an EC of 1.4. To take advantage of the fuller frame and more mature leaves, we brought the light closer to the canopy, stopping just 65 cm above the top leaves.
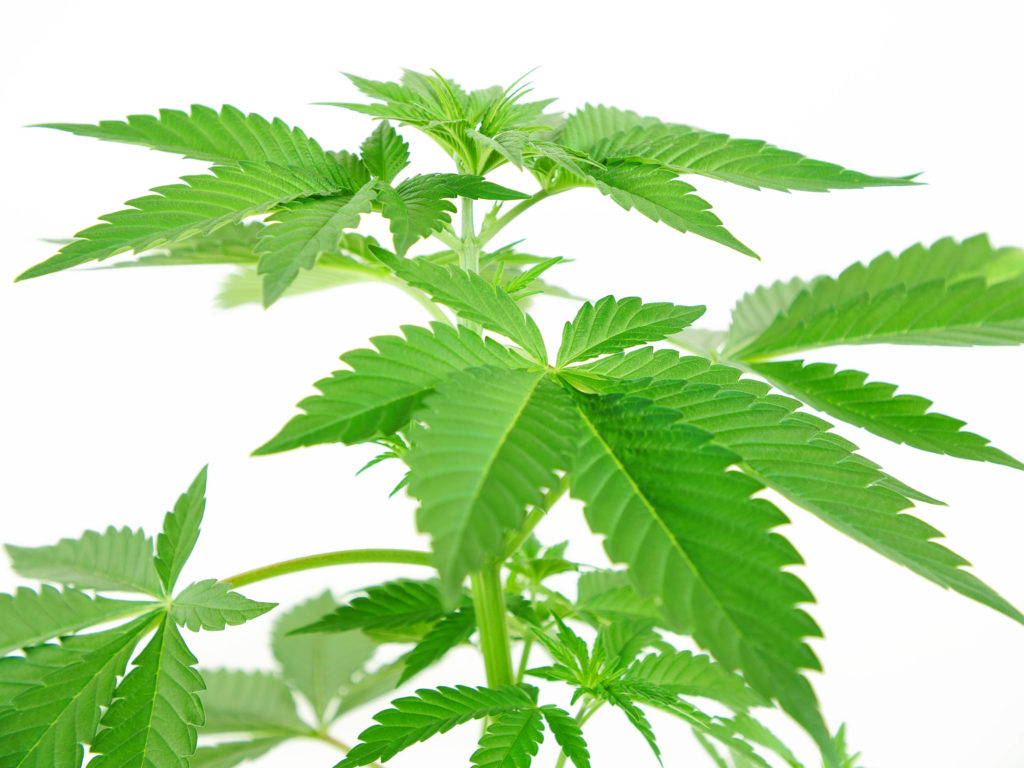
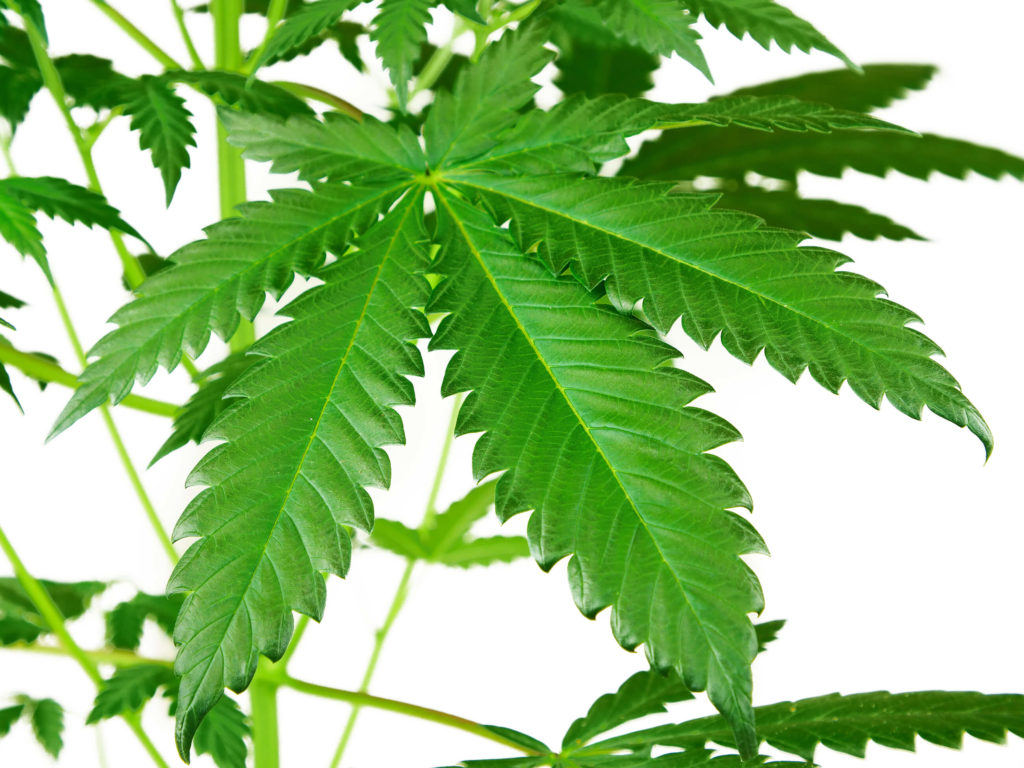
The main stem on our California Indica was starting to thicken up. It now supported multiple nodes and the weight of large fan leaves protruding from the apical meristem. We were quick to notice the width of each blade on the large fan leaves, which seemed fairly wide. This morphology was definitely indicative of quality indica genetics.
Flowering
Big changes kicked off the start of week four. Our California Indica cannabis plant is a photoperiod plant. This means in order to make the plant produce buds, we need to change the photoperiod. We changed the lighting cycle to 12 hours on and 12 hours off to induce flowering. We also used California Indica Regular seeds, which means we will be keeping our eyes open to determine if the plant is male or female.
Other changes made included dropping the humidity in the grow area from 65% to 45%. Our California Indica Regular was also ready for its final container, and we transplanted it from the 3-litre pot to the 5-litre pot. With a more robust plant, we were able to move the light even closer to the canopy to increase PAR. For this week, we maintained a distance of 50 cm from the canopy.
The solution we use for watering each day was also adjusted. We ceased using the root stimulant and grow nutrients and began using strictly the flower nutrients. The target EC rose slightly to 1.6, but the solution pH remained constant at 6.2. The volume of water given to the plant began the week at 200 ml and increased each day to finish the week at 400 ml of solution.
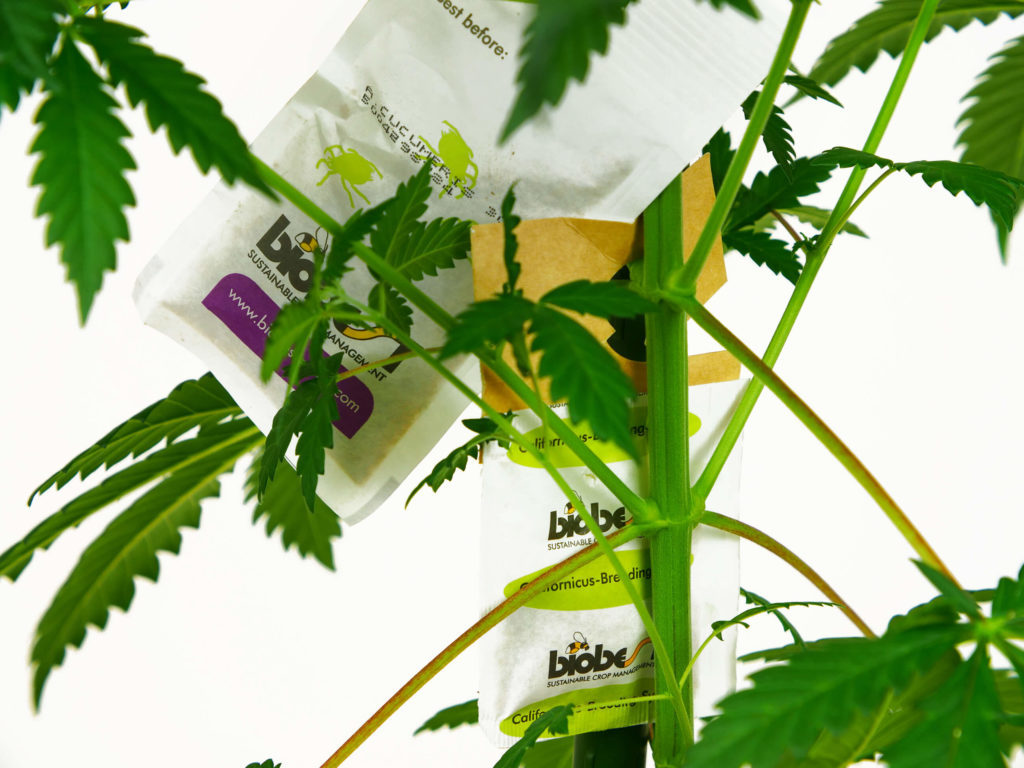
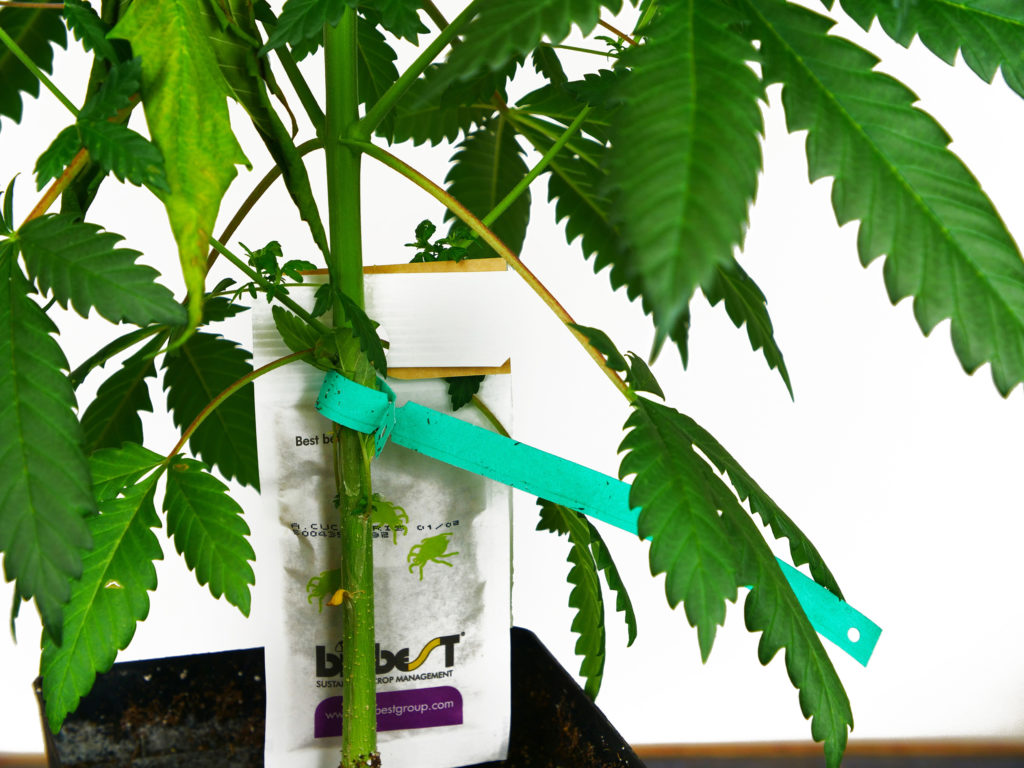
We also proactively released more predatory insects as part of our IPM (integrated pest management) strategy. This week, we hung sachets of Amblyseuis Cucumeris to prevent thrip larvae, and sachets of Amblyseius Californicus to prevent any populations of two-spotted spider mites. These methods are considered organic pest management and involve zero chemicals.
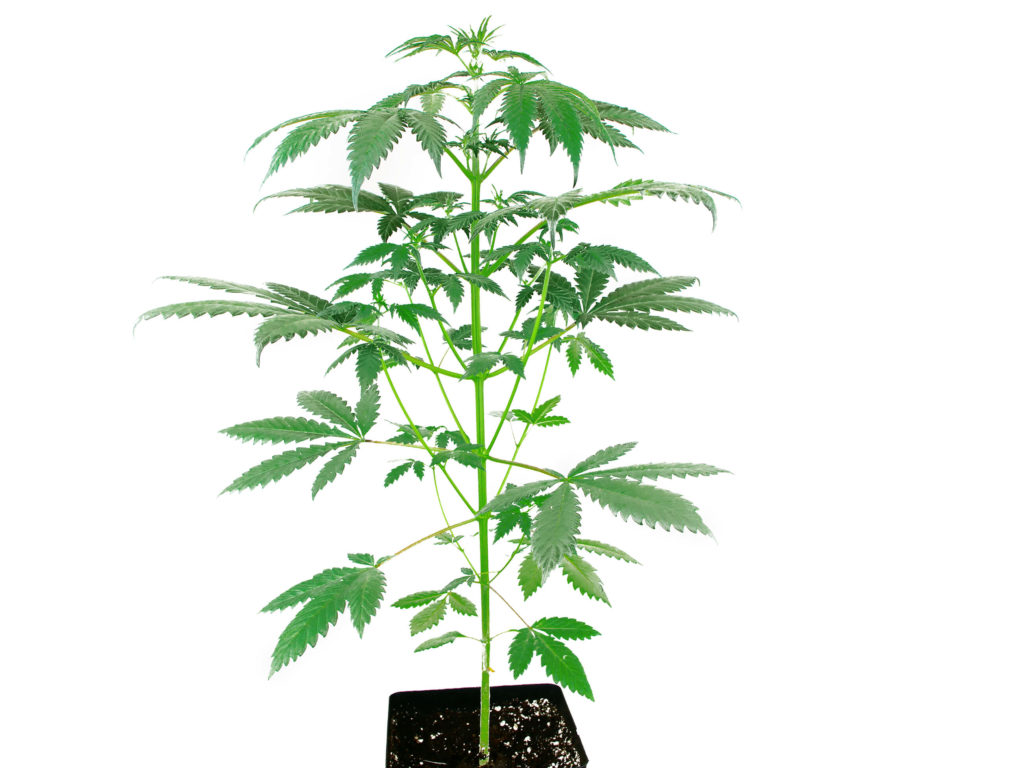
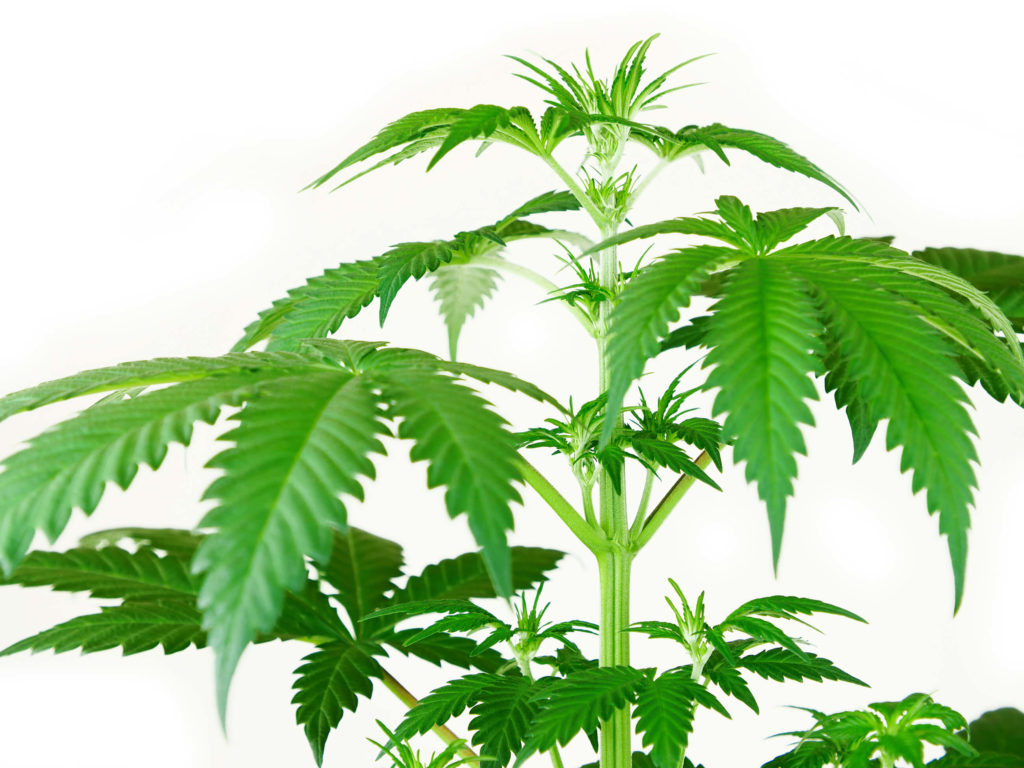
Week five gave us our largest change in height yet. Our California Indica stretched from 24 cm to 55 cm by the end of the week. A trait that we found appealing, is that despite the rapid upward growth, the nodal spacing stayed tight. We now had a plant ready to send out a number of side shoots and bud sites.
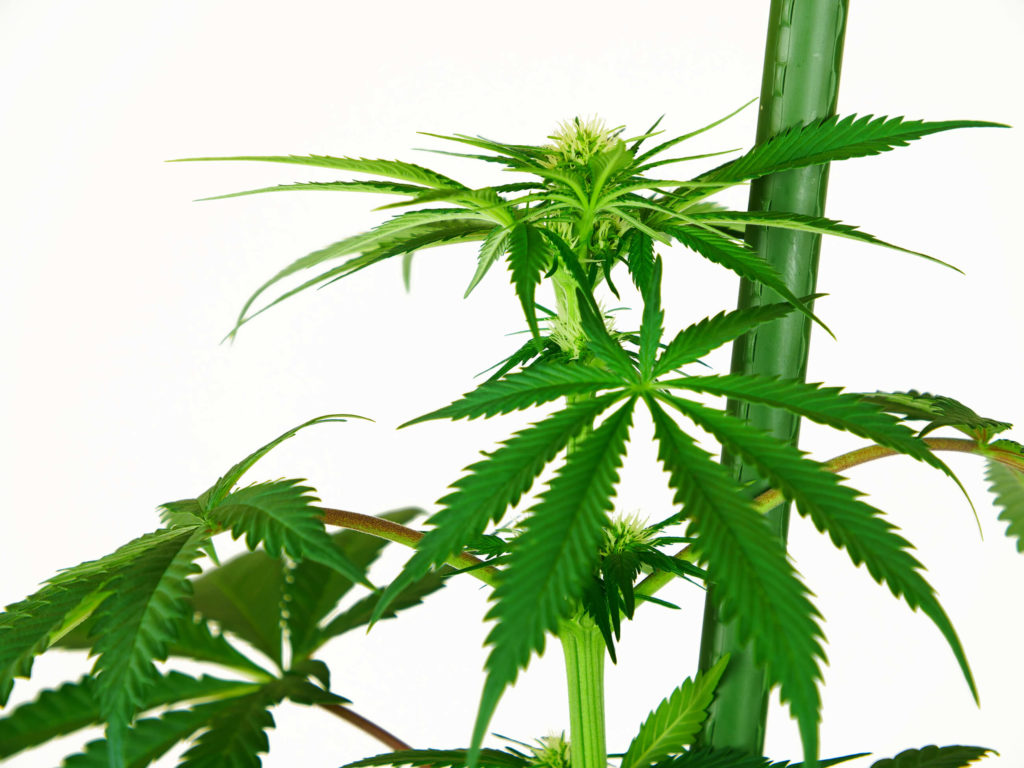
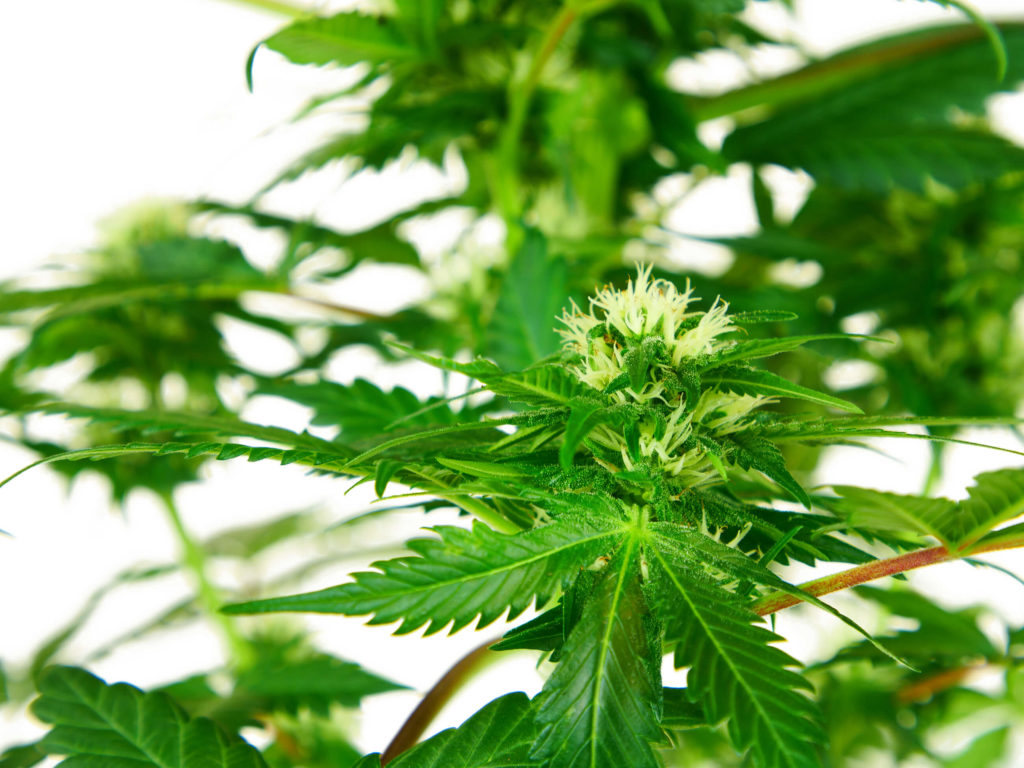
Pistils were identified at the crux of each of the upper nodes and stigmas began to protrude from them. This was our sign that we have a female plant, which is desirable, because only the female plants produce consumable flowers. By the end of the week, it was apparent that we had healthy buds forming.
We continued to feed our California Indica flower nutrients, but we increased the amount to an EC of 1.8. Each day we fed the plants with 400 ml of solution. The hanging height of the light was also adjusted, this time it was moved 45 cm from the top of the canopy, which is the distance we would leave the light for the remainder of the grow.
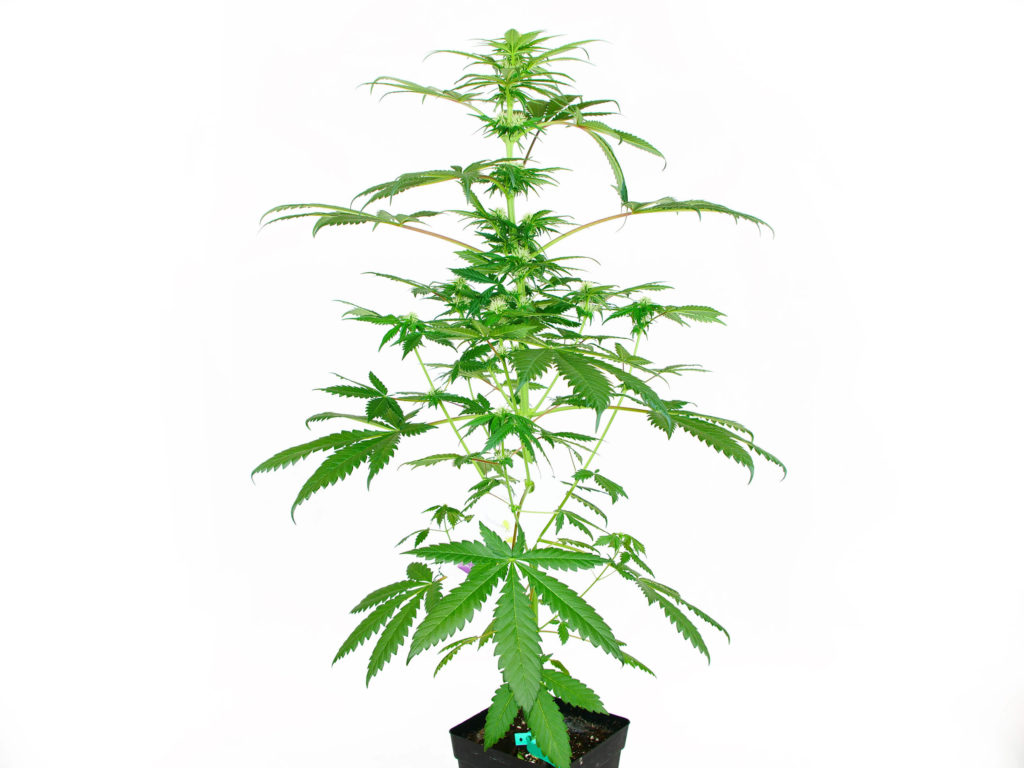
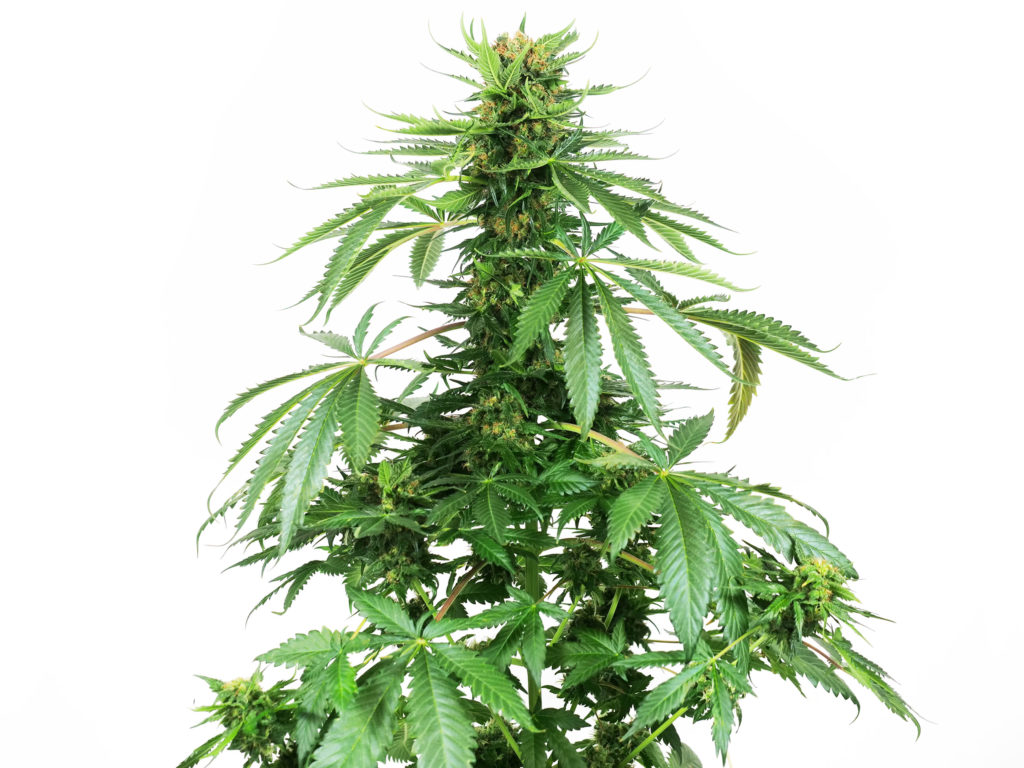
Week six saw the anticipated stretch continue with the plant gaining another 19 cm in height, for a total of 74 cm above the soil. Lower branches reached up towards the light and did so freely, without much light blockage from the fan leaves above. The upper nodes were starting to form into nice buds, with very little side branching. These collectively will form into a large cola as they continue the flowering process.
Our solution volume was increased to 500 ml per day using the flower nutrient solution at an EC of 1.8, which is as high as we will push nutrients for the remainder of this grow. On the first day of the week, we added 500 ml of just plain, pH’d water. This was done to flush any potential salt build-up from the soil. The other days included the flower nutrients in the watering solution.
We continued our proactive IPM strategy in week seven by releasing more predatory insects. We repeated our application of Amblyseuis Cucumeris sachets to prevent thrip larvae, as well as sachets of Amblyseius Californicus to prevent the potential of two-spotted spider mites.
There was far less height gained in this last week, a change of only 5 cm from the week prior. Bud-set was also more pronounced, as we could see a shift in the plant’s energy from growing tall, to focusing on bud production. The increasing number of pistils were now forming little buds up and down our California Indica.
Flower nutrients were used each day of the week and the total volume of the solution reached its peak for this grow at 1,100 ml each watering.
Week eight began with a pure water flush of 1,100 ml, and then we continued each day thereafter with the regular amount of flower nutrients mixed into the solution. As in the weeks prior, the EC of our final solution was 1.8 and the pH registered at 6.2.
All of our environmental parameters were steady, as they have been for many weeks. Air temperature during the day was maintained at 26°C and the night air temperature remained steady at 22°C. Humidity remained a constant at 45%, which in combination with the air temperature correlated to a desirable VPD for nutrient uptake by the plant.
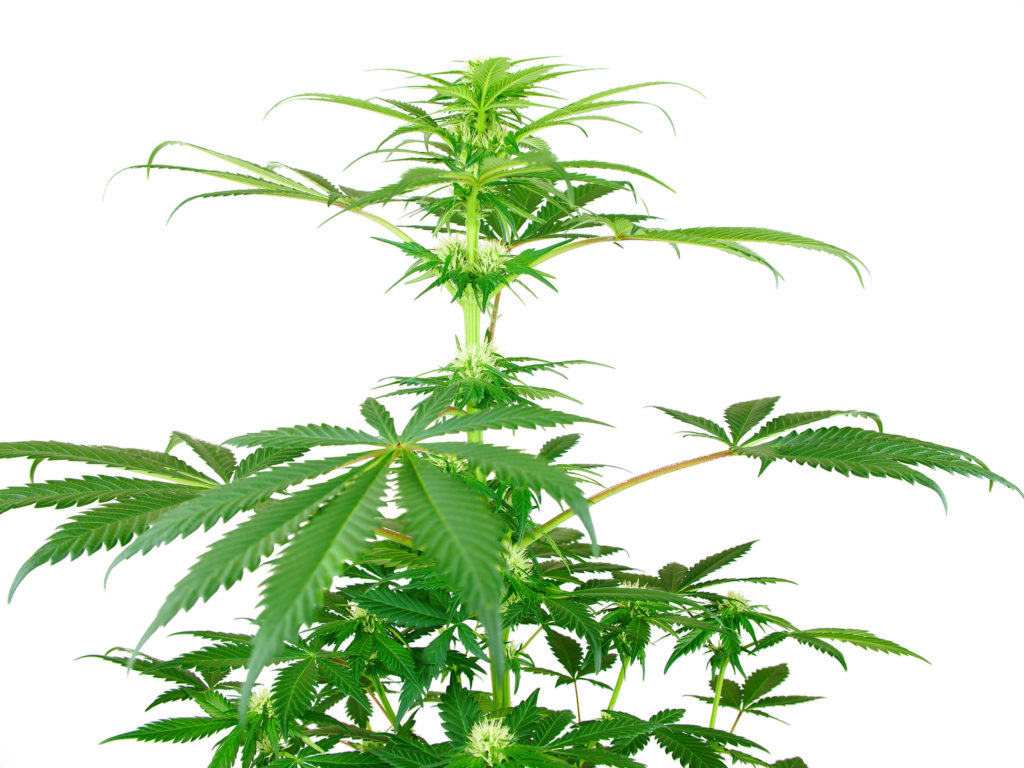
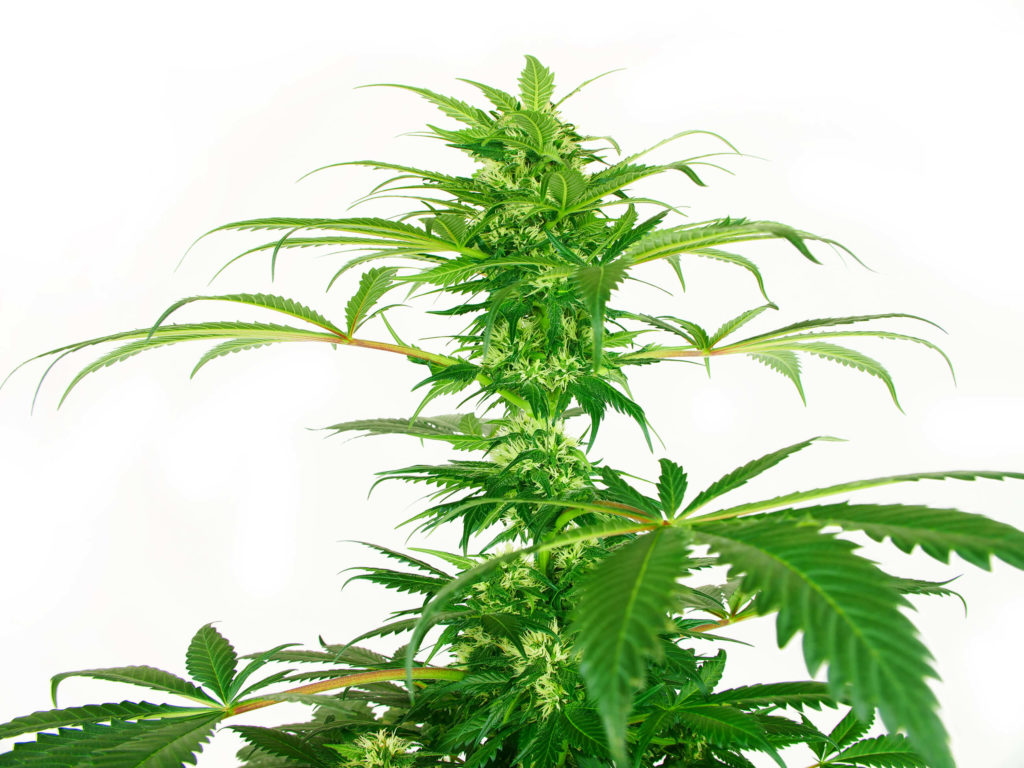
This week really saw those buds on the upper nodes expand and start to touch, foreshadowing the size of our terminal cola. We still had many more weeks to go, but this was an encouraging sight that was indicative of the beautiful harvest that lay ahead.
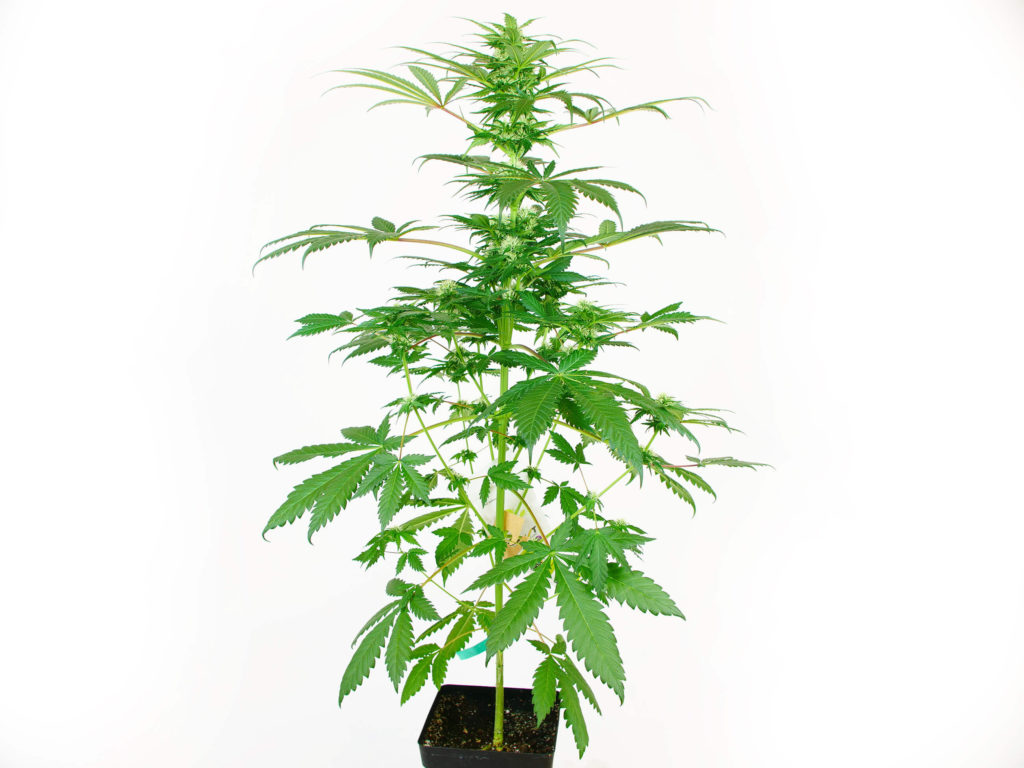
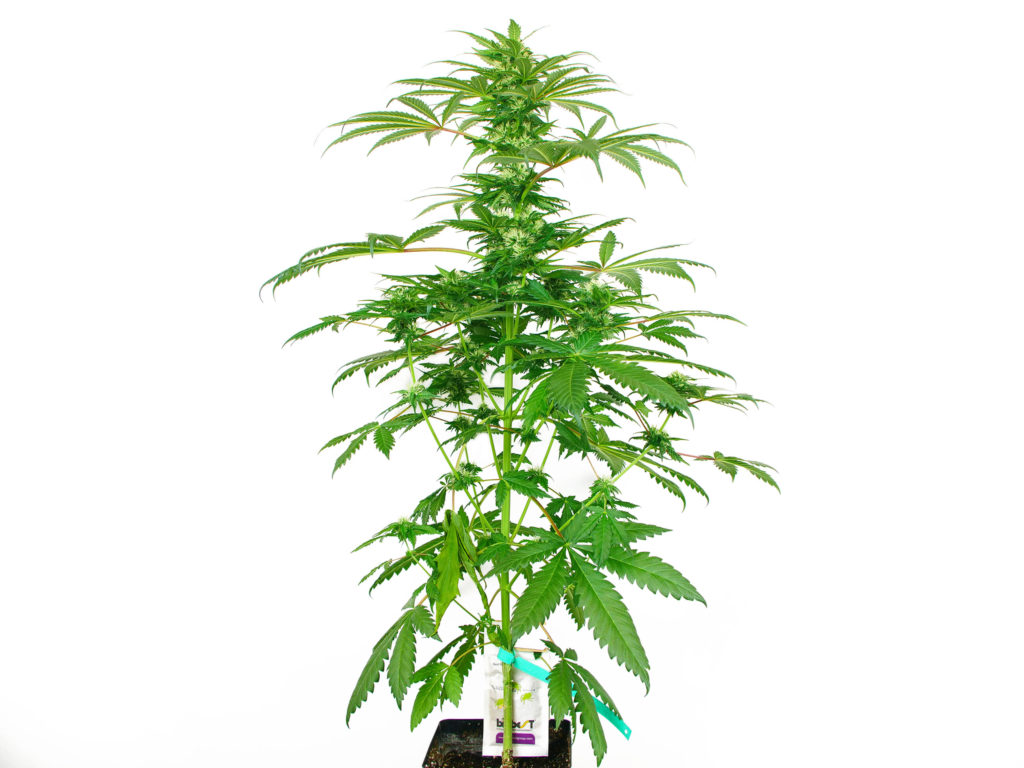
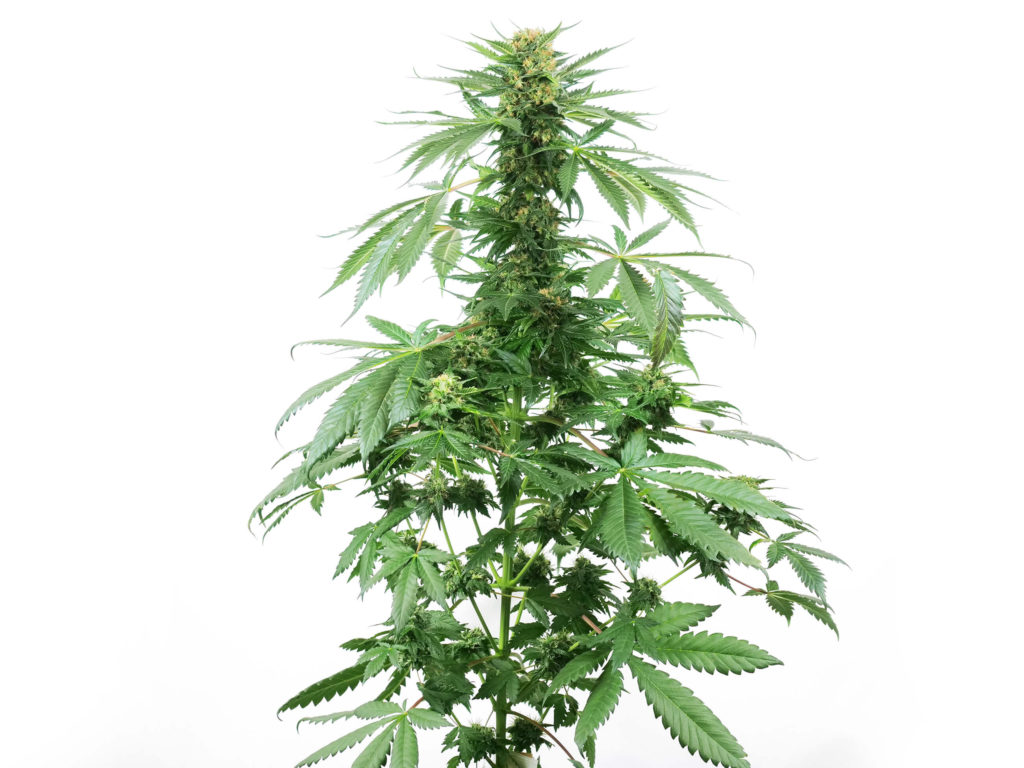
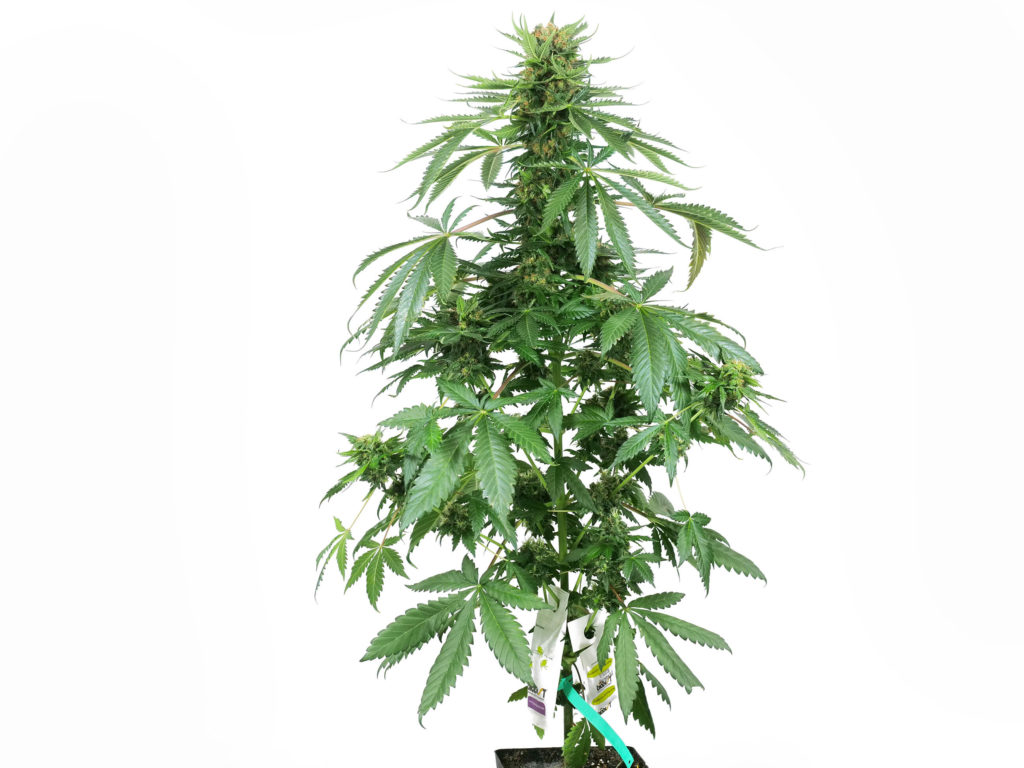
Week nine ushered in the end of the stretch period. Week over week, the overall height had not changed. Our California Indica Regular now stood at 82 cm above the soil, which proved to be the completed height of this grow. The sugar leaves and buds had already started to develop a beautiful, full layer of trichomes, which was now kicking into overdrive.
Flower nutrients were given each day to our California Indica, at the usual volume of 1,100 ml. Not much defoliation was needed during this particular grow, but we paid special attention to airflow within the grow area. As buds begin to fatten up and grow together to form larger colas, there is extra moisture in the air around them, which, if left unchecked, can lead to potential issues with mould.
We’ve cleared the way for these buds to grow as big as they want by first controlling humidity in the grow area to 45% RH and keeping a constant swirl of air around the plant. It is OK to have a fan that blows gently on a plant or gives it a momentary stiff breeze using an oscillating feature, but it is best to avoid a heavy, steady wind directly on your plant.
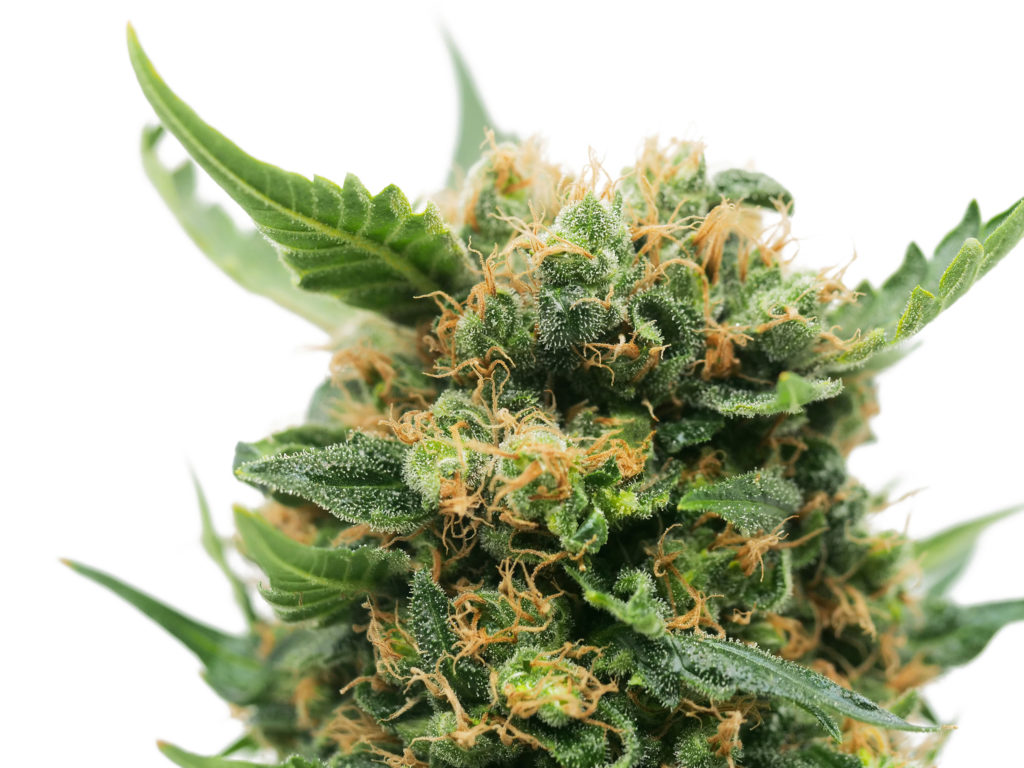
In week ten, we started to see some of the stigmas changing from white to a reddish-orange colour on some of the lower and upper buds. This is usually an indicator that harvest may be right around the corner, but it is not the deciding factor of when to harvest. Checking the trichomes heads are the ultimate guide to the optimal time for harvesting.
With a few weeks still to go, we released one more round of beneficial insects to deter any explosion of pest populations at this point in the grow. The two-spotted spider mite can destroy your garden if left unchecked, so we hung a sachet of Amblyseius Californicus on the plant. A sachet of Amblyseius Cucumeris was also hung from the plant to prevent thrip larvae from gaining a foothold in the garden.
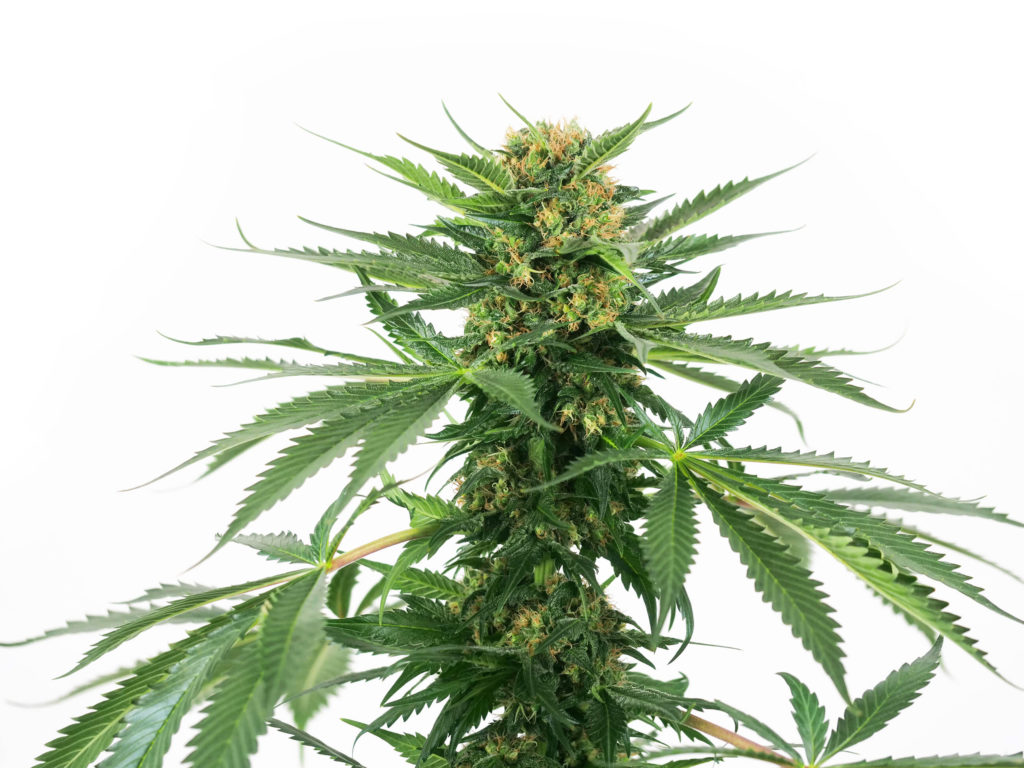
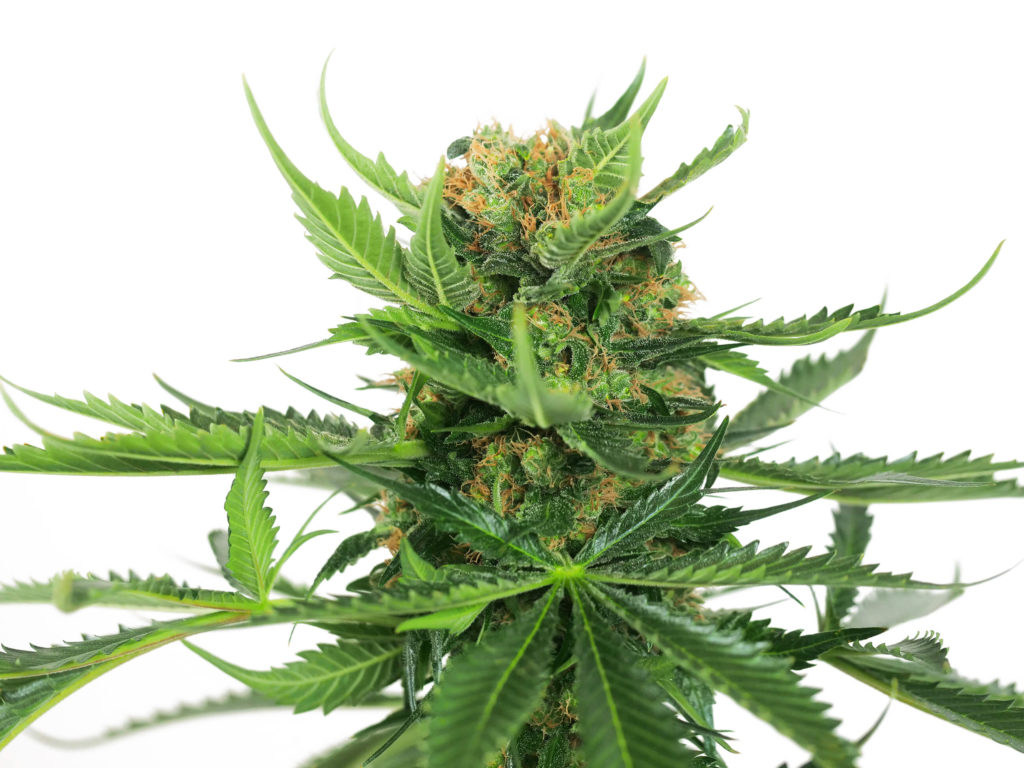
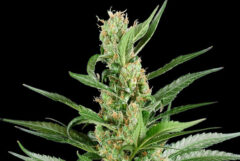
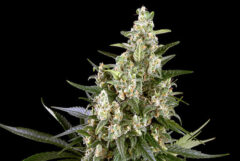
By week eleven, we were looking at a wonderful cannabis plant that in a few short weeks would be ready for harvest. The leaf colour was still nice and green, there has been no fading of the leaves yet. The lower branches were crowned with a healthy-looking bud, full of red and white stigmas sticking out from the pistils. Above them was the large terminal cola, which in the past few weeks has been filling in and forming one big, long bud.
Although inspection of the trichome heads indicated a few more weeks until peak ripeness, there were many aspects of this grow that had reached their final destination. The height of our California Indica has been 82 cm for many weeks. The temperature, humidity, and light hanging distance, remained unchanged, as well as the nutrient solution pH and EC given to our California Indica each day.
Flushing is a crucial step to remember weeks ahead of your final harvest. We started this week with 1,100 ml of pure water but returned to the standard flower nutrients for the remainder of the week. We knew that there was still adequate time to perform our flushing of the grow medium before harvest.
In week twelve, there was a noticeable shift in the colour of the stigmas. They were now predominantly an orange-red colour, and many were withdrawing back into the swollen calyxes that formed the massive buds. With harvesting in mind, we were comforted by the high calyx-to-leaf ratio. We knew that this would make hand-trimming much easier later.
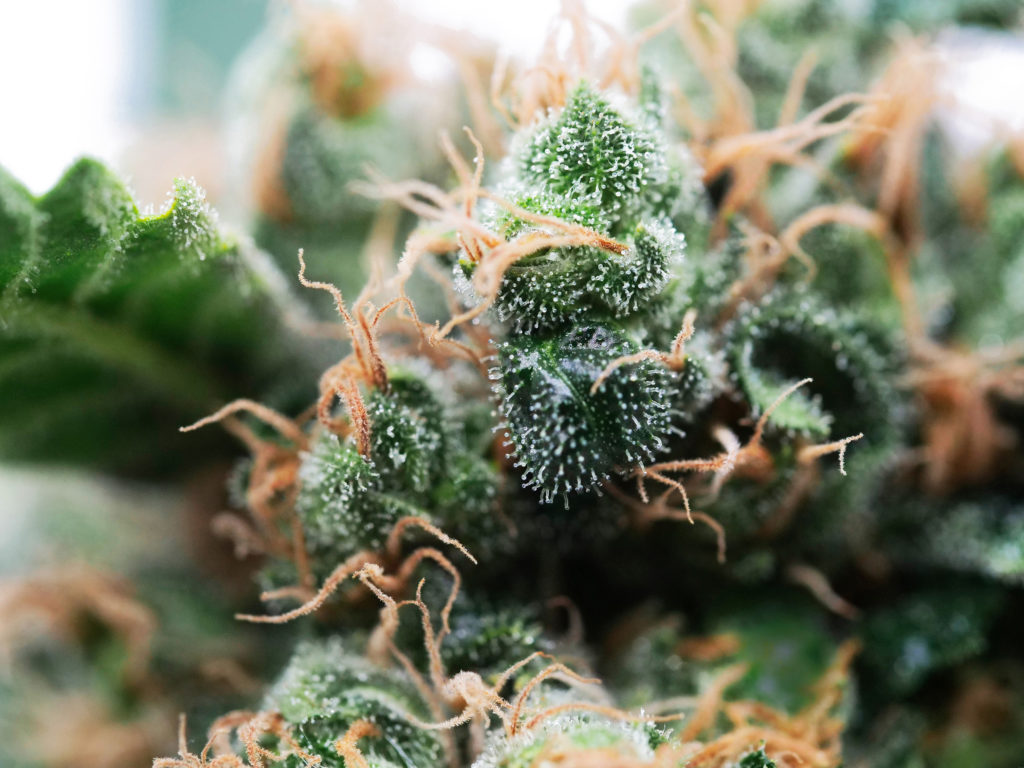
An inspection of the trichome heads revealed that the majority of them had the desired milky hue. Roughly 10% were still clear (young) and around 7% were amber (past peak ripeness). We are aiming for 80% milky heads, 10% clear and 10% amber. This was our sign to begin with the water-only flushes of our soil.
The plant looked finished from a few meters away, but keeping the old saying in mind, “when you think it’s done, wait another week”, we decided at the end of the week to give it one more. This also allowed us two full weeks of flushing the soil, which involved cutting out flower nutrients and giving the plants only pure water at the same 1,100 ml per day.
It has been a fun gardening experience, and in week thirteen, our California Indica was ready to come down. We did let the plant finish the entire week, basing the decision on the desired ratio of trichome colour. This allowed us to flush the soil with pure water for a few more days in an effort to leach out any built-up salts in the growing medium.
Harvest day is here!
Harvest
The day had finally arrived for us to cut down this beautiful plant that we spent nearly three months growing. It was the end of this round, but I suspect we’ll soon be growing more of the California Indica Regular. Before we chopped our California Indica down, we did a little prep work to it that will aid the drying process and will result in a better cure.
Once our materials were prepared for the harvest, we put on our gloves and went to work. All of the large fan leaves and leaves not protruding from buds were removed. With these leaves removed, there is less biomass holding moisture, and that is a benefit to us during the drying process.
The purpose of drying is to slowly let that moisture escape the plant and the buds, but not too slow or you face the potential of botrytis, aka bud rot. If you dry too fast, your buds will have an undesirable “hay-like” smell and taste.
We chopped our California Indica with loppers at the base of the main meristem, a few inches above the soil. We made sure to have a good grip on the base as we chopped. We don’t want to let our precious plant fall onto the ground. Also, be mindful not to drag the top of the plant into the soil as you flip the plant upside down after cutting the main stem.
Our plant was brought into the drying room, where the individual branches were removed and hung upside down. The temperature within the drying area was kept stable between 18 – 20°C. This temperature is not so hot that it dries the buds too quickly, but it’s also not so cold that the buds take too long to dry. RH was maintained at an even 60%.
For air circulation in the drying area, we used a small fan, similar to those used inside of tents to move air. We had our fan set to the “low” setting. It’s important to gently move air around the drying plants but avoid blowing it directly onto the plants. Direct wind can cause the buds to dry prematurely and often, the result is not a pleasant end product.
The California Indica branches remained in the dark, climate-controlled room to hang dry for 14 days. As mentioned before, the calyx-to-leaf ratio was high, which means there were not many leaves sticking out from the buds to trim. This made our job easier and the amount of time to trim less.
Another favourable factor that contributed to the ease of our trim job, was that the buds of California Indica were dense and tight. It was easy to move the scissors around the outside of the buds as we trimmed, without trying to get the in-between spaces left by airy buds.
After trimming the cannabis flowers, we were able to confirm that the buds were at a good level of moisture to be jarred. We could tell by the density of the buds that some moisture remained in the centre, but the outside layer was dry and slightly crunched when squeezed.
We then took the dried flowers of our California Indica Regular plant and placed them into glass mason jars for the curing process. Each day for the first few weeks we burped the jars. Burping is the act of removing the lid for a short amount of time (we started with 30 minutes the first week) to let the moisture released from the buds, escape the jar.
The process of drying and curing isn’t something that will increase THC levels, but rough handling of your buds will decrease the amount of THC filled trichome heads that remain on your plant. Drying and curing is meant to bring out the flavour and aromas of California Indica, or any cannabis.
Our buds cured for another two weeks in these jars, which were stored in a cool, dark place. We took samples of our California Indica Regular to be tested at a lab, and the results came back with a THC total of 12.22%. This number does not include other minor cannabinoids found in this strain.
Terpene profile
California Indica stands out from the crowd in part due to the fantastic nose and flavour this flower is capable of. This strain is representative of both the orange nuances that made Orange Bud so popular, and the exotic spices found in Afghan Hashplant that make up the genetic background of this cultivar.
The smells started coming from our California Indica Regular about halfway through flower. At first it was a faint citrus scent, but this developed as the buds did, into something larger and more complex. Overall, we were glad that we had proper air filtration in place to remove the odours before venting the garden air outside. As we handled the plant stems and buds during the trimming process, the intense aromas were unavoidable.
California Indica is easily identified by the strong orange citrus smell, which comes from the limonene terpene. Limonene is primarily responsible for general citrus scents; it is found in the rinds of many citrus fruits. The range of citrus aromas limonene is capable of includes orange, lemon, and limes, to name a few. Limonene is the most commonly found terpene in nature and is one of the dominant terpenes found in cannabis.
Behind that unmistakable citrus blast of California Indica, are the warm and spicy notes inherited from the Afghan Hashplant, which is often high in the sesquiterpene, b-caryophyllene. B-caryophyllene is found in the essential oils of black pepper, clove oil, oregano, and many more plants. This terpene is usually described as imparting a warm, woody, and spicy odour.
Fun fact, b-caryophyllene is the terpene that drug-sniffing dogs were trained to detect when searching for shipments of cannabis.
When it came to flavour, our California Indica did not disappoint us as being all nose and no flavour. True to the terpene profile, California Indica Regular exploded with flavour from the beginning, all the way until the end. Something about the citrus seems to cut through anything that stands in its way. Close on its heels to the tongue is the unequivocal layer of exotic, warm, spices from the Afghan Hashplant influence.
The outcome
In our professional experience, we would feel confident with gardeners of any skill level giving California Indica Regular seeds a start in the garden. There was nothing extraordinary about the plant requirements in regard to watering, lighting, or nutritional needs. Control of basic environmental conditions and standard procedures lead to a happy and healthy plant for us.
Some people may take a different approach to IPM and not use beneficial insects instead of foliar applications. Others may use a different form of nutrients than we did, but California Indica is a hardy and adaptable plant, open to many growing styles. This grow required no special training from us, but if gardeners choose to keep a longer vegetative stage, SCROG, super-cropping, and lollipopping are all viable options.
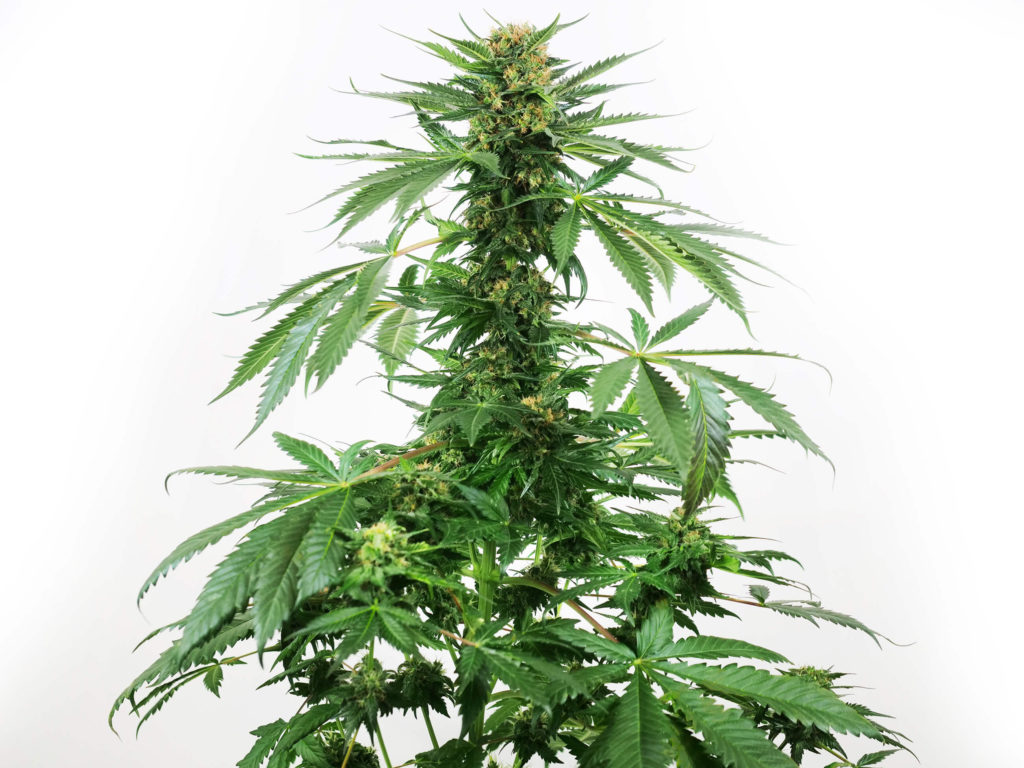
Overall, our plant naturally grew one large main terminal cola, with a handful of lower branches that were all capped by an impressive-looking bud and a handful of smaller buds on the branch below it. When the flowers of our California Indica were dried, cured and then weighed, we had a grand total of 73 grams of premium buds. Total THC was measured at 12.22%.
California Indica is available in both regular and feminized versions from Sensi Seeds. We found it a pleasure to grow and consume. It was a delightful and welcomed detour from the sea of common cannabis profiles and fussy plants.
Add something unique into the garden that is sure to inspire future conversations with friends, California Indica Regular gets the job done. If you liked how this Grow Report got the job done in the grow room, be sure to check out our entire series of Grow Reports featuring some of the hottest and newest strains from Sensi Seeds and White Label. Don’t miss out!
Be sure to leave us your comments and let us know how you think we did with the grow. We’d also love to hear from growers who have had experience with California Indica in their grow room. We appreciate your support.
- Disclaimer:Laws and regulations regarding cannabis cultivation differ from country to country. Sensi Seeds therefore strongly advises you to check your local laws and regulations. Do not act in conflict with the law.




Hello, I have a question about CBD content. Is medium THC content because there is also some CBD?
Good morning Pedro,
I hope you’re having a great day,
Medium THC content refers to the levels of THC within the cannabis plant.
As our California Indica is THC-dominant there will be minimal, or zero levels of CBD.
I hope this has helped!
Have an excellent day
Mark
hello
thanks for a very enjoyable read / report
just wondering why you chose sodium as the light source and not LED
Good morning Simon,
I hope you’re having a great day,
We really appreciate your support, and are thrilled you enjoy our Grow Report series 🙂
It really comes down to a personal preference, as both HPS and LEDs are ideal for the cultivation process!
I hope you continue to enjoy the blog,
Thanks again,
Mark