OG Kush Feminized will delight gardeners with its compact nature and XXL yields of top-shelf flowers. The origins of the meaning of “OG” may be a mystery, but growing this plant is easy and accessible to everyone, regardless of experience level. OG Kush offers an uplifting terpene profile and heavy indica effects to compliment the dense, green buds.
Flowering stage: 70 days
Total time, seed to harvest: 98 days
Final yield: 130 grams
THC content: 26.68%
OG Kush Feminized (also available as autoflowering seeds) is a Californian classic that produces soothing and euphoric effects. Cherished for its distinct flavour profile and effects, OG Kush is thought to have a lineage consisting of Lemon Thai, Chemdawg, and Pakistani Kush. Not many people can agree on the meaning of the initials OG, but everyone can agree that OG Kush is a fun and easy plant to grow.
Our feminized version was created for gardeners who are limited on space, who need to stay under a certain plant limit, or simply for those who do not want to sex the plants at the start of flower.
We set up our equipment in our specialized growing room, which includes a 1000W Green Power Phillips HPS light and hood combination. For air movement, we used our ventilation system, and two smaller movable fans to move air through the canopy and around the grow space. For ventilation, we connected an inline fan to suck air from within the grow space and exhaust it into a carbon scrubber placed outside the grow area.
For our growing medium, we used BAC Lava Mix soil, which was fed with Bio Grow and Bio Bloom nutrients. Environmental conditions are important to control for optimal plant growth. We changed the humidity levels at different stages of the growth cycle; however, the temperatures were constant. During lights on, our grow area was kept at 23°C. The temperature dropped slightly when the lights went out, but it was maintained at 21°C.
Germination & seedling
Our OG Kush feminized seeds were placed into a damp paper towel and then set between two plates to maintain the moisture. Within 48 hours, the seeds opened, and the small, white tap roots began to poke out. We gently took our OG Kush seed and placed it approximately 4 mm under the soil surface with the tap root facing down.
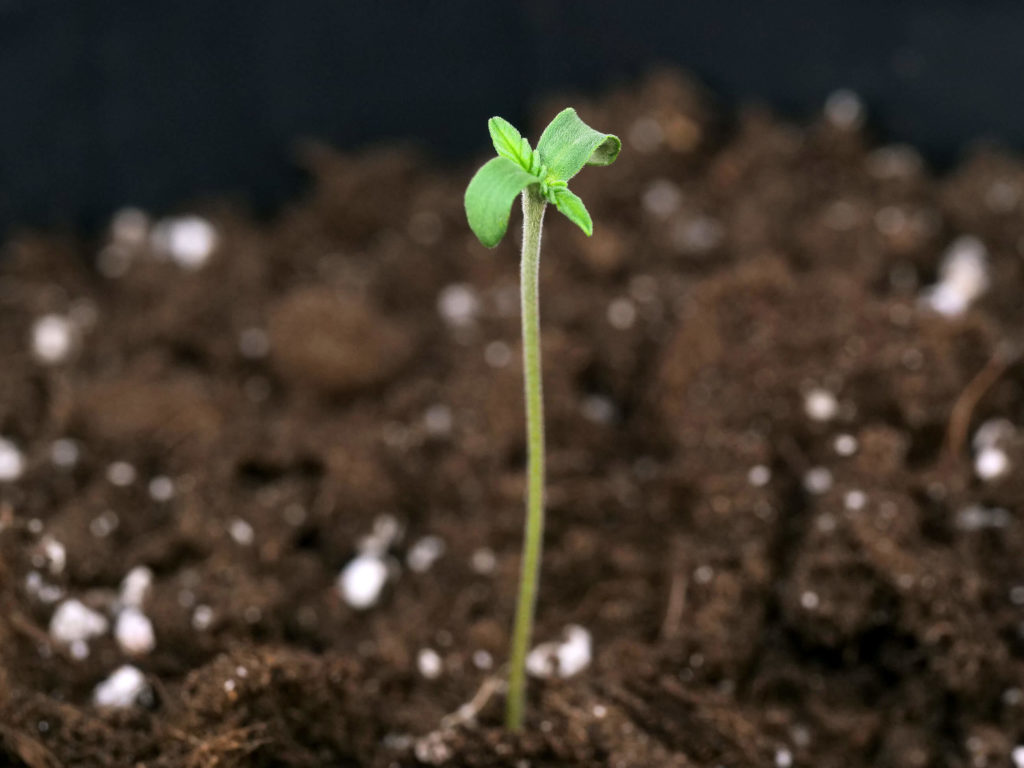
Within a few days, our OG Kush was above the soil and reaching up towards the light. We used a 1-litre container, which assisted our OG Kush in quickly developing a healthy root system. Also, in the first week, we added the predatory insect Hypoaspis Miles to manage any fungus gnat or thrip pupae in our soil.
Our plant was placed in 18 hours of light, followed by 6 hours in darkness. During the early stages of life for our OG Kush, humidity levels were kept higher than growers typically would in flowering. We kept our humidity levels at 65% for the entire vegetative cycle.
Vegetation
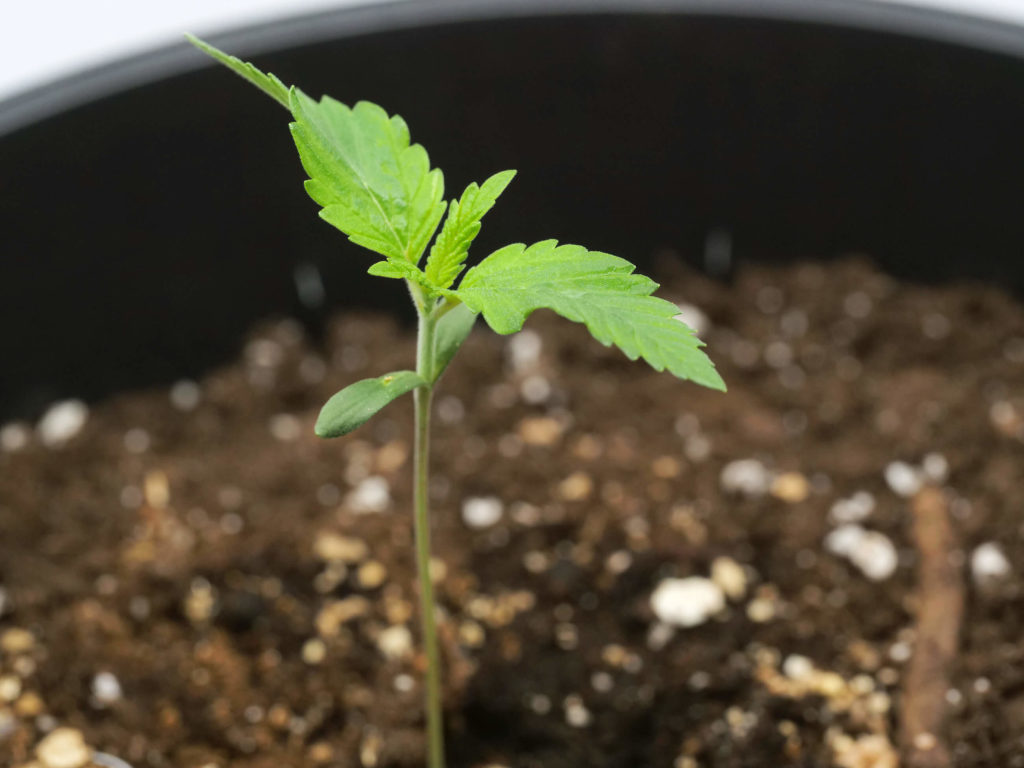
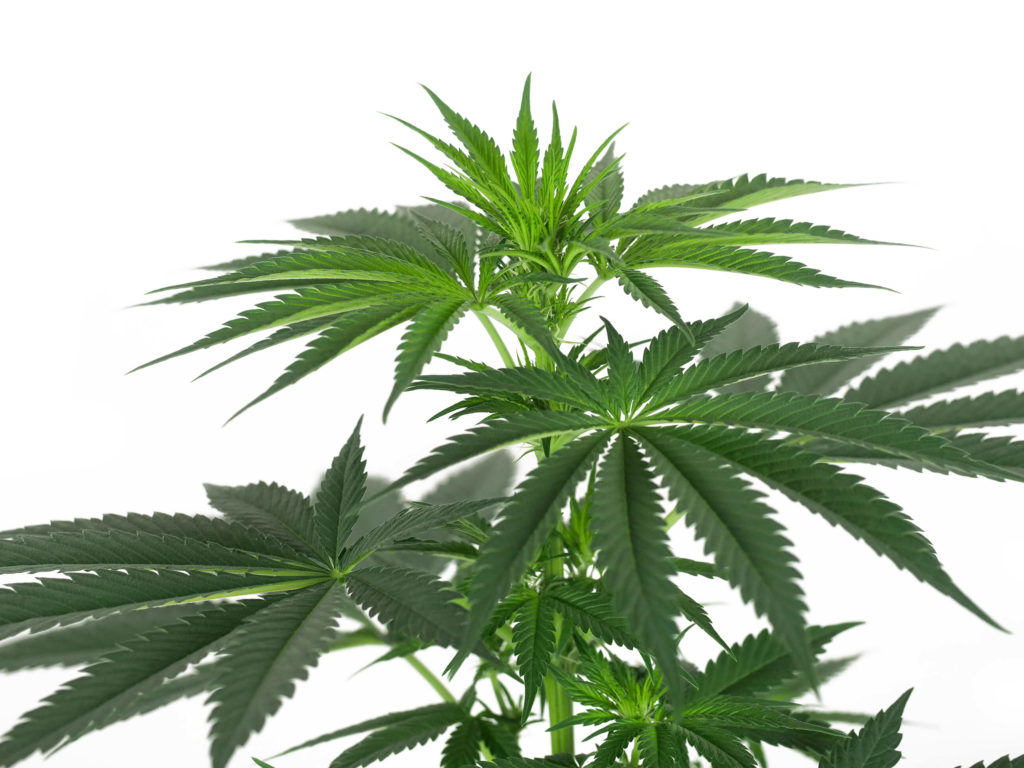
In week two, our OG Kush Feminized more than doubled in height, and it was now setting its first true, five-fingered leaves. To support the growing root system, we transplanted it into a 3-litre container and continued to give the plant 100 ml of pure water at a pH of 6.2. When watering, we poured the water directly at the base of the stem, not all over the entire soil surface.
To help our plant grow strong, supportive stems and branches, we kept a light but steady breeze blowing through the canopy area. We also turned our OG Kush one-quarter of a turn each day. Because cannabis is phototropic, plants will lean towards the light source, and changing the position each day in these early stages helps build cell walls.
Week three was the first week we used Bio Grow nutrients to feed our plants. When combined with our water, the feeding solution was an EC of 1.6, and the pH was adjusted to 6.2. We were still watering 100 ml around the main stem, but our OG Kush Feminized was drinking more frequently than weeks prior.
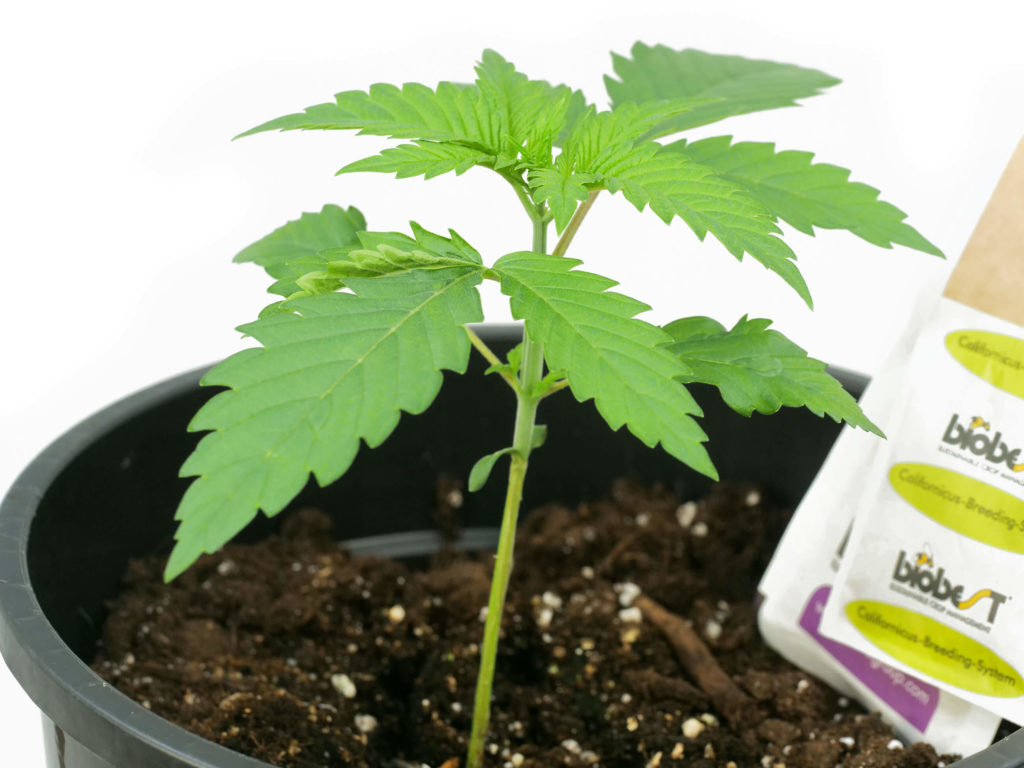
To add defences against the potential of thrip larvae and two-spotted spider mites, we released more beneficial insects. Specifically, Amblyseius Cucumeris and Amblyseius Californicus, by hanging sachets on the lower branches of our OG Kush.
In week four, we noticed extreme vigor, with the plant doubling in height. It was time for us to move our OG Kush into its final 5-litre container size. Before doing that, we flushed the soil to remove any accumulation of salt residue from our fertilizers.
Flushing is an ideal practice to do every few weeks when feeding heavily. We used 500 ml of pure water, which held a pH of 6.2, and then poured it through the soil. After we did this, we waited a day, transplanted, and then watered with 250 ml feed solution as needed.
Flowering
Week five marked the beginning of the flower cycle, when we switched the lighting schedule to 12 hours on, 12 hours off. We will progressively drop our humidity levels as the weeks go by, but this week, we adjusted RH from 65% to 60%.
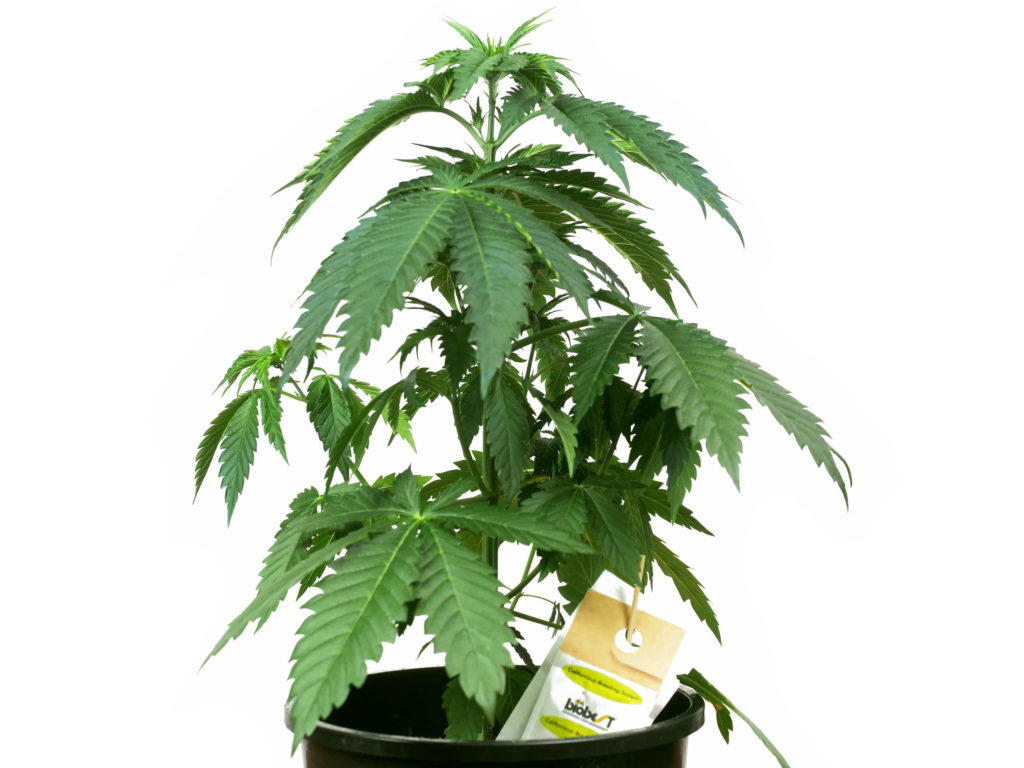
To control the overall size of our OG Kush, we gave it a short vegetative period. Doing so allowed us to put multiple OG Kush plants under one light for the full grow cycle. For this grow report, we flipped the plants into the flowering stage at 42 cm.
To help the plant transition through growth stages, we gave it one more week of feeding with the Bio Grow nutrients, and we increased the amount slightly to a new final EC of 1.7. We continued to water at 250 ml per day, and although we had flipped to flower, we still turned our containers a quarter turn each day to continue building strength in the plant’s cell walls.
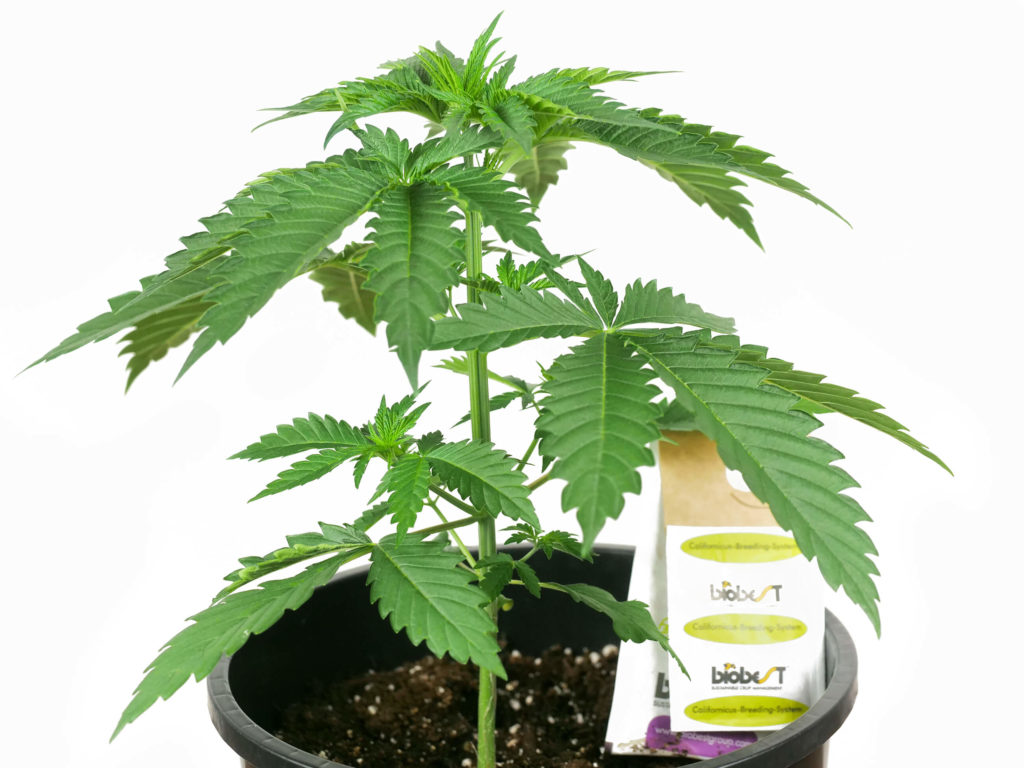
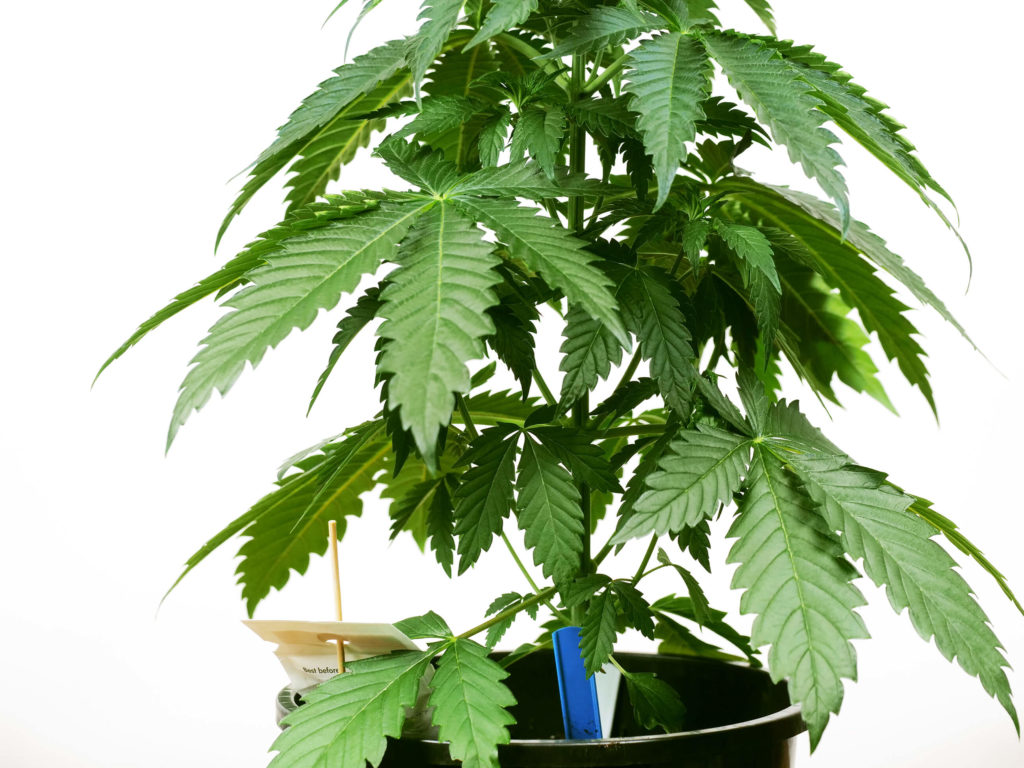
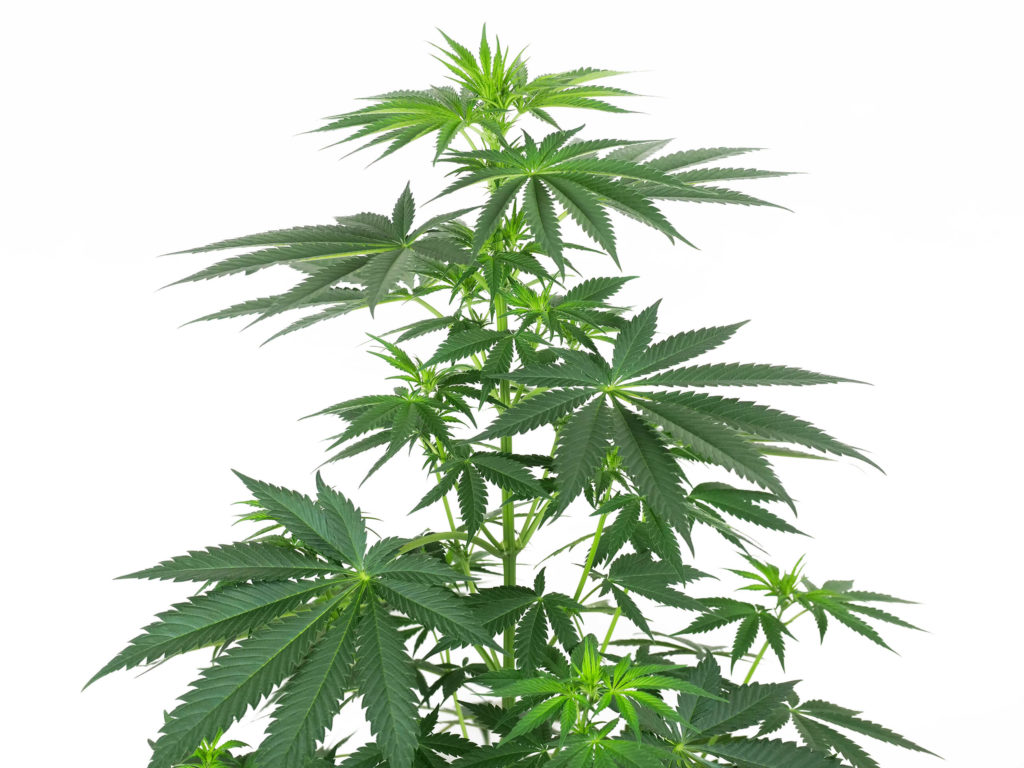
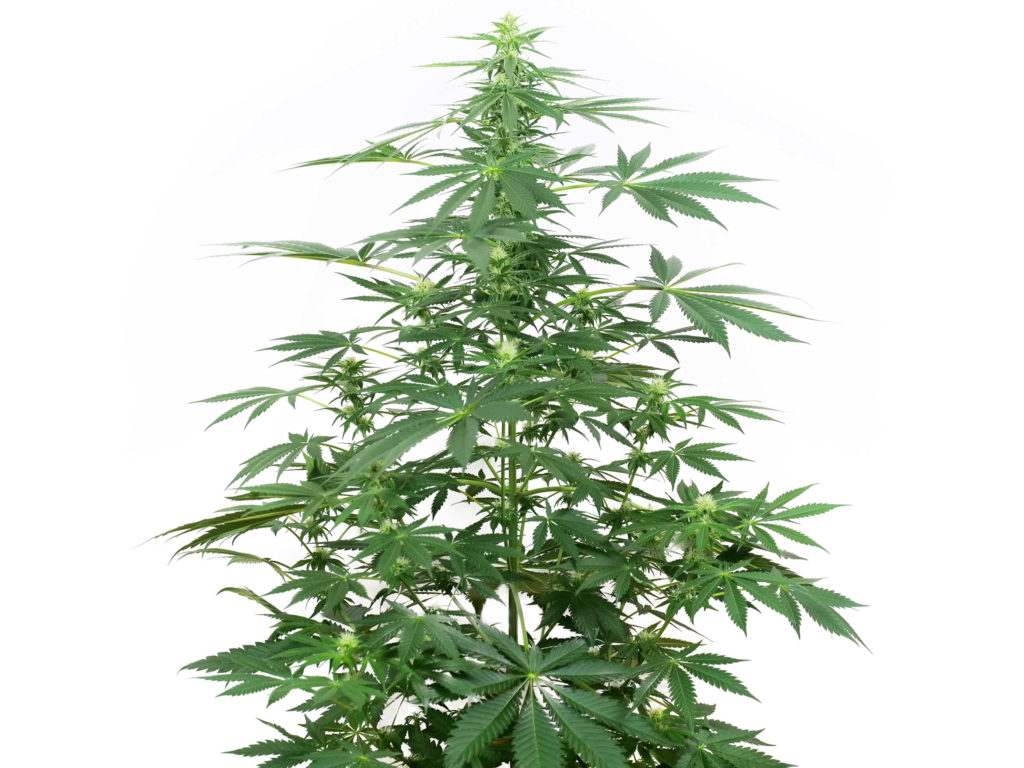
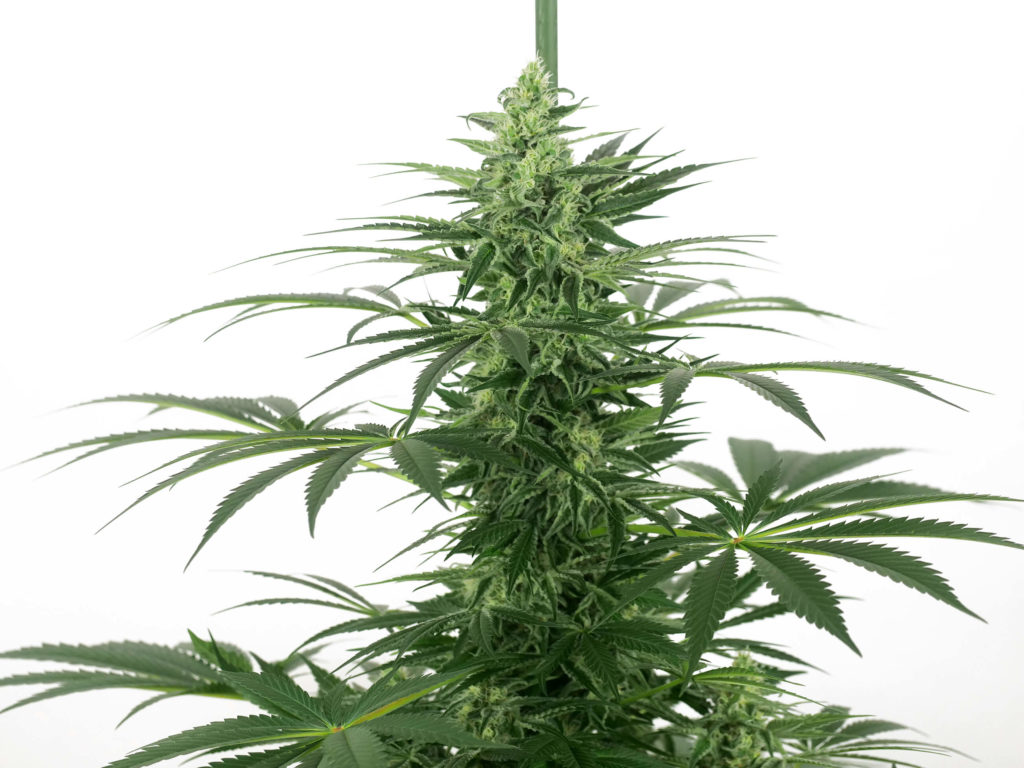
When it came time to take a picture of our OG Kush Feminized in week six, she was looking happy, perky, and the right shade of green. Lower branches had caught up with the new growth, and they were developing little side branches of their own.
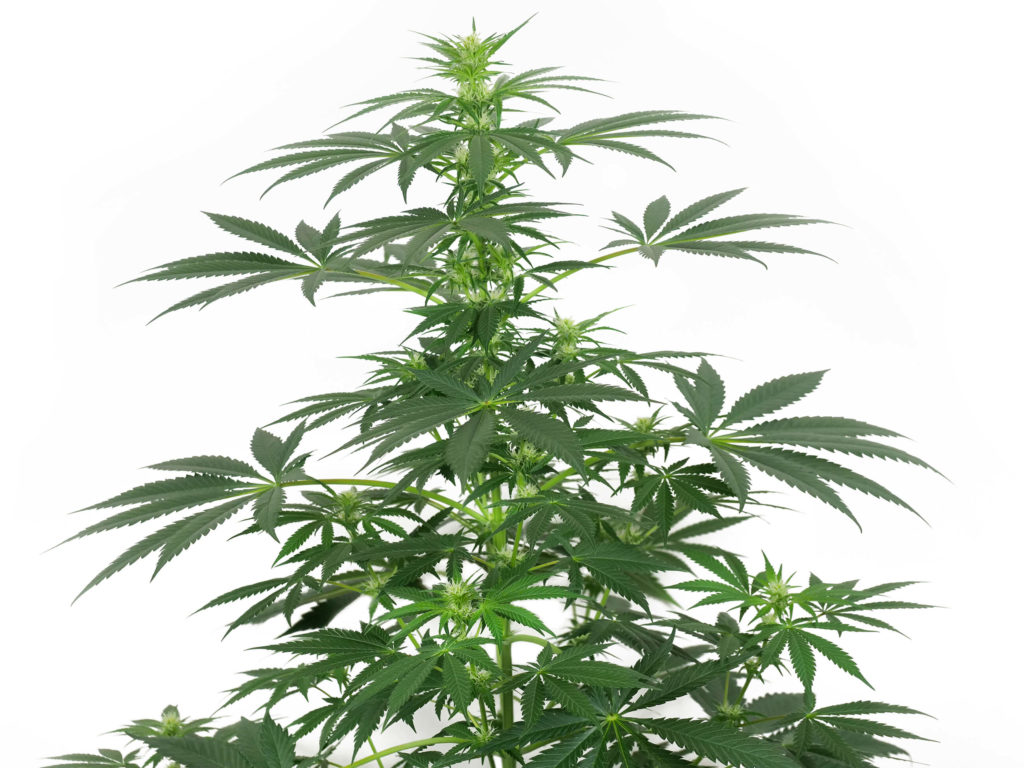
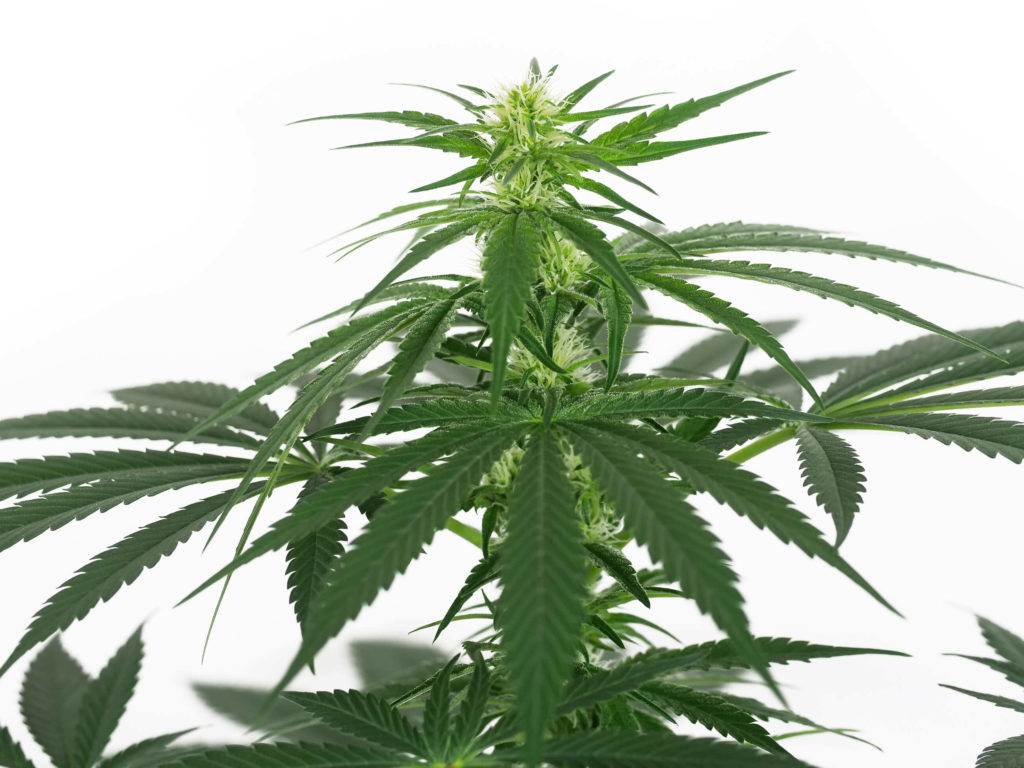
We were happy with the results, which gave us a good indicator that our nutrients have been effective and changed over to Bio Bloom nutrients. Towards the middle of the week, we saw the stigmas emerging from the bracts, which is the tell-tale signs of a female plant in flower. To support the more extensive root mass and increased transportation from the leaves, we increased our daily watering amount to 250 ml and progressed gradually to finish the week at 500 ml per watering.
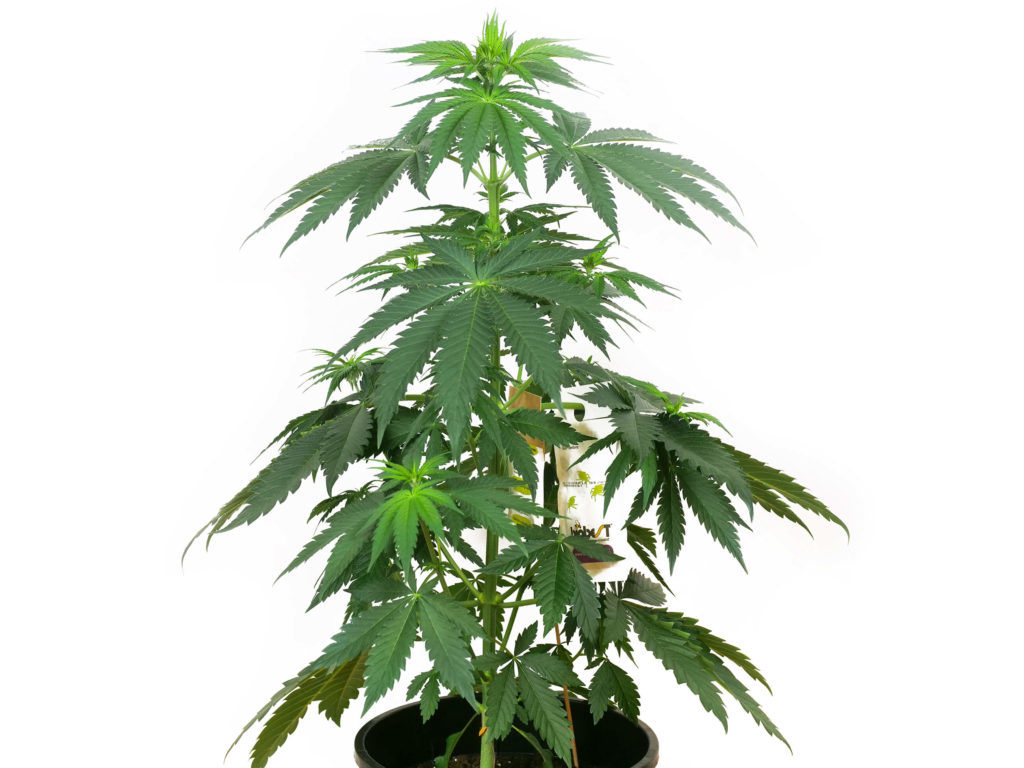
We measured our OG Kush during week seven, and our plant had grown 30% from the week before to 81 cm. This is not uncommon during the initial phase of flowering and is referred to as the “stretch” period. Not only had our girl grown vertically, but there were also little buds at all the tips and nodes up the main meristem.
For the second week in a row, we increased the volume of the nutrient solution to 600 ml per watering, and the EC was raised to 1.8. We had not yet seen any problems on our OG Kush from thrip larvae or two-spotted spider mites, and we wanted to keep it that way. We released another sachet of the predator bug Amblyseius Cucumeris and another sachet of Amblyseius Californicus.
Weeks eight and nine were smooth sailing. Our plant had finished the stretch phase of the flowering period and had only grown 2 cm between the two weeks. Looking at the plant, it is evident that its energy had now shifted priority to increasing the biomass of the buds.
On the first day of week eight, we did a pure water flush of the soil using 1500 ml of pH 6.2 water. For the remainder of the two weeks, we continued by feeding the plant a water/nutrient solution with an EC of 1.8. We also reduced the humidity in the grow area from 60% to 58%. Although we were preventing the soil’s surface from remaining too wet, we released another round of Hypoaspis Miles to eliminate any unwanted fungus gnats and thrip pupae.
Week ten marked two weeks since our last flush of the soil, which meant it was time for us to do it again. When we gave the soil 1500 ml of water, there was always run-off, but we were prepared by having our containers in drip pans. This collected the run-off and was easy for us to then empty. Don’t let your container sit in stagnant water.
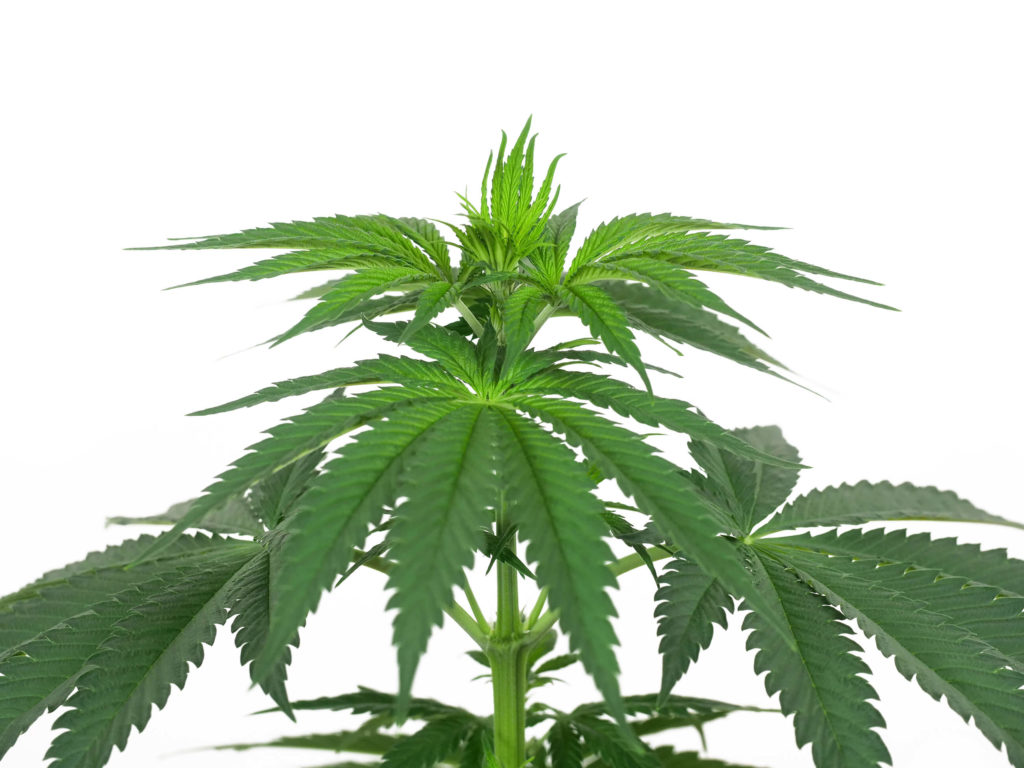
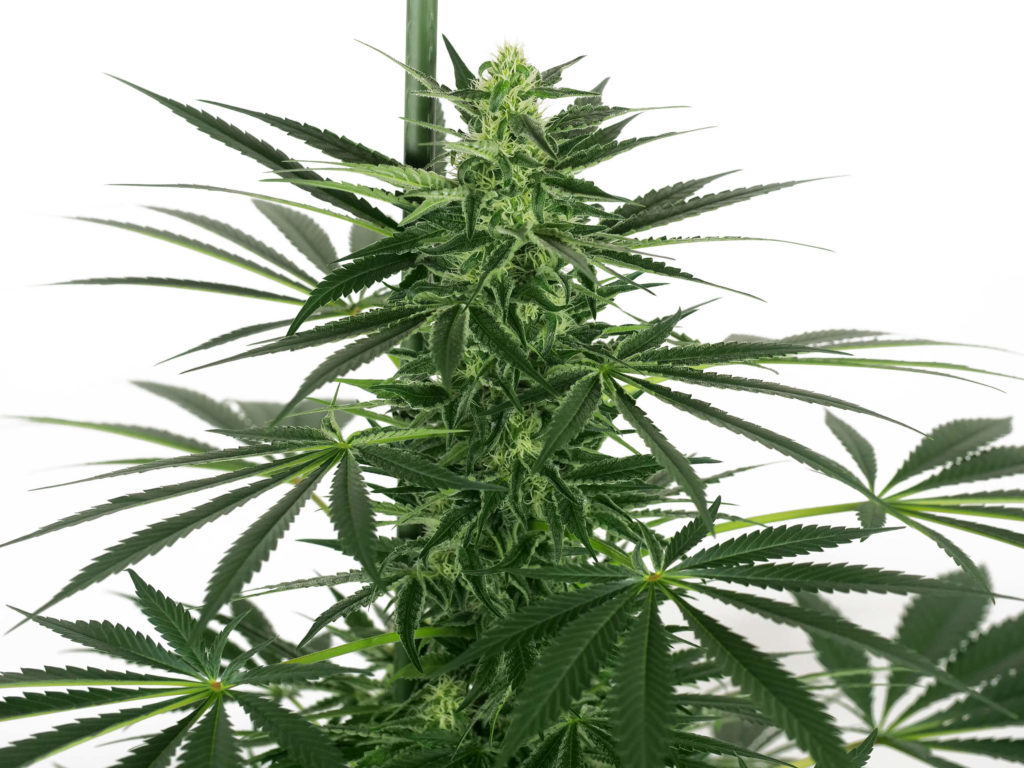
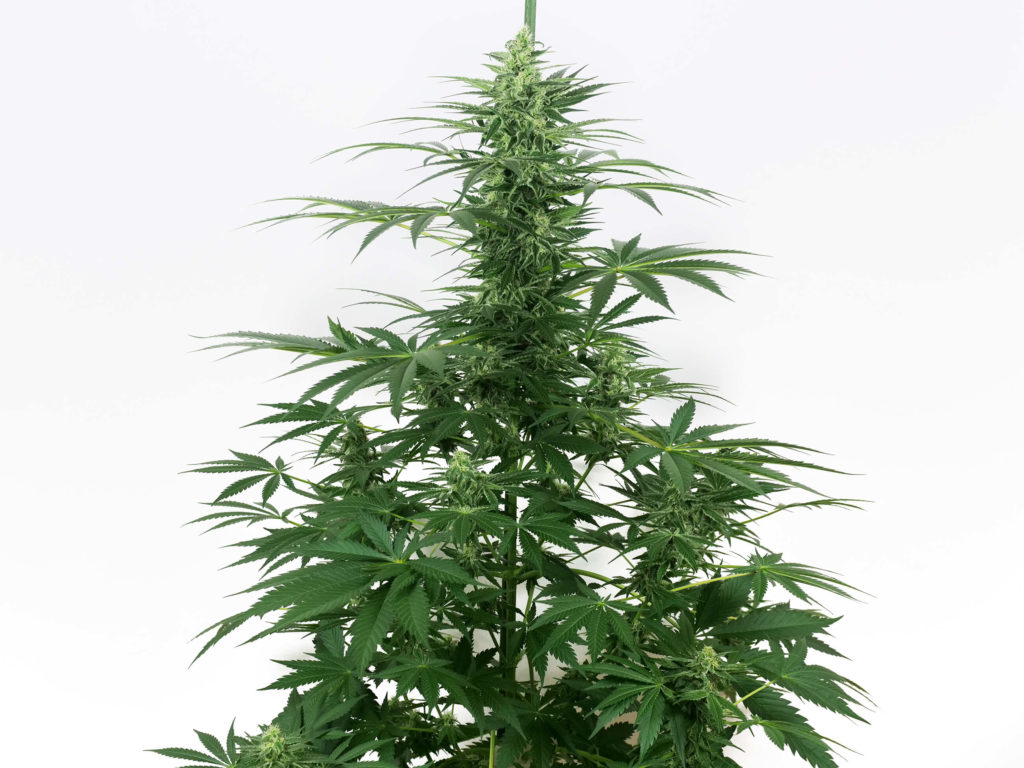
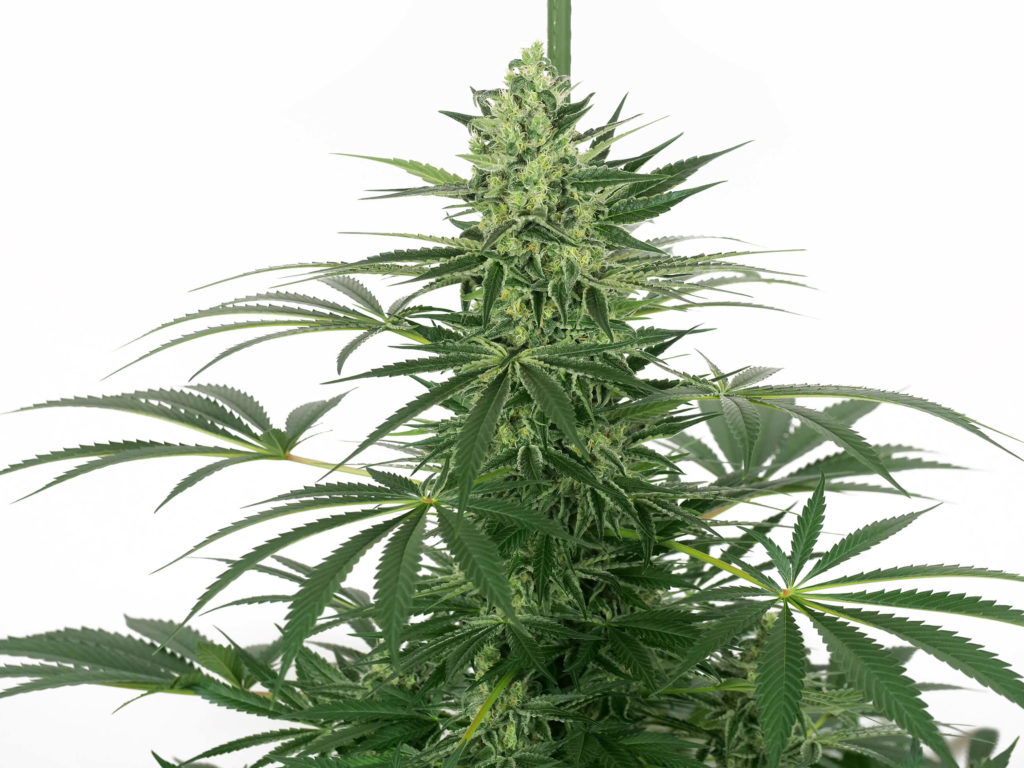
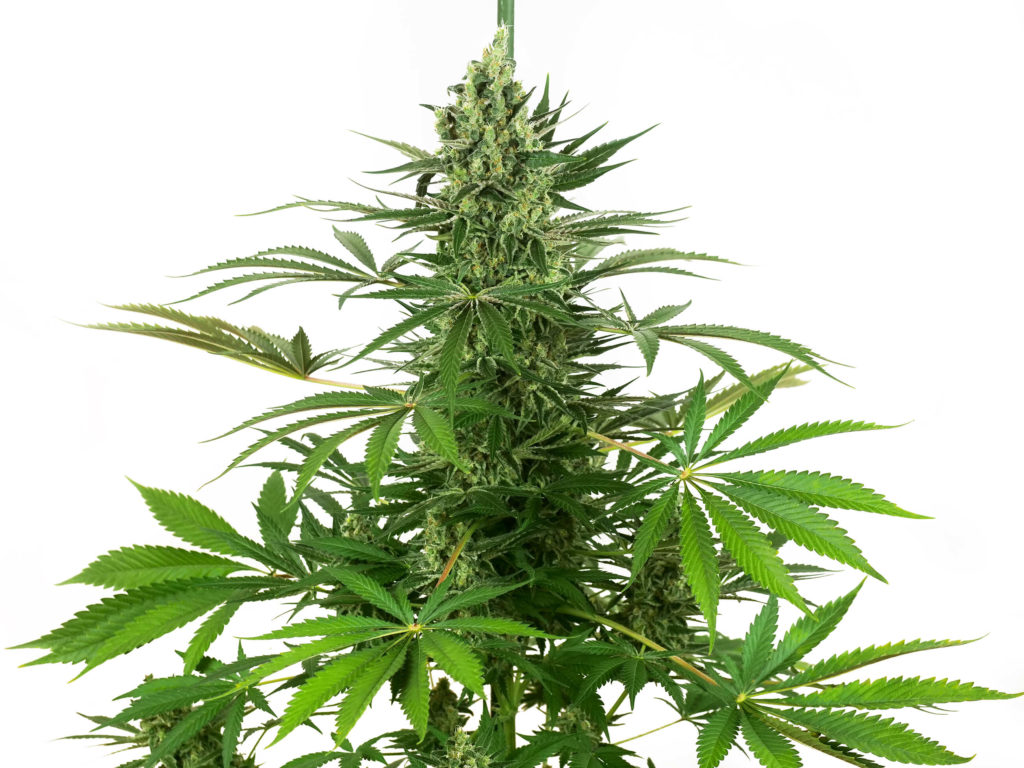
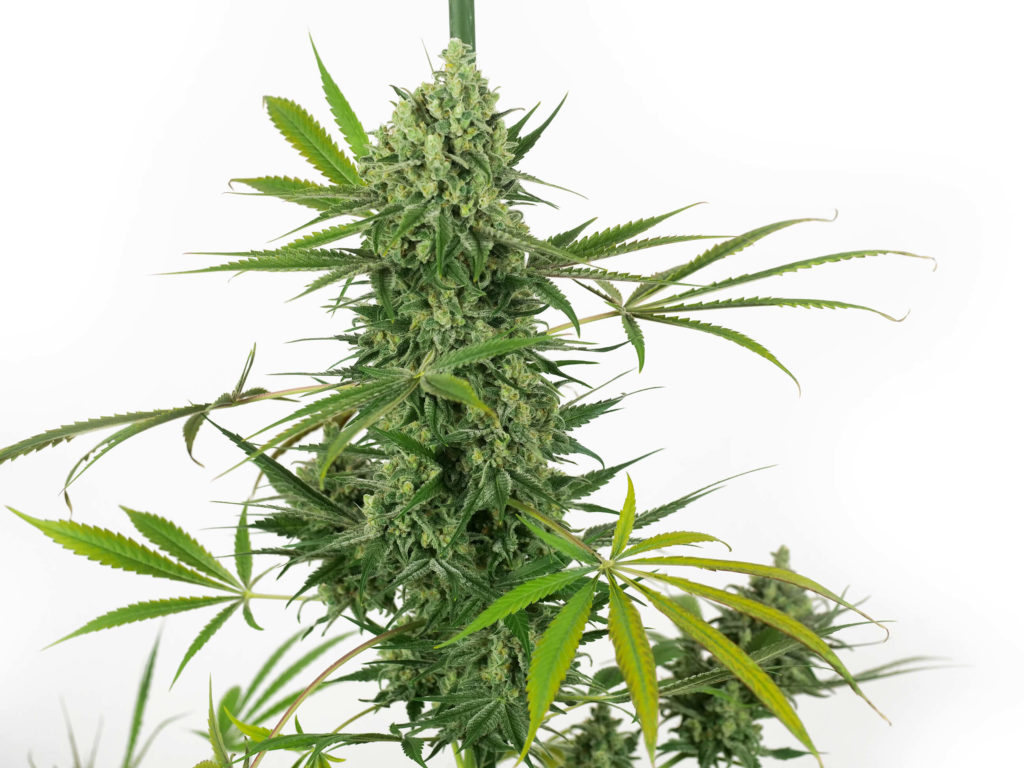
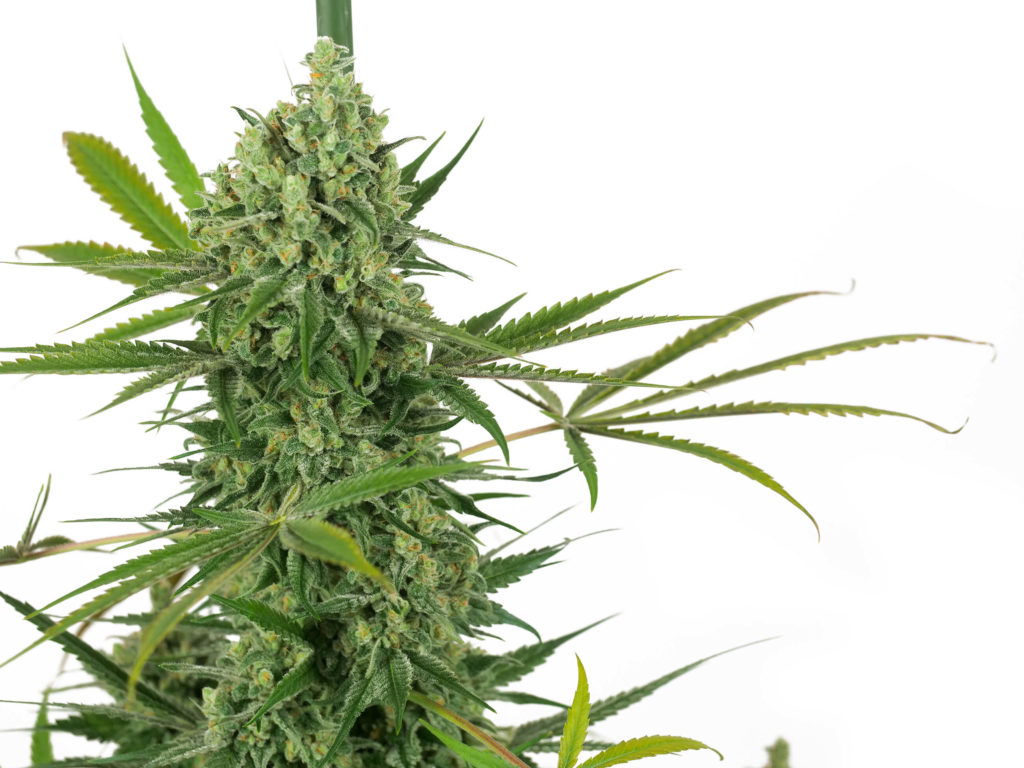
We did not need to defoliate our OG Kush Feminized. As the lower branches grew upwards, they remained spaced out, and the tight nodal spacing in the upper portion of the plant was developing into a long cola. To support the heavy bud set of the main stem, we used a bamboo stake to give the plant support. Aside from that, no training was needed. Now that we were having more extensive bud formation, we decided to drop the humidity even lower, to 52%.
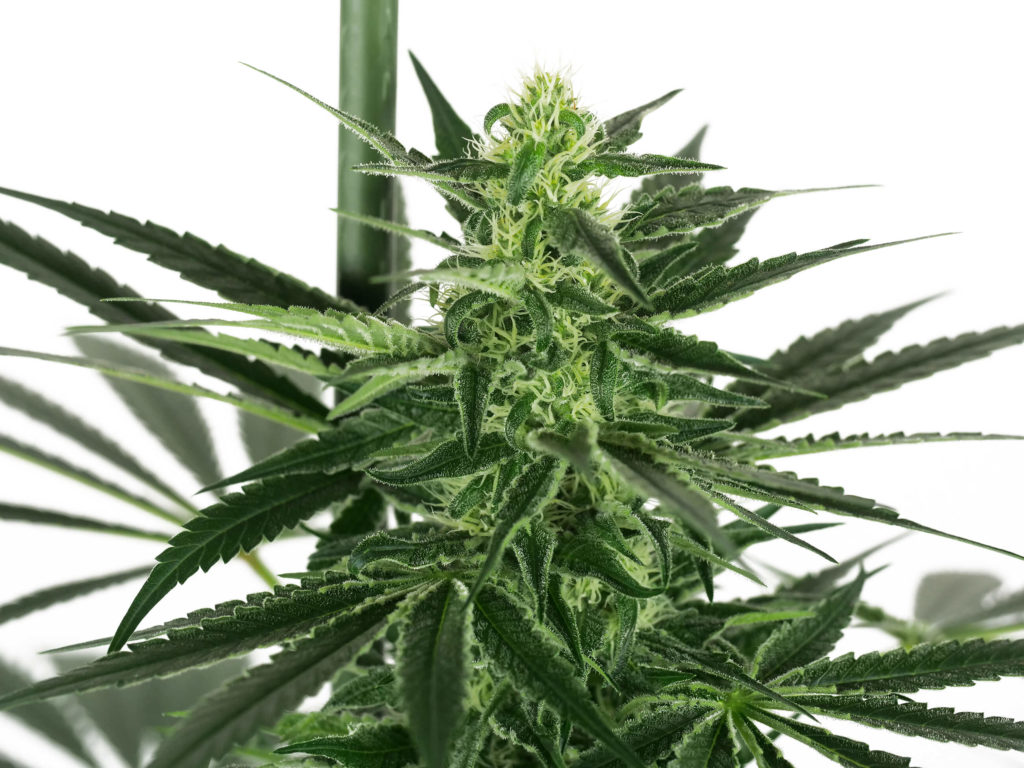
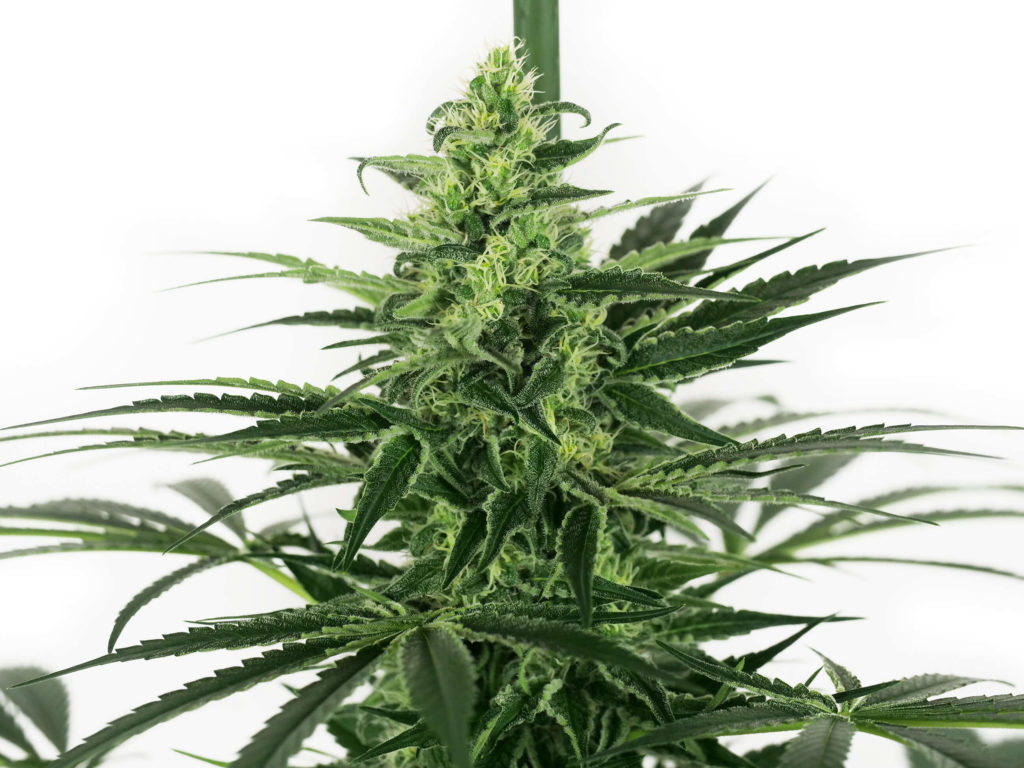
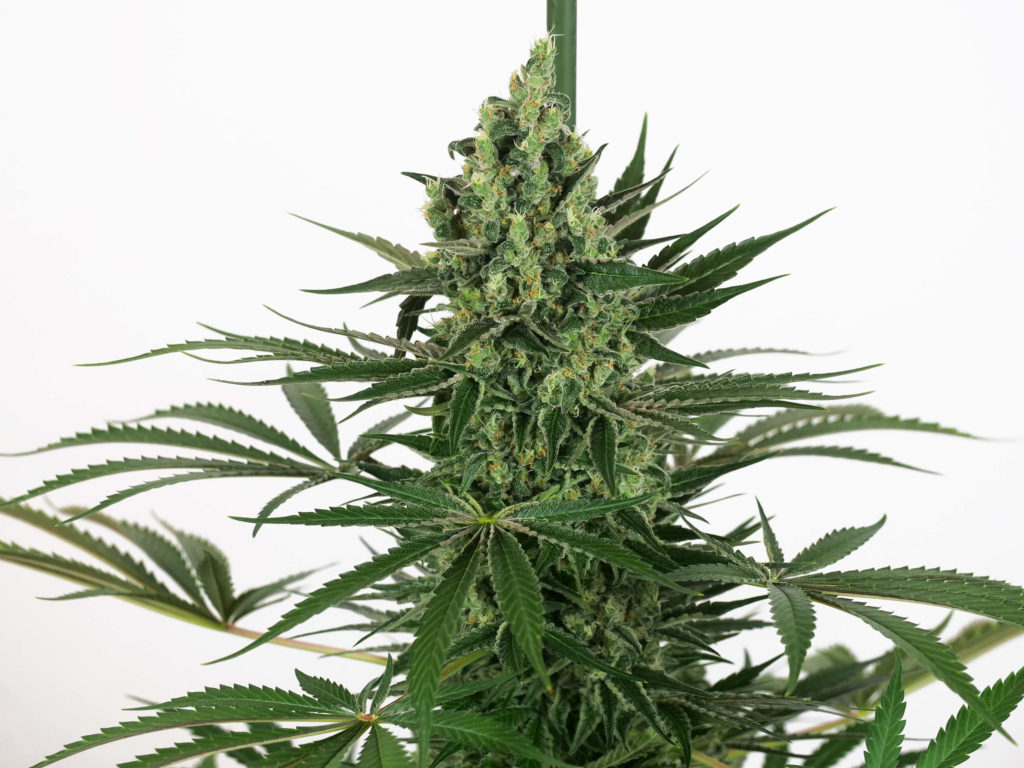
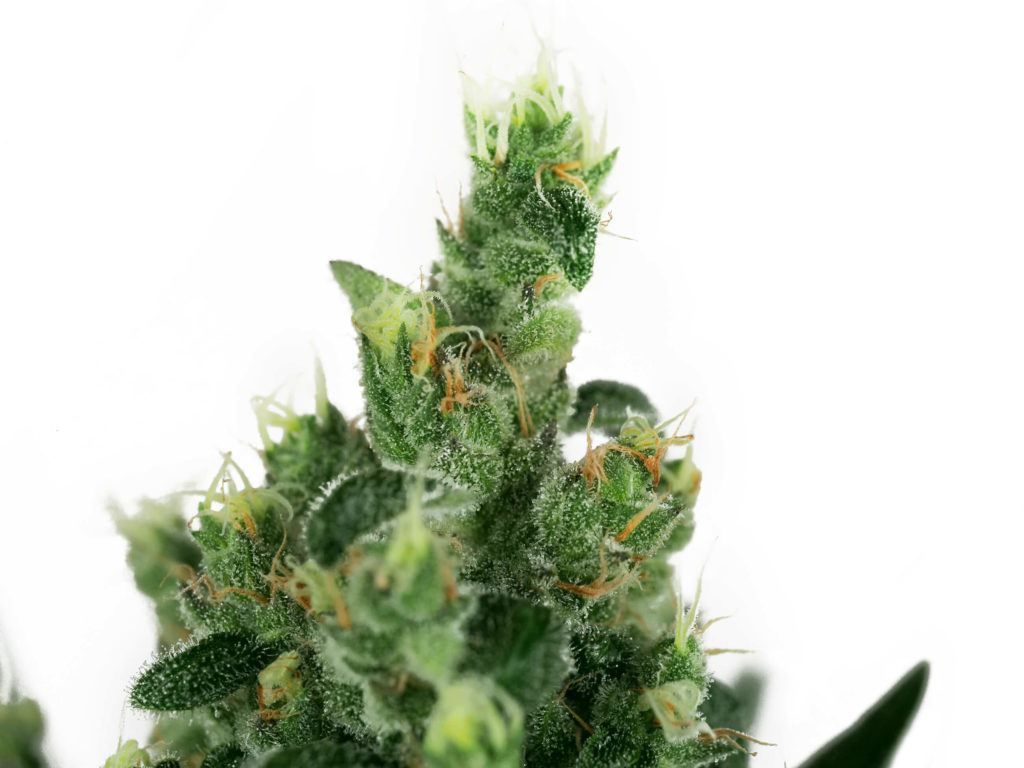
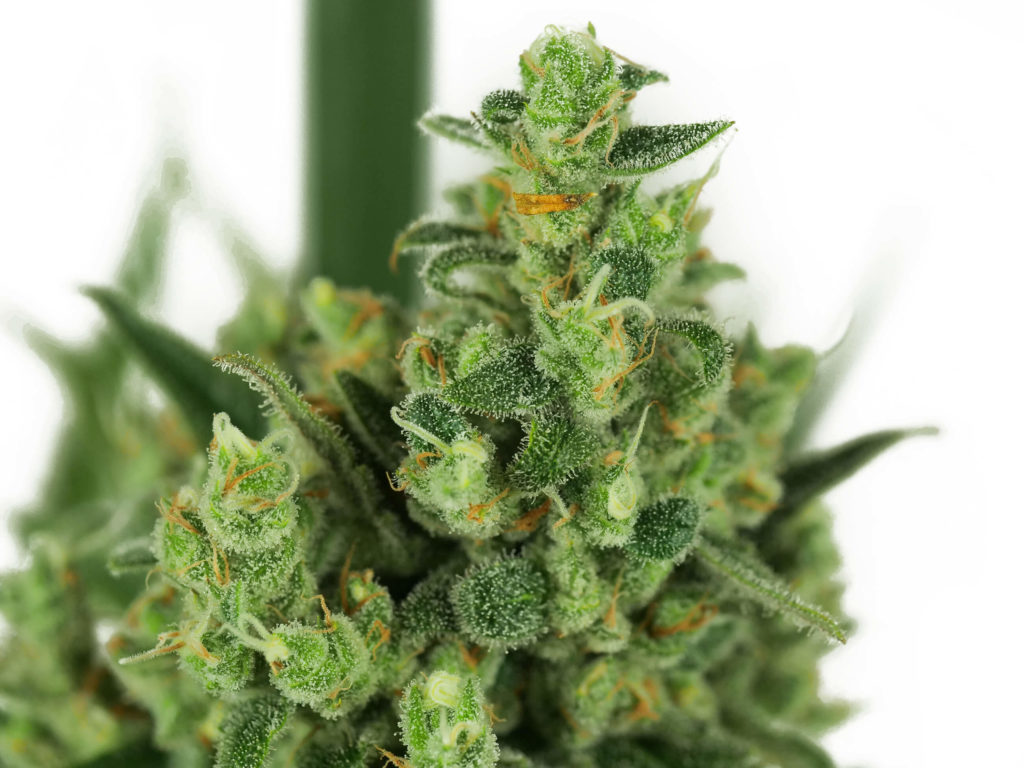
Trichome coverage was clearly visible on the swelling buds and lining the edges of the protruding sugar leaves in week eleven. We had noticed that some stigmas were starting to turn brown, which is a sign that our OG Kush would be entering the final weeks of flower soon. We also continued to release more Hypoaspis Miles as a precaution against unwanted guests during harvest!
Weeks twelve was uneventful as we awaited the peak ripeness of our OG Kush Feminized. We flushed the soil with 1500 ml of pure water to start week twelve. Then we proceeded to feed as usual for the next two weeks.
Our main concern was the health and vigor of the plant as we headed into the final push before the plant was ready for harvest. Visually, the large fan leaves were pointing up towards the light, commonly referred to as the praying position, which indicated our OG Kush was receiving the correct amount of water for optimal growth.
The leaf color was a lush green, even from top to bottom. Little details, like the color of the veins in the leaf and the petiole (leaf stem), are subtle indicators if the nutrition level is off. Ours were still a nice greenish yellow, letting us know the appropriate nutrient balance.
In week thirteen, we noticed that the soil was getting dryer quicker, so we increased our solution volume to 750 ml. This dry back increased the EC of the root zone, and by the end of the week, we noticed some indicators of nutrient issues on the leaves.
Overall, our OG Kush was healthy and putting on additional bud mass. We also knew harvest was coming soon, and we planned to flush the soil for two weeks before chopping it down. We felt this was very soon and did not worry about correcting the elevated soil EC.
Week fourteen began by inspecting the color of the trichome heads on the flowers, which is the optimal indicator of peak ripeness of our OG Kush. Most of them were now milky, signalling that the plant would be ready to harvest within two weeks.
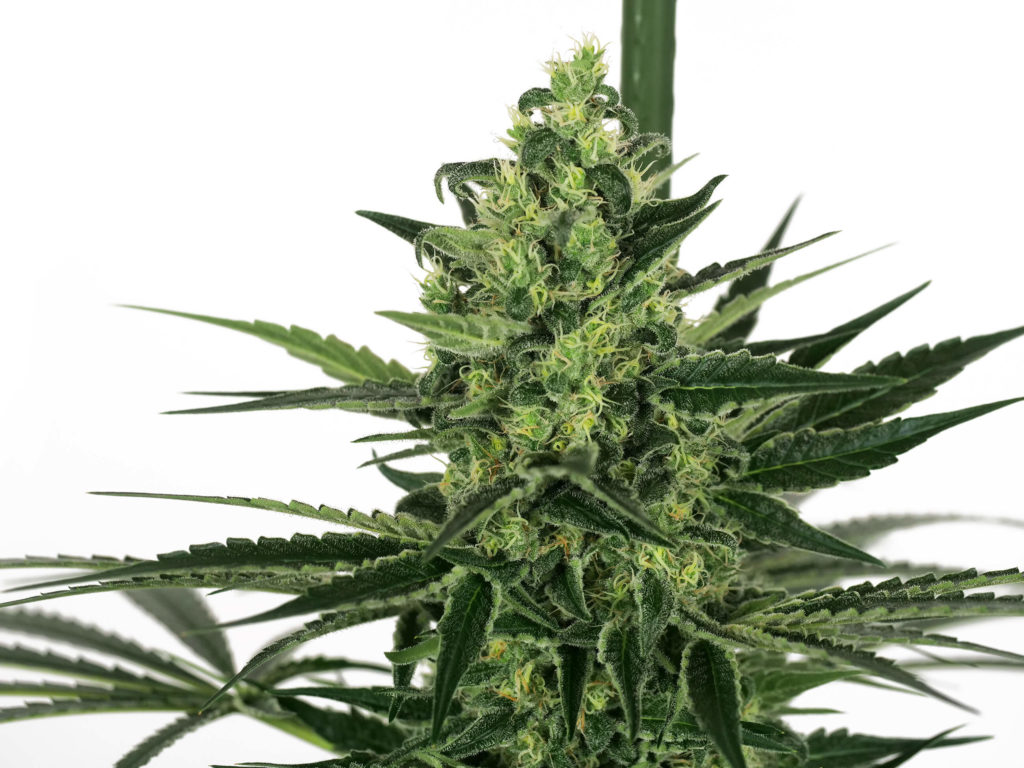
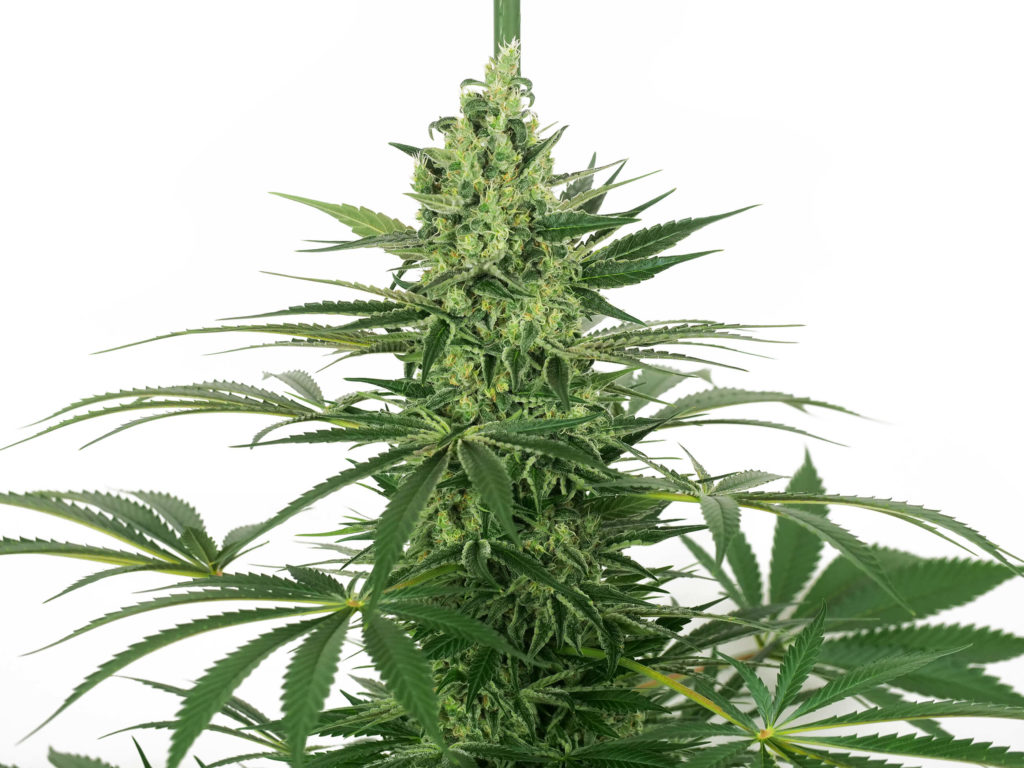
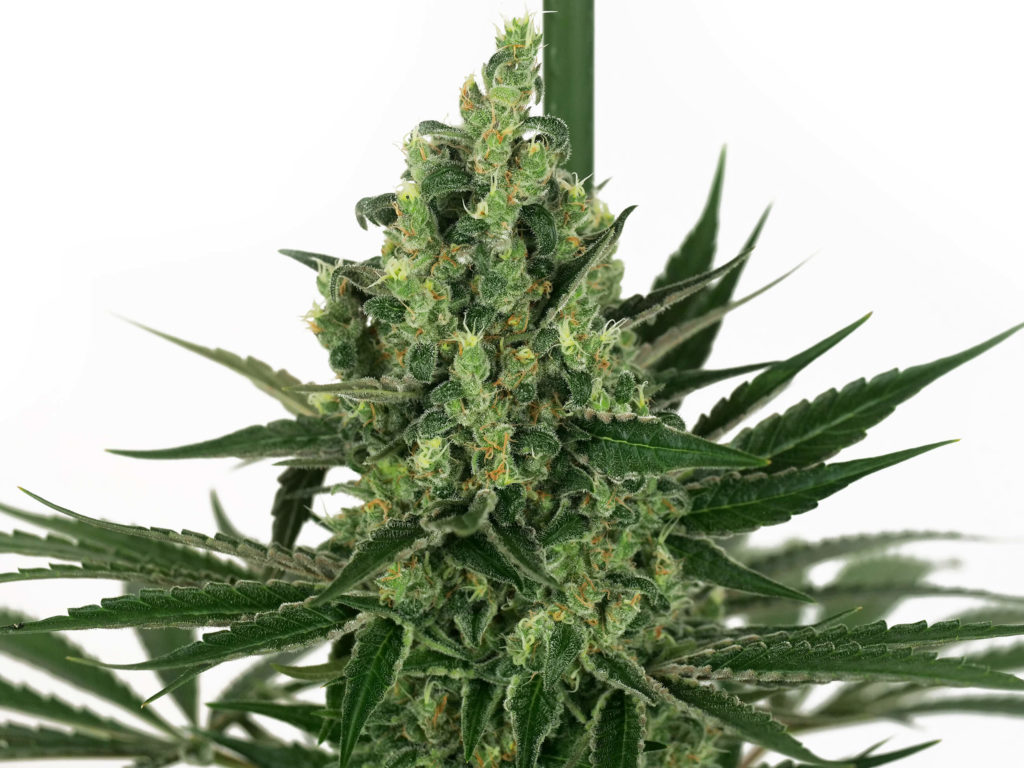
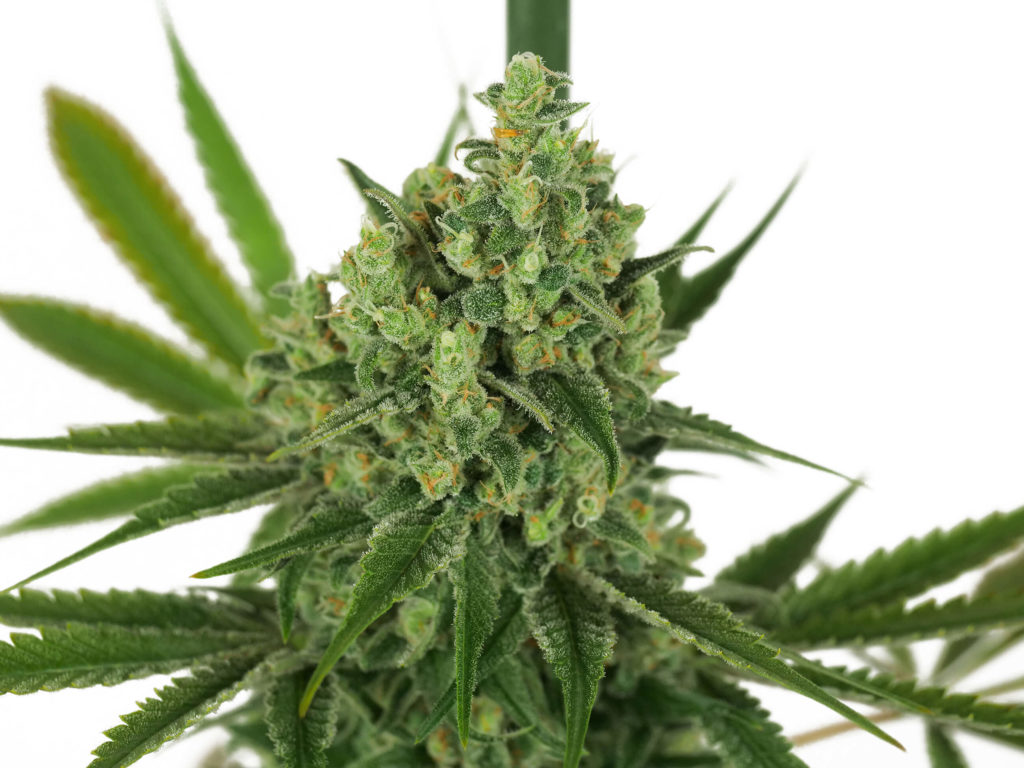
Trichomes covered the swollen bracts, which remained an electric green color. The buds were dense but also had small strands of single bracts stocked on top of each other, reaching out from the main bud. Most pistils have now turned brown and retreated into the bud, although a few remain white.
We began feeding our plant only pure water to remove as much salt build-up in the soil and plant tissues. Nutrients were removed altogether, and we were flushing the soil with 1500 ml of sterile water each time we watered.
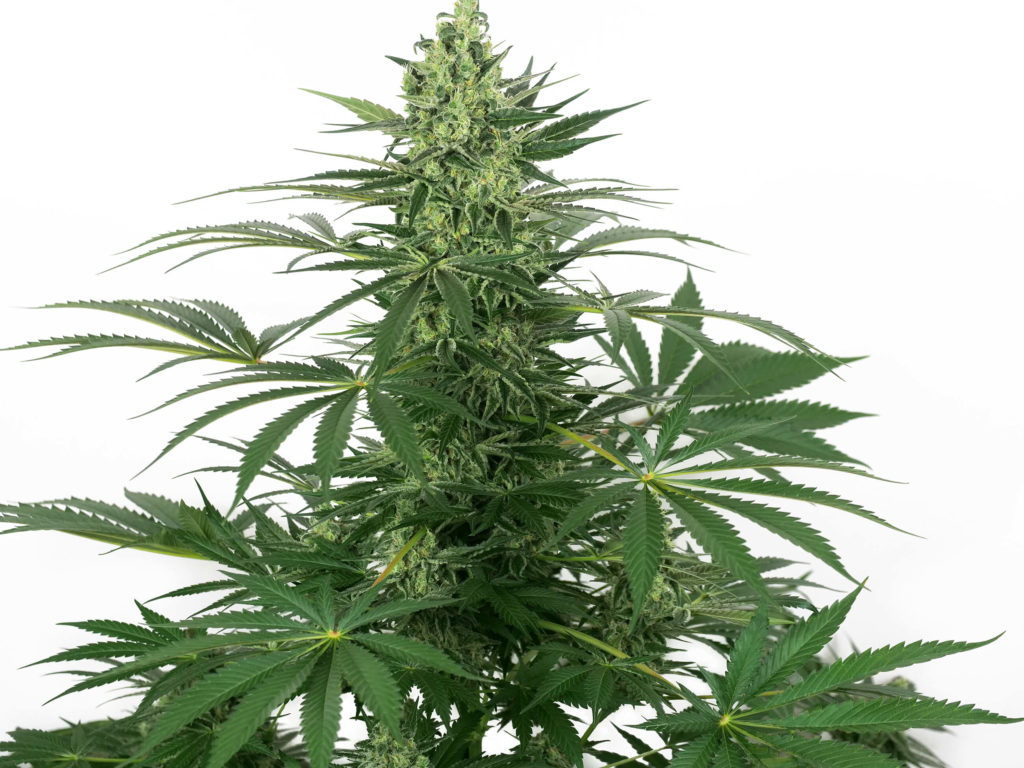
Week fifteen was the week we decided to harvest. We continued to flush the soil for the final few days. Our OG Kush Feminized had trichome-covered buds bulging with swollen bracts all over the branches. During the last three weeks, there was a slight growth spurt, and our OG Kush finished at 108 cm in height.
Upon inspecting the trichome heads from various flowers on the plant, we found our desired 10% clear, 80% milky, and 10% amber trichome ratio to be consistent. With much joy and anticipation, it was time to harvest our OG Kush.
Harvest
It had been 98 days since we first put our OG Kush seed in the soil, but there we were, looking at a plant ready for harvest. Before we cut the plant down to hang, we removed the large fan leaves, as these larger fan leaves hold a large amount of moisture, which we didn’t want inside our drying area.
Our OG Kush was cut at the base and brought into our climate-controlled drying room to be hung whole. Environmental settings were maintained at 15.5°C and humidity at 60%. As well as using our ventilation system, we also placed small fans around the drying area to move the air around in the room. To avoid the fan blowing directly on our OG Kush, we found it best to aim our fan at an angle and bounce the airflow off the wall. This created a light swirl of air around the room.
We let the plant dry in our dark, climate-controlled room for 14 days. At that point, we bent one of the small branches to see if it would snap. It cracked slightly, but there was still moisture present, so we waited a few more days. After 19 days of drying, our OG Kush Feminized was ready to be trimmed and jarred.
This particular OG Kush had dense buds and an excellent calyx-to-leaf ratio, which meant minimal trimming effort. As we handled the flowers, we made an effort only to touch the stems. Using good handling practices helps keep more of the cannabinoid-filled trichome heads on the flower and off of your fingers.
Once the flowers were trimmed, we broke the sizeable main cola into smaller pieces for drying. Because some moisture can remain in the centre of large buds, we didn’t want one giant cola to release too much moisture within our curing jars.
Because the moisture escapes from the centre of the bud, the outside rehydrates while in the jar. To release this extra moisture from our Master Kush within the curing jars, we burped each jar a few times every day for two weeks. We took the lid off each jar for one hour each day for the following four weeks. Over this time, the terpene profile gained in strength.
Once we felt the moisture level within the bud had equalised, we put our OG Kush into our C-vault, where it was stored for an extra three months. In 98 days, we had produced 130 grams of lovely-looking and great-smelling OG Kush flowers. We then took a sample of our OG Kush to the laboratory for cannabinoid testing. Our flowers tested at 26.68% THC and contained a terpene profile that featured myrcene, limonene, and caryophyllene.
Terpene profile
OG Kush produces a unique and distinctive terpene profile. Although it shares common terpenes with other cannabis strains, the blend put forth by OG Kush has made it an instantly recognisable favourite. As we dried our plant, there was already a strong odour, which reminded us of spices, lemon, earth, and musk. This profile continued to gain strength as the curing process progressed.
The first thing we noticed as our jars of OG Kush were opened, was the crispness of lemons, but the aroma was also mixed with a warm and spicy tone. The lemon profile is often associated with the limonene terpene, and the spicy notes often correlate with the caryophyllene terpene. This created an uplifting sensation as we inhaled deeply above the open jar.
Towards the end of our breath, came the distinguished earthy and musky notes that are a signature of OG Kush. Myrcene is a terpene often associated with those scents, and they were on full display with our OG Kush.
The terpene profile kept developing throughout the curing process, and the aromas were getting increasingly pungent throughout the 12 weeks. This was an encouraging sign that we had successfully grown our OG Kush Feminized to its potential, and had cured the dry flowers correctly.
Often the terpene profile is representative of the flavour profile, but this OG Kush had a few surprises in store. We were getting the spicy, lemon, earthy, and musky flavours in the flower, but there was something more. The citrus profile was most present, but out of nowhere, we detected touches of diesel and sweet berries on the backend.
Effects from OG Kush have been reported to soothe the mind and body. This was a relaxing strain to enjoy. The 75% indica / 25% sativa expressions were evident in the effects. Initially, there was an uplifting and euphoric sense to the effects, but this gave way to the deep relaxation often associated with high-quality indica genetics.
The outcome
Another Sensi Seeds grow and another successful gardening experience. We found OG Kush Feminized rewarding because it was low maintenance, an easy-to-grow cannabis strain that produced approximately 130 grams of quality flower in just 98 days from seed. After laboratory testing, it was determined that our OG Kush had a THC level of an incredible 26.68%
Overall, OG Kush grew in an easy-to-manage morphology. Side branches were sturdy and supported the flowers’ weight without requiring special training techniques like topping, SCROG nets, or super cropping. With little internodal spacing, the main stem grew into one significant cola, and the only thing we did in relation to this was to break the large cola into smaller buds to avoid bud rot during the curing process.
OG Kush is a strain that we would love to grow again! Available in both feminized and autoflowering varieties, OG Kush was fun, easy, and produced plenty of buds. We would love to hear from some of you about your growing experiences with OG Kush; please tell us all about it in the comments section below.
Where does OG Kush rank on your charts for quality flowers or ease of growth in the garden? We welcome your feedback.
If you enjoyed this grow report or want to learn more about growing other strains, please check out the numerous, well-detailed Grow Reports on the Sensi Seeds blog. Thank you for taking the time to enjoy this grow diary today; happy gardening!
- Disclaimer:Laws and regulations regarding cannabis cultivation differ from country to country. Sensi Seeds therefore strongly advises you to check your local laws and regulations. Do not act in conflict with the law.




I topped mine during the middle of week 3 and this post makes me regret doing that. 🙃
Hi there
What about the watering frequency ?
For exemple at the first stages (100ml)
Thanks
That’s is different for every situation and recognizing this is a skill you will need to develop yourself. You can for example see it, and also measure it by weighing the pot with and without water. Eventually you will get a feel for this and know exactly when to water your plants and how much is needed. Plants are living things and don’t come with a step by step manual. Experience is the key.