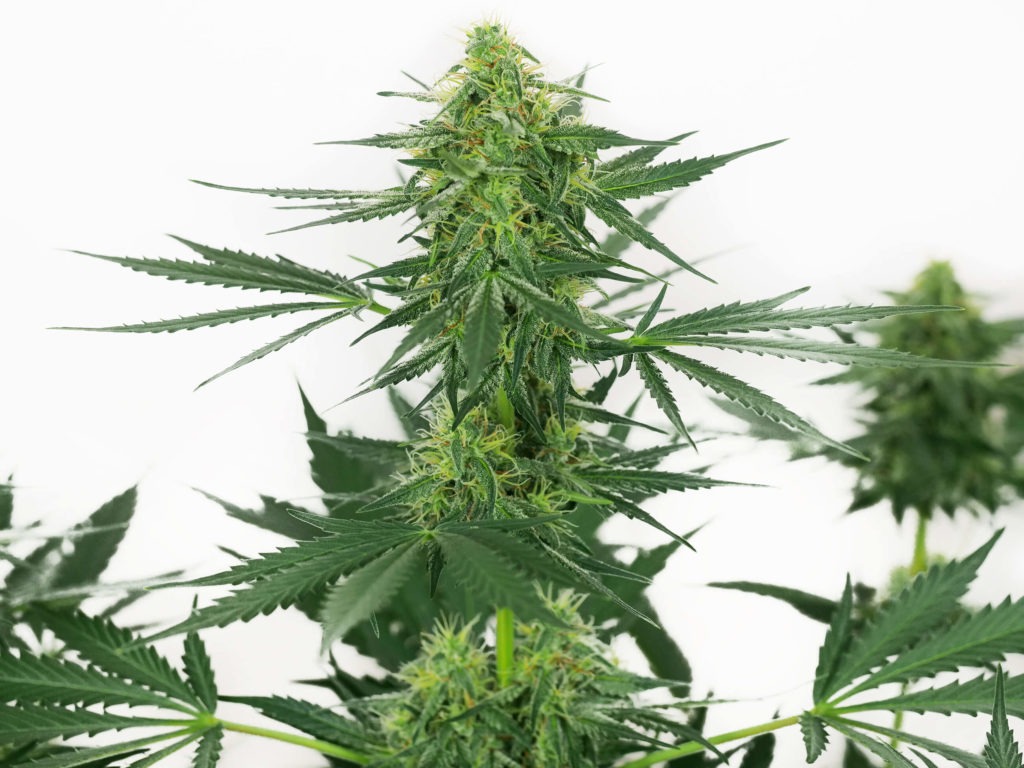
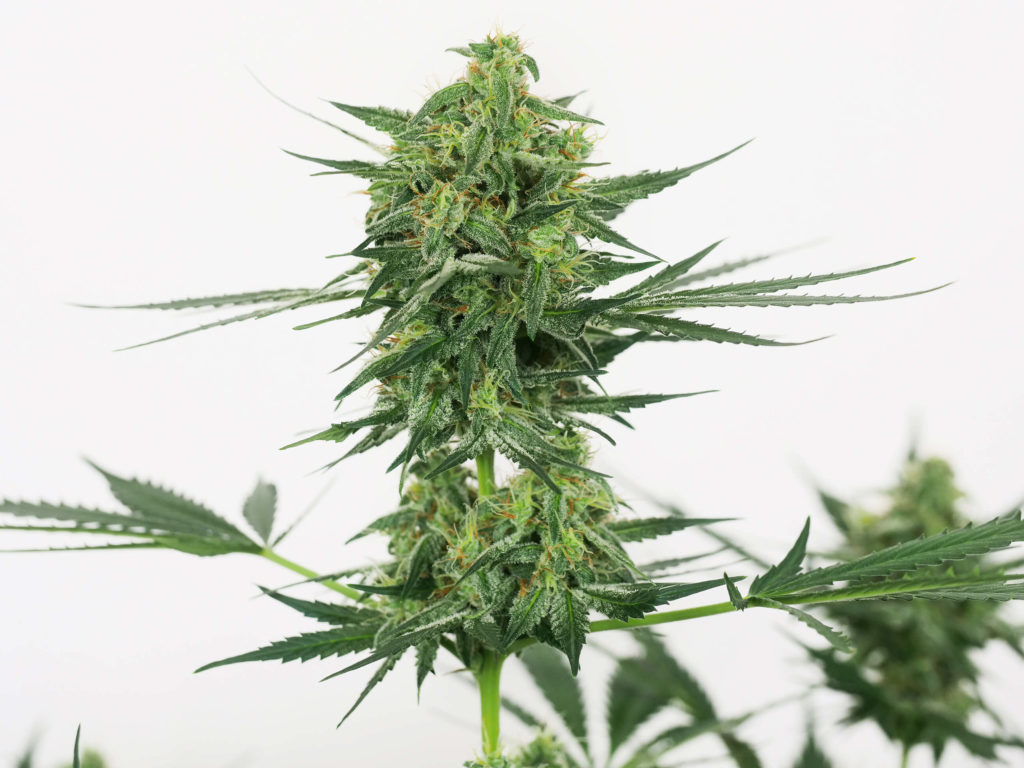
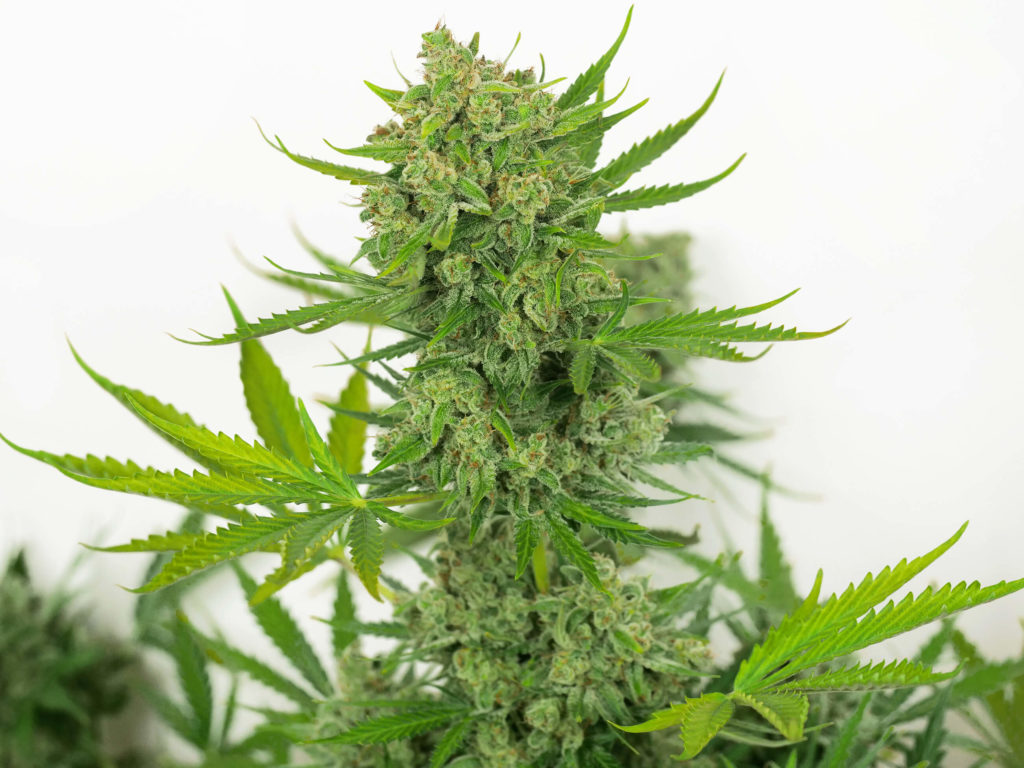
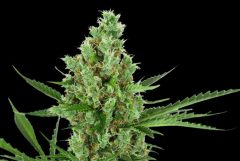
Sensi Skunk Automatic is an excellent addition to any garden. The growing journey is smooth sailing, with just a few simple recommendations to follow. The reward is multiple large colas that offer a sweet and citrus-smelling aroma capable of uplifting and relaxing the user simultaneously. Our Sensi Skunk Automatic draws upon the legendary Skunk #1 genetics.
Flowering stage: 70 days
Total time, seed to harvest: 91 days
Final yield: 91 grams
THC content: 14%
Sensi Skunk Automatic is an easy-to-grow plant that consistently produces excellent yields. Born out of the Skunk family lineage, Sensi Skunk is an outcross of Skunk #1 and an unnamed sweet mother, which was then outcrossed to ruderalis to give this plant the autoflowering trait. This strain was created for people seeking an uplifting cerebral high that transitions into a comfortable full-body stone.
We used BAC Lava Mix Soil, and because this is an autoflowering strain, we started and finished in the same 5L container. The light placement was 300 cm from the garden floor and fixed in position, which reduced our ability to lower or raise the light. However, our 1000W Green Power Phillips HPS system had more than enough lumens for all stages of the growing cycle.
Sensi Skunk can tolerate various environmental conditions, but we kept our temperatures and humidity consistent to maximise growth. To reduce the chance of bud mould, circulating fans were used inside the growing area to keep a steady movement of the air. Knowing that Sensi Skunk Automatic can have a heavy scent, we also used an exhaust fan and carbon scrubber to reduce smells from the garden.
Germination & seedling
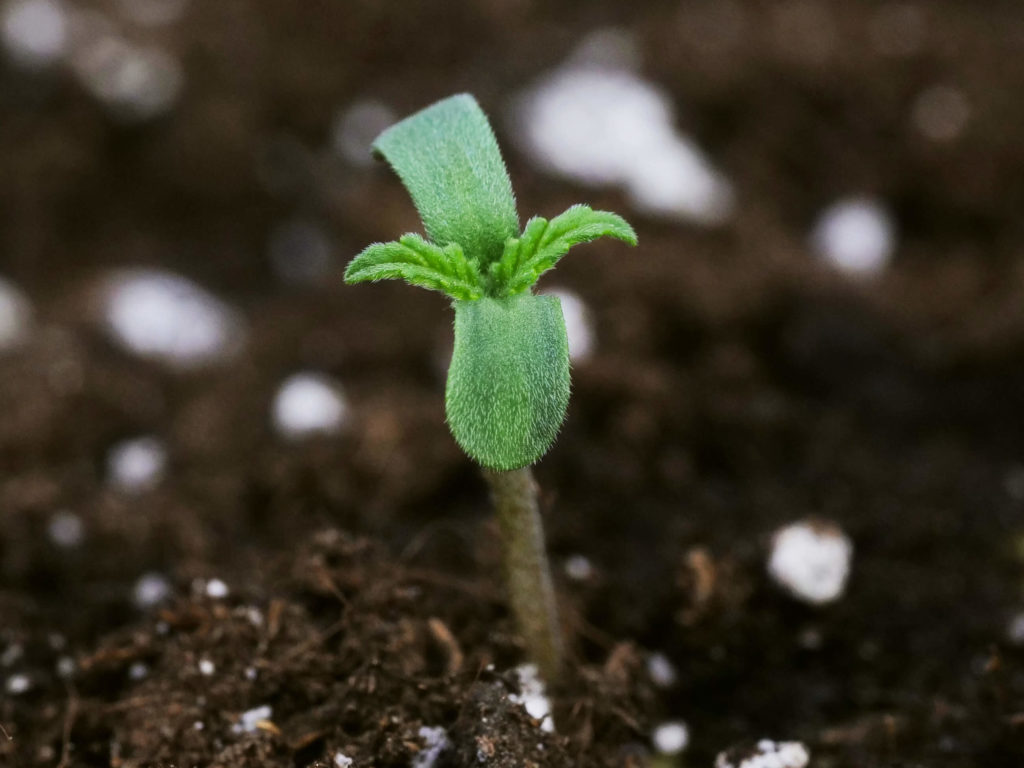
To germinate our Sensi Skunk Automatic, we placed our seeds in a Grodon Rockwool Cube, and within a day, our Sensi Skunk had emerged and reached for the light. It was now that we dialled in our environmental conditions. Our light schedule was 18 hours of light and 6 hours of darkness for every 24 hours. The temperature with the lights on was maintained at 23°C, and the temperature with the lights out was controlled at 21°C.
We started with the humidity levels at 65%, which decreased as our Sensi Skunk entered different stages. After the seedling was above the soil, we gave it 100 ml of water, which was poured around the base of the stem. A rooting hormone was added to our water solution, which held a pH of 6.2 and an EC of 1.3.
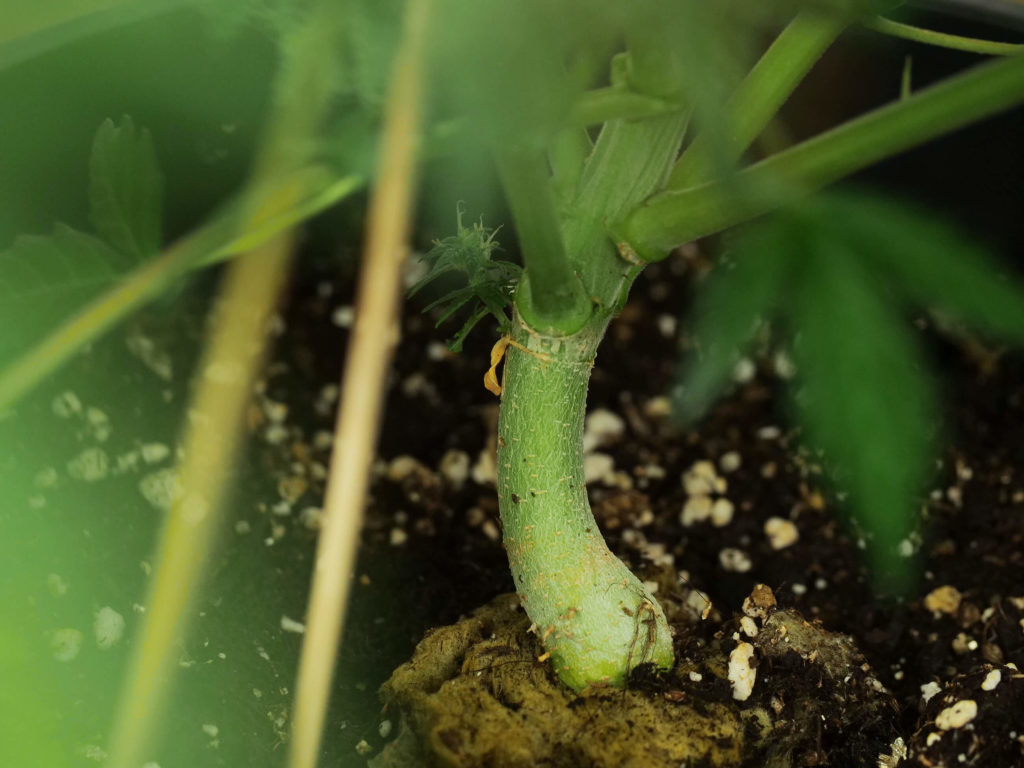
Getting an early start on your IPM is always wise. To protect our Sensi Skunk, we dispersed Hypoaspis Miles, which will seek out and destroy any fungus gnat and thrip pupae lurking in the garden. We also turned our plant a quarter turn each day to develop a sturdy stem.
Vegetation
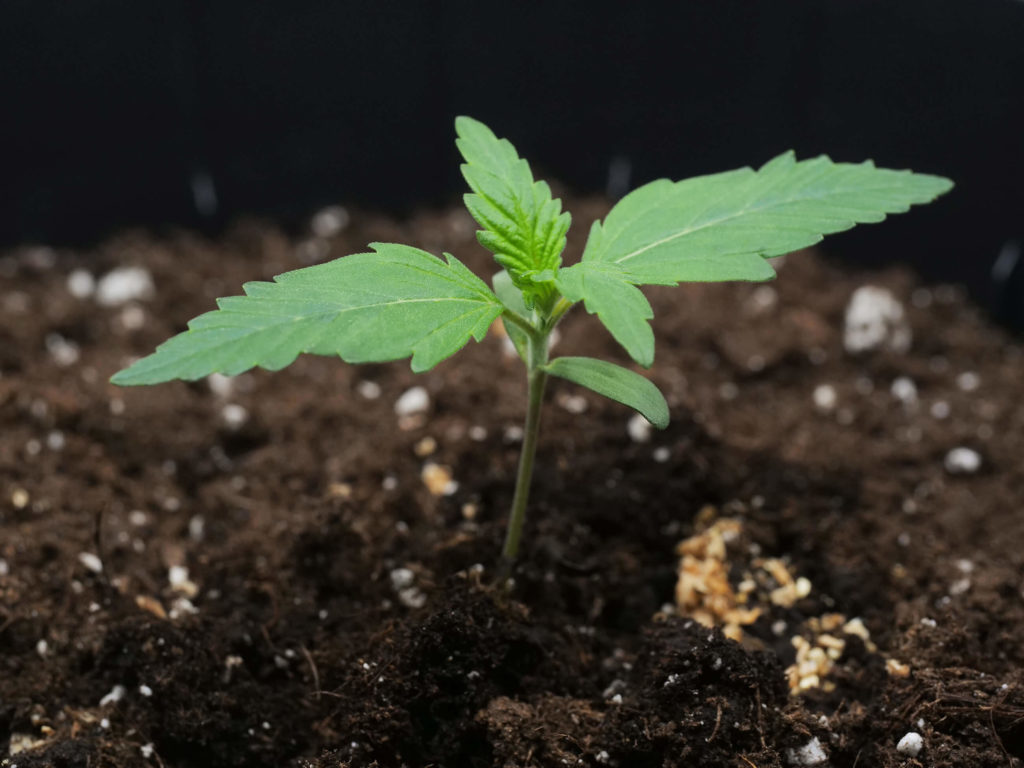
Week two saw our Sensi Skunk grow from 1.5 cm to 4.5 cm. Despite the strong growth, the root system was still too young for the Bio Grow nutrients. We repeated the same watering procedures as the prior week, but the EC was raised slightly to 1.5.
Temperature and humidity remained within the same parameters. We continued to turn our container daily and turned on the circulating fans. This created a steady air movement, which helped to strengthen the stem.
Week three was when we saw the first set of true leaves (a five-fingered leaf) on our Sensi Skunk Automatic. Quickly our plant had grown to three nodes, with the next set of leaves popping through the top. The colour was lovely lime green, and with the new growth, we decided to begin supplementing Bio Grow nutrients.
The volume of our water remained at 100 ml, which we poured around the base of the plant. Rooting hormones were removed from the water solution, but we kept a similar EC with our grow nutrients, which resulted in the solution being 1.6 before application.
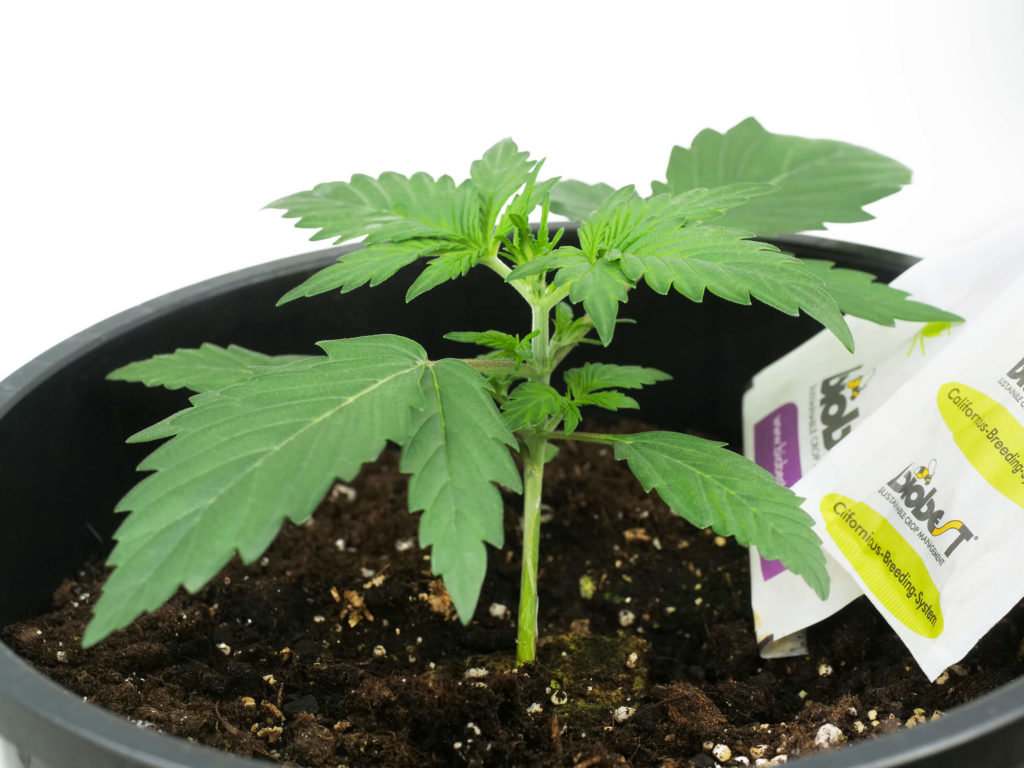
Thrips and two-spotted spider mites can severely damage your garden. To be proactive, we released sachets of Amblyseius Cucumeris to eat any thrip larvae. We also released Amblyseius Californicus to prey on potential two-spotted spider mites.
Flowering
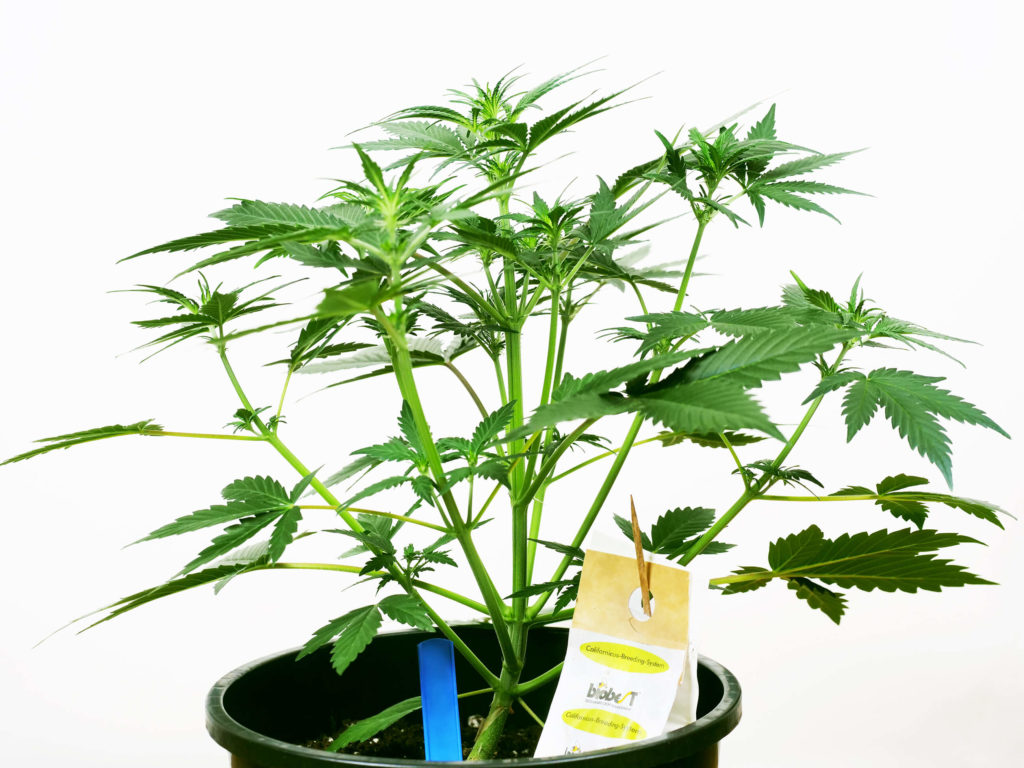
By week four, our Sensi Skunk Automatic was already showing us signs that it had begun the transition to the flowering stage. Because this version is autoflowering, we did not need to change the light schedule to induce flowering. From the crux of each of the upper nodes, tips of white stigmas began to reach out.
Our Sensi Skunk now stood 14 cm above the soil. Internodal space remained tight, and lower branches were growing at an accelerated rate in an attempt to be closest to the light. The plant morphology was nice and compact. Our feeding volume increased to 150 ml per day around the base of the meristem.
It has been three weeks since the first application of the beneficial insect, Hypoaspis Miles, so we chose to release more. We have not seen any signs of thrip or fungus gnat pupae, so we felt they were doing the job well.
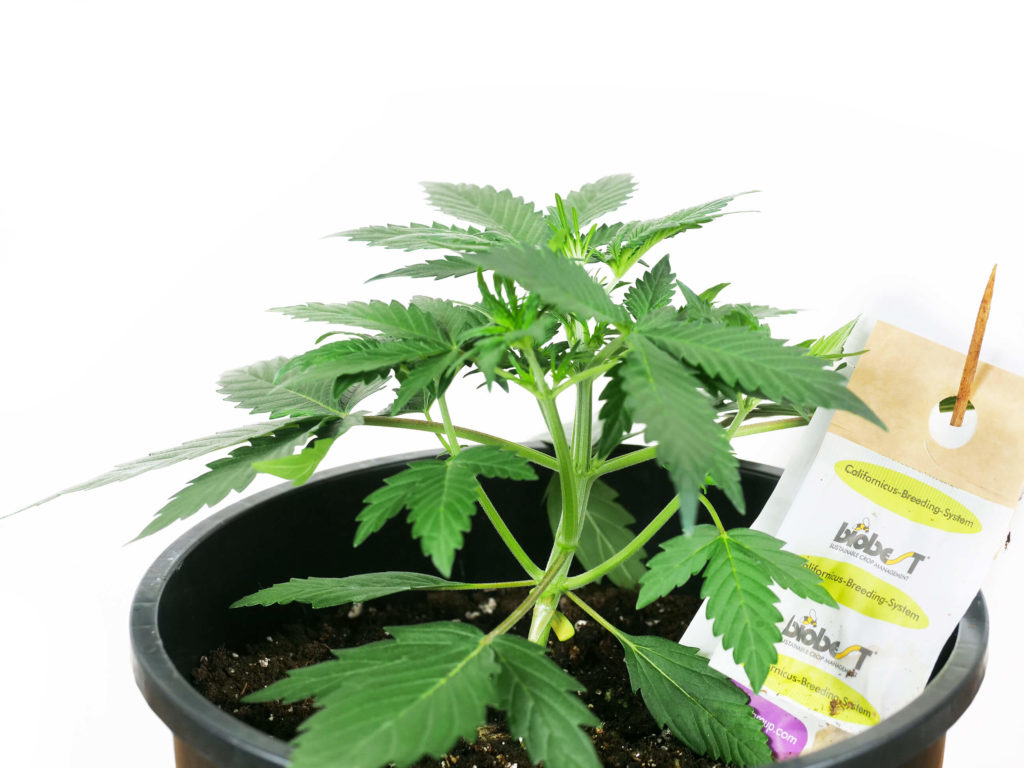
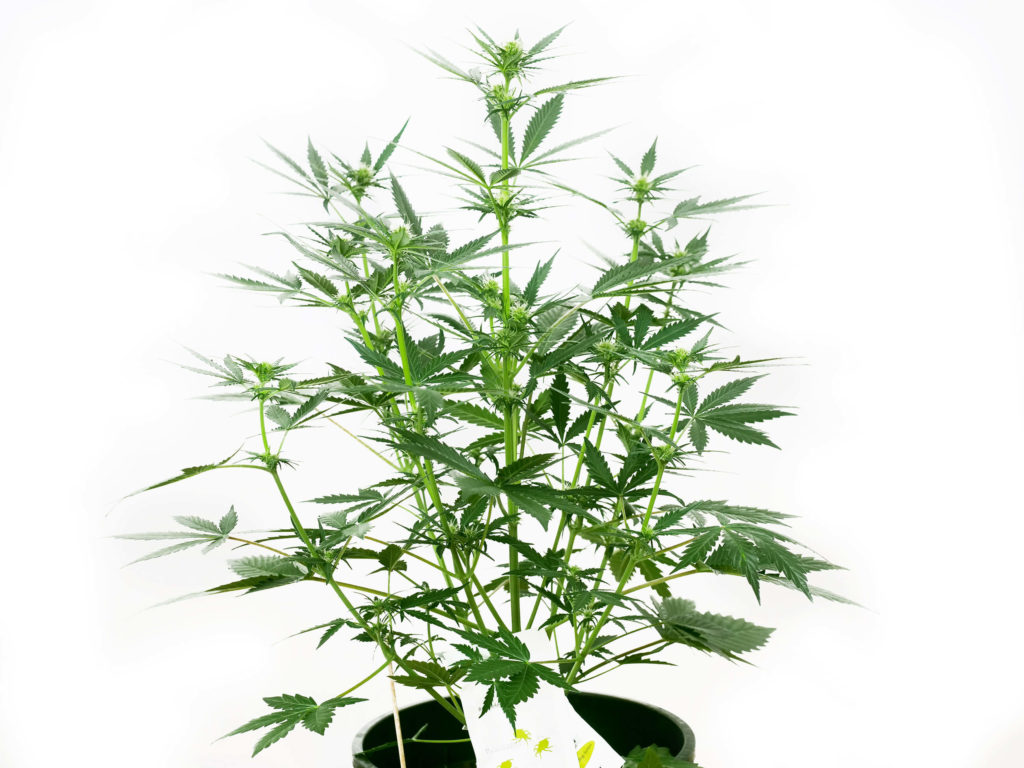
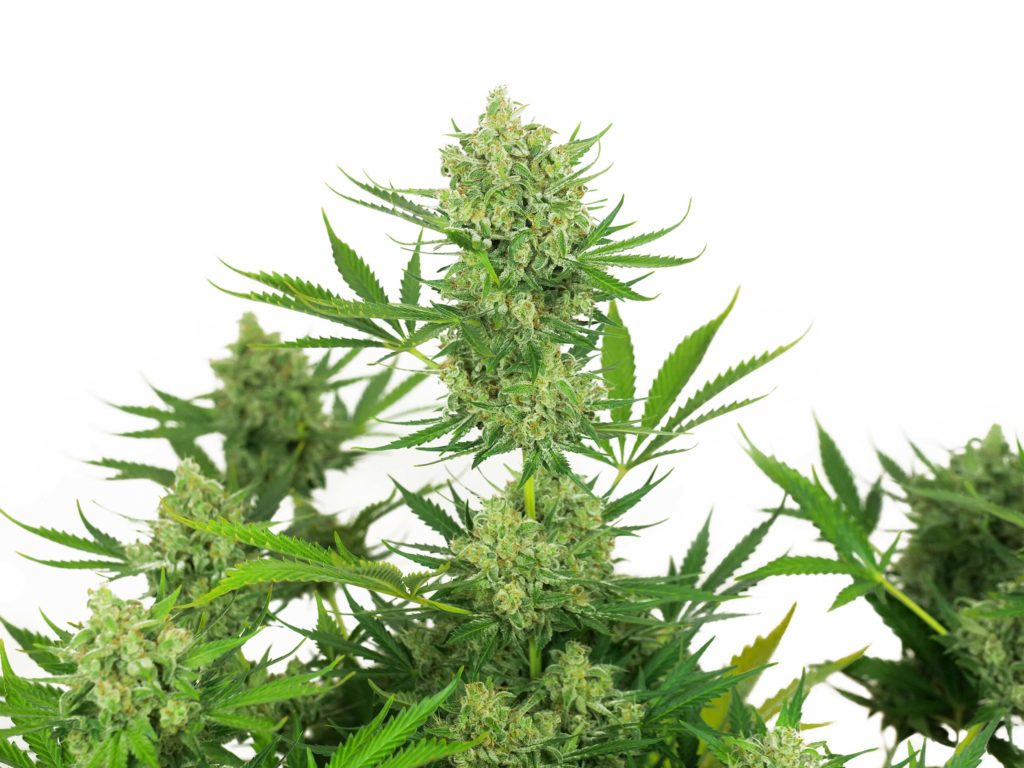
Week five saw a doubling in height, which really opened the structure of our Sensi Skunk. The lower branches had almost caught up with the top of the plant, and they remained spread out from the main stem. It was easy to see the forming buds at the tips of each branch. The plant’s colour remained a consistent emerald green from bottom to top.
We had been feeding our plant grow nutrients for a few weeks already, so on the first day of this week, we gave our plant 500 ml of pure water. We did this to remove any buildup of salt nutrients in the root zone. We then continued the remainder of the week by feeding grow nutrients mixed with water at a volume of 350 ml and an EC of 1.8.
We did make one environmental change this week. The humidity level was reduced from 65% to 60%. Reducing humidity levels during flowering is common practice to reduce the chance of spores proliferating in the dense, moist buds.
Week six recorded another burst of vertical growth, growing from 31 cm to 54 cm this week. A “stretch” phase is typical for plants transitioning from vegetation to flowering cycles. Unlike photoperiod plants, we did not need to switch our lighting schedule to make this happen. Autoflowering strains will naturally flower on their own schedule, regardless of light hours.
As our plant increased in size, so too did the nodal spacing. Our Sensi Skunk was not so compact anymore, which was great because it gave plenty of space for air to flow through the canopy. The canopy had also opened up, allowing more light to penetrate the lower bud sites, and our watering solution volume was increased to 450 ml.
In week seven, we continued with the same parameters as before, except that the amount of solution increased to 550 ml. Vertical growth had slowed, gaining only 9 cm from the prior week. It was apparent that the plant’s energy was now being used primarily for bud production instead of vertical reach.
Staying on a schedule for beneficial predatory insects, we released another round of Amblyseius Cucumeris and Amblyseius Californicus. This is done by hanging the sachets on our plant’s main stem and lower branches.
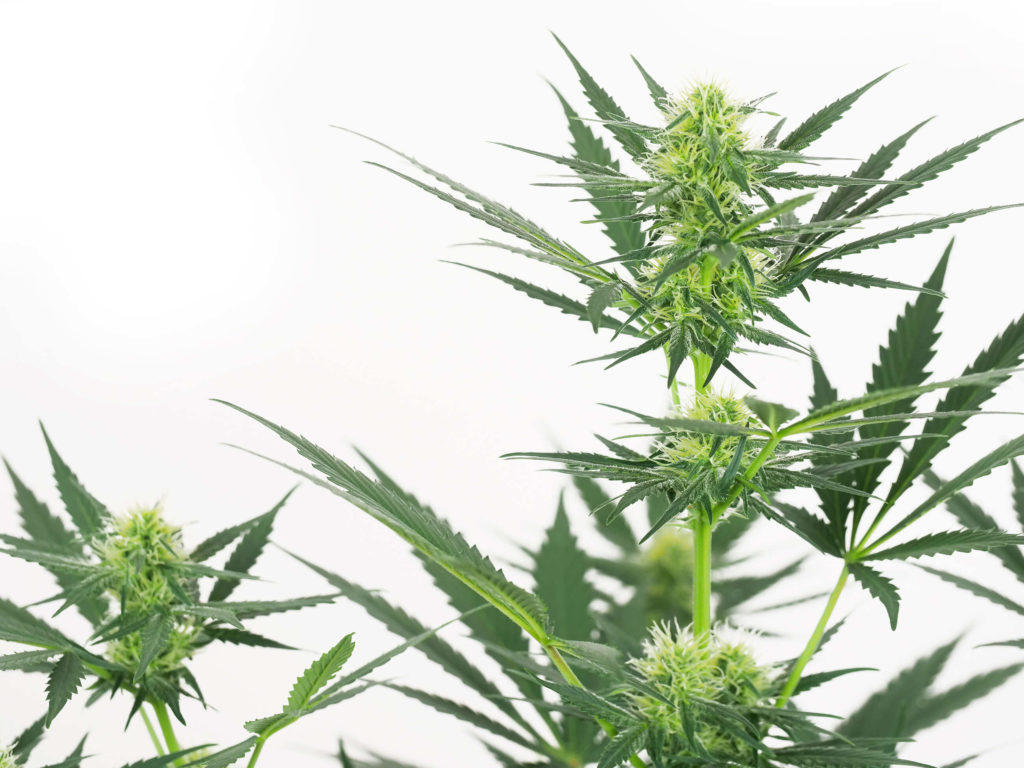
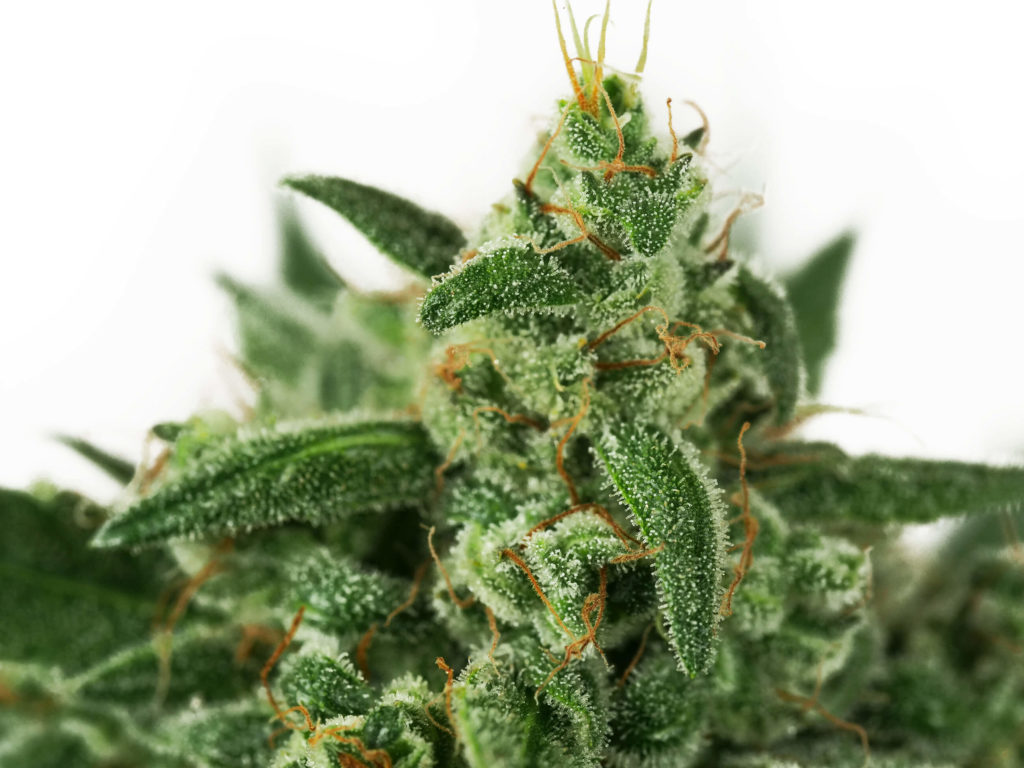
By week eight, buds at the tips of each branch have started to expand in size and meet each other to form larger buds, also referred to as colas. Trichome production had begun, and all sugar leaves were starting to get a layer of delicate, cannabinoid-filled trichome heads.
We released the last batch of beneficial insects, this time releasing more Hypoaspis Miles to ensure no fungus gnats or thrips larvae could mature before harvest.
Similar to week five, we started our week by giving the plant a pure water flush with 500 ml of pH 6.2 water. We then resumed with regular feedings for the remainder of the week.
Week nine was relatively uneventful. We reduced our humidity from 60% to 58%. There was no vertical growth, and we don’t expect any more before harvest. The week’s highlight was watching the dense colas continue to stack on the ends of each branch. Our hopes for an excellent yield were looking very likely.
During week ten, the buds of our Sensi Skunk continued to swell into larger and larger buds. The trichome production was also in high gear, covering the buds with a shimmering layer under the bright lights. Due to the increasing size of the buds, we again reduced humidity in the growing area, this time down to 52%.
Salt buildup in the soil can lead to nutritional problems for your plant, and excess nutrients in the plant tissue can also lead to poor smoke-ability. At the end of the cycle, we will do a full flush, but this week, we repeated the first-day flush and then fed on the remaining days’ regimen.
In week eleven, we increased the volume of our bloom solution to 550 ml per day, but the overall EC of 1.8 and the pH of 6.2 remained the same. Air circulation within the tent was getting more critical with the number of heavy buds releasing moisture within the canopy.
Upon entering the grow room, there was now a distinct aromatic signature to our Sensi Skunk. Fortunately, outside the grow room, the odour was undetectable, thanks to the carbon scrubber we had installed on our exhaust fan.
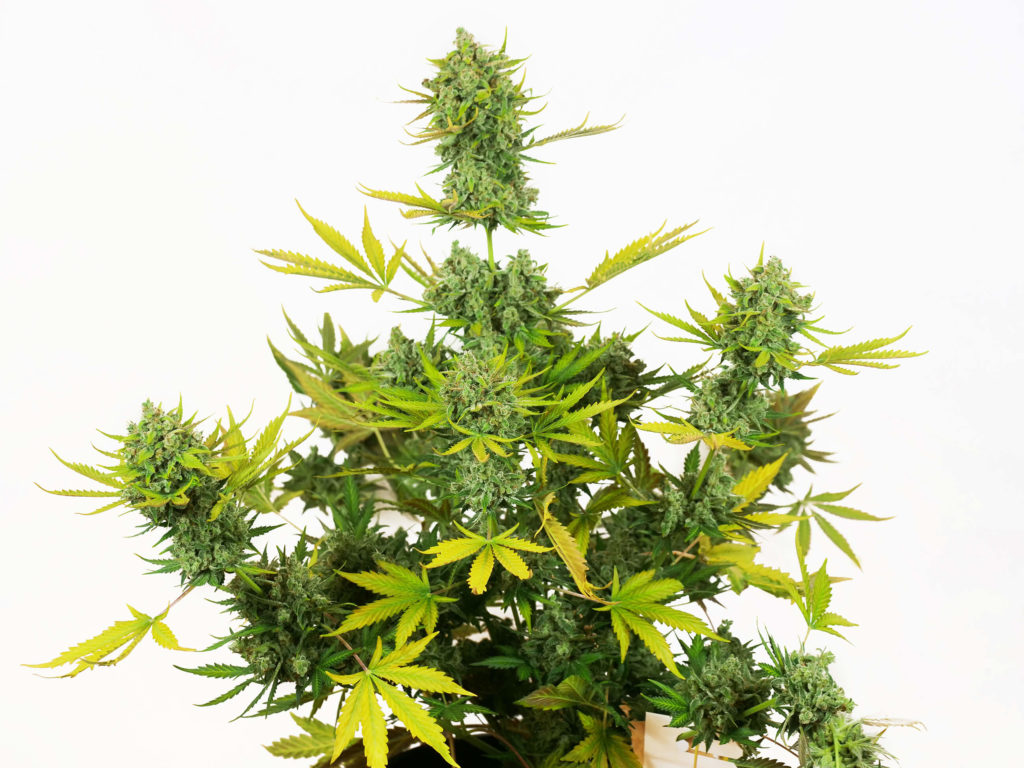
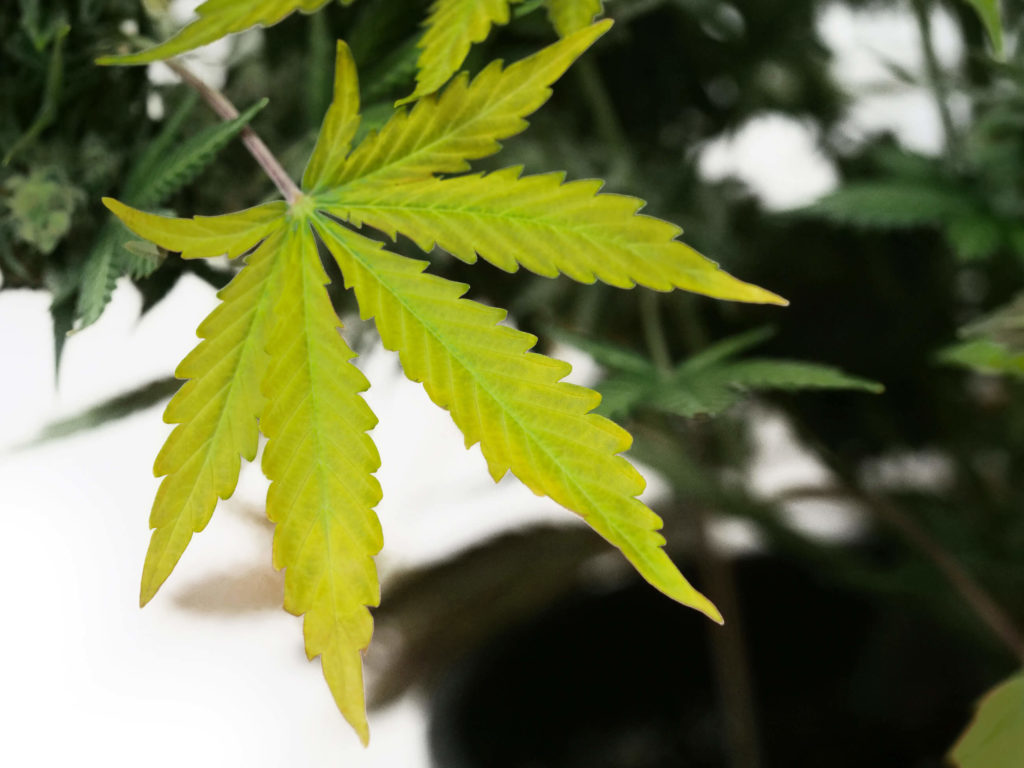
Looking at the plant at the start of week twelve, we could tell harvest was just around the corner. The leaves of our Sensi Skunk Automatic were getting a lighter green colour, sometimes referred to as “the natural fade” of a plant. This can be a signal from the plant that it is near the end of its life.
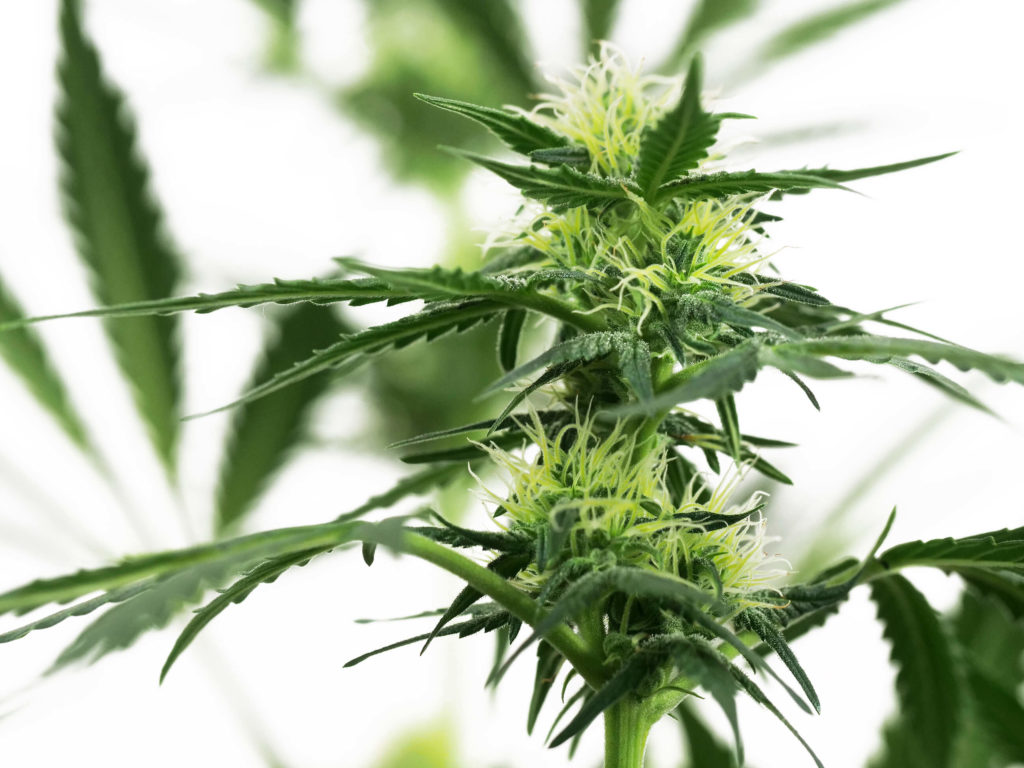
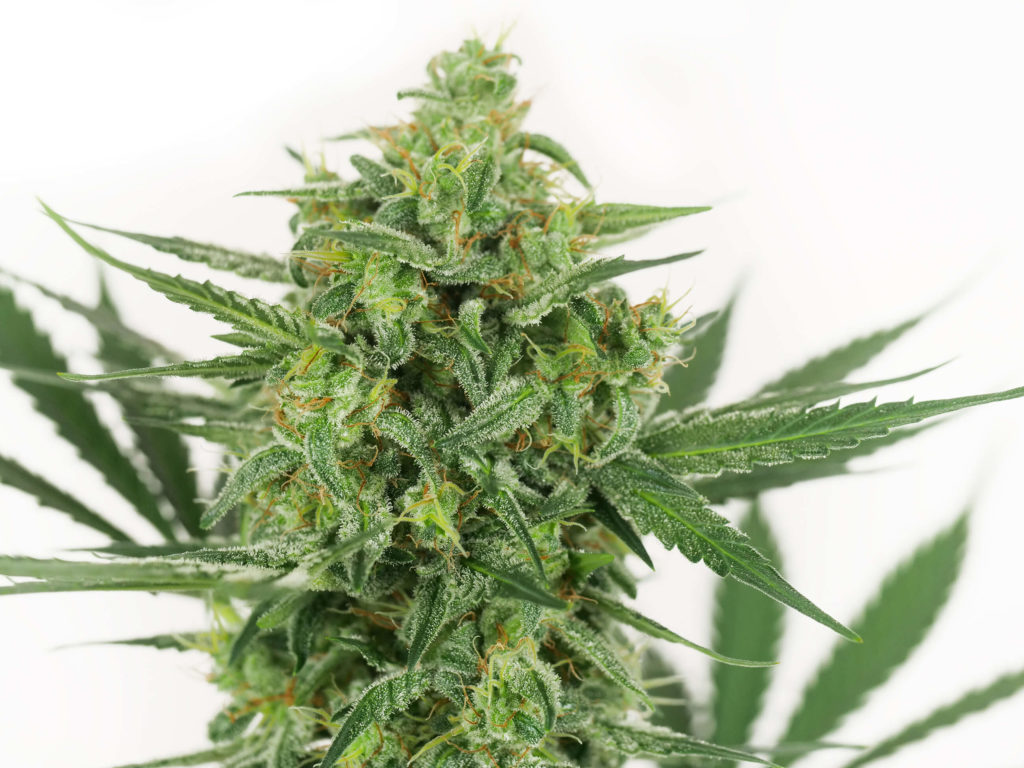
Many of the stigmas protruding from the bracts had already turned brown and began to withdraw back into the bracts. The true sign of the plants’ maturity is by looking at the trichome heads on the flowers. We did not see the desired ratio of clear, amber, and milky trichome heads. From this, we estimated another two weeks until maximum ripeness.
We gave our Sensi Skunk 500 ml of plain water on the first day and then continued to feed our bloom nutrients and water mix at 500 ml per day for the remainder of the week.
Weeks thirteen and fourteen were the final weeks for our Sensi Skunk. Anticipating the end date, we eliminated the bloom nutrients from our water solution and gave the plants 500 ml of pure water each day. We did this to flush any excess nutrients from the soil, which also causes the plants to consume their stored nutrients in the last week before harvest.
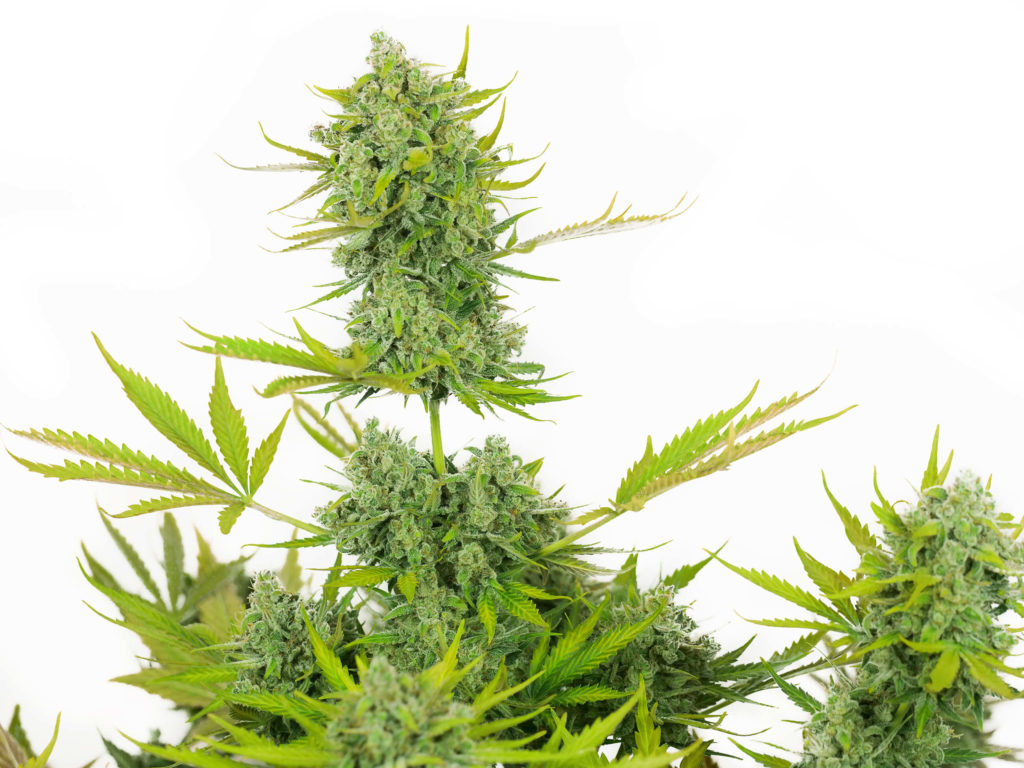
Our efforts were quickly represented by the fading colour of the leaves. They were once a lovely dark green but rapidly progressed into lighter shades and finally to a chlorophyll-depleted yellow colour. Our Sensi Skunk was loaded with large colas, swollen bracts, and a thick layer of cannabinoid and terpene-laced trichomes. After 91 days after planting our seed, we were ready to harvest.
Harvest
After we determined that our Sensi Skunk was ready for harvest, we prepared our plant and drying room for the subsequent phases. The plant was stripped of the large fan leaves, which retain excess moisture. Our drying environment had strict controls over temperature and humidity, which allowed us to hang dry only the desirable parts of the plant.
The temperature was maintained between 18-20°C. Humidity was held steady at 60%. Combining these two factors allows the plant to dry slowly without being too moist and running the risk of bud rot. After those conditions, we chopped the whole plant down at the main stem, approximately 7.5 cm above the soil.
Our Sensi Skunk was then taken to the dark, climate-controlled drying area and hung upside down for 14 to 21 days. Already, we were detecting fragrant odours coming from our drying flowers. An essential factor in the drying room is the circulating fans. Good drying rooms will have a light, steady breeze circulating the area. Growers do not want fans blowing directly on the flowers, which will dry them too quickly.
Once the small branches snapped between our fingers, we removed the branches and manicured our flowers. After trimming the buds, we placed them into glass jars to complete the curing process. Because some moisture was still trapped within the buds, we burped our jars daily to remove the excess moisture escaping the core of our fat colas. We did this for two weeks.
After twelve weeks of our glass jars curing in a dark, cool area, we determined the flowers were ready to be enjoyed. Before placing them into our C-Vault at 62% humidity for storage, we decided to get a final weight and THC percentage on our Sensi Skunk Automatic.
We finished with 91 grams of dried Sensi Skunk flower at our fingertips, ready for use. Cannabinoid testing for our plant revealed that the plant we had grown registered a THC total of 14%. Combined with the terpene profile and entourage effects, our Sensi Skunk provided a wonderful experience for consumers.
Terpene profile
The primary terpenes in the Sensi Skunk Automatic profile are myrcene, pinene, and limonene, a characteristic trait of the Skunk #1 family genetics inherited by this line. As we took the buds off the plant, they imparted a sweet scent, with hints of citrus and skunk undertones.
As the weeks progressed during curing, the citrus flavour began coming more and more to the forefront each time we burped the jars. Behind it, spicy and hashish-like aromas were starting to emerge. Ultimately, our Sensi Skunk was an intense, sweet, citrus-based flower that delivered some backend funk.
Our Sensi Skunk was full of flavour, which was a reflection of the terpene profile, touching on all of the same notes. The effects were described in many ways, one of which was a full-body relaxing stone. This is attributed mainly to the presence of the myrcene terpene in the profile. Myrcene has been associated with a deep sense of relaxation washing over the body.
Limonene and pinene terpenes result in the citrus and fresh scents of the Sensi Skunk. Limonene can express itself as anything from lemon to orange to a lime scent. The pinene brings a sense of freshness to the Sensi Skunk, which contributed to the initial uplifting effects we experienced. Other words to describe the range of effects would include cerebral, calming, and meditative.
The outcome
We enjoyed growing our Sensi Skunk Automatic. It was easy to grow because we didn’t have to adjust lighting schedules, we didn’t have to sex the plant, there was no special plant training required, and we followed a basic feeding schedule to ensure excellent results. We feel confident that our Sensi Skunk Automatic will flourish in various climates and is the perfect addition to anyone’s garden, from the beginner to master growers!
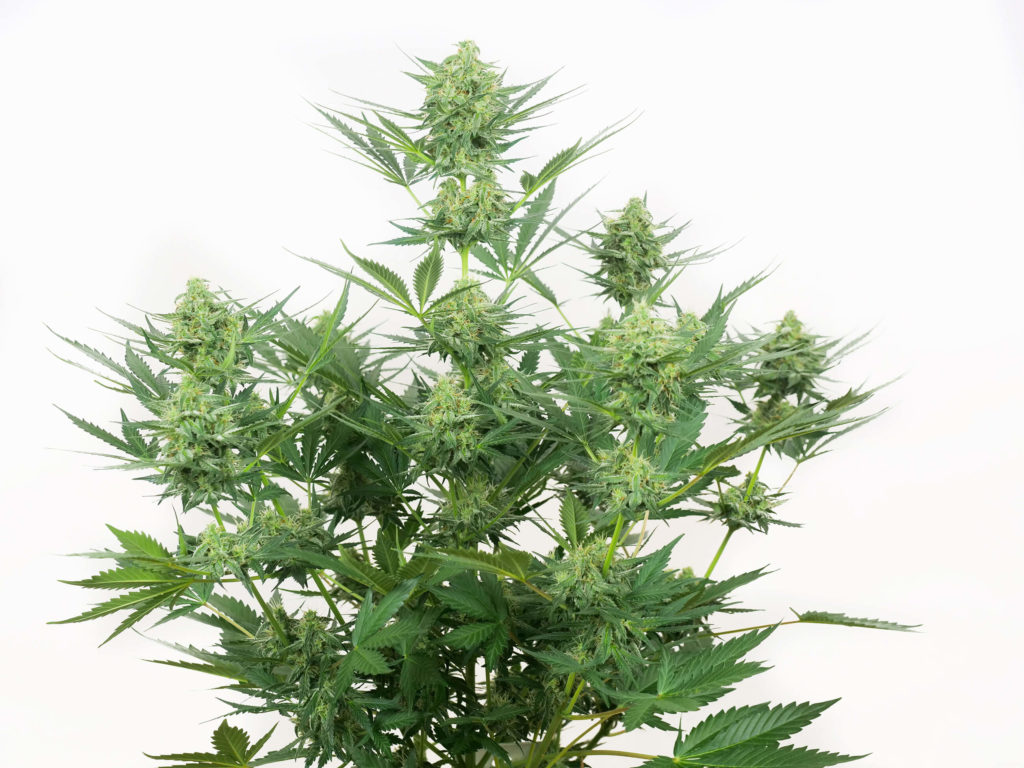
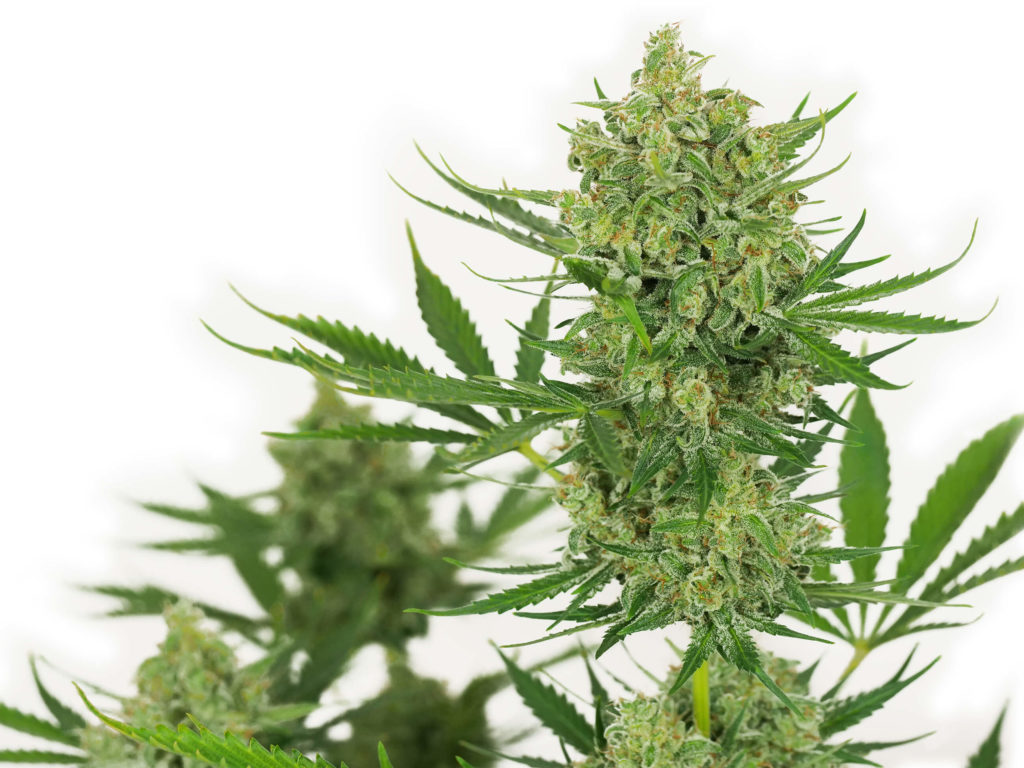
This plant would be ideal for any cultivator limited by vertical height. Sensi Skunk stayed compact and produced an excellent yield of trichome-covered buds. The aromas are pleasant, and the flavours desirable. She grew in a basic Christmas tree shape with accelerated growth from the lower limbs, which almost caught up to the height of the main meristem.
The buds were big and chunky with a high calyx-to-leaf ratio, which made our job of trimming even easier. In total, we had 91 grams of dried and cured cannabis flower, which was laboratory tested at 14% THC content. Sensi Skunk is available in regular, feminized, and autoflowering seeds.
If you liked this grow report and want to learn more about our documented grows at Sensi Seeds, check out the grow diaries on our blog. For gardeners who have grown one of the Sensi Skunks before, we would love to hear from you in the comments. If you have your own experience with Sensi Skunk flower, we’d love to hear that too. Until the next grow report, happy gardening!
- Disclaimer:Laws and regulations regarding cannabis cultivation differ from country to country. Sensi Seeds therefore strongly advises you to check your local laws and regulations. Do not act in conflict with the law.


